Teamwork becomes easier when responsibilities are clear. That is why I assign a task in confluence when I want to keep work organized in one place. I can add due dates, mention teammates, track progress, and avoid missed follow-ups. In this guide, I show you how to assign tasks effectively and keep projects moving with more transparency.
What is Confluence
Confluence is a collaborative workspace by Atlassian that helps teams create, share, and manage knowledge in one central place. It combines powerful documentation features with easy-to-use collaboration tools, making it ideal for project management, requirements documentation, and team communication. With Confluence, users can write pages, structure information with templates, and connect content across projects to ensure everyone has access to the latest version of shared knowledge. Furthermore, it integrates seamlessly with other Atlassian tools like Jira, which makes it especially valuable for software development teams, but it is also widely used in business, marketing, and operations. the-requirements-engineer.com offers more articles about UML e.g. like How Do Confluence and Jira Differ? (opens in a new tab) and How I Use Confluence in Requirements Engineering (opens in a new tab).
Step 1: Open the Confluence Page
First, open the Confluence page where you want to add the task. This could be e.g. a meeting notes page, a project plan, or any other relevant space. Keeping tasks in the right context helps your team know where to find and complete them.
Step 2: Switch to Edit Mode
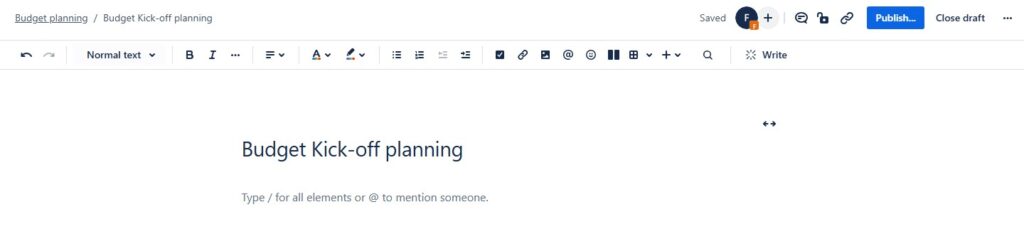
With this purpose in mind click the Edit button in the top-right corner. This allows you to make changes to the page and insert new content. In edit mode, you can add tasks anywhere in the text.

In the editor view I can assign the task.
Step 3: Use @Mentions to Assign a Task
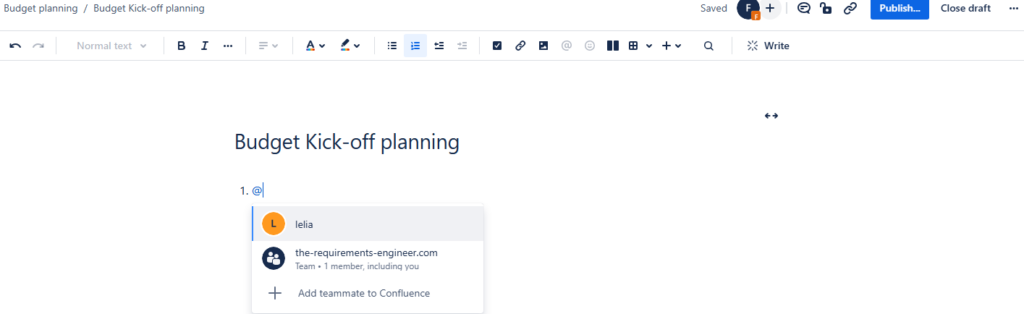
To assign the task, type @ followed by the team member’s name. Confluence will suggest people as you type. Once you select the correct person, the task links to them automatically.
The assignee receives a Confluence notification, so they’ll know immediately what’s expected.
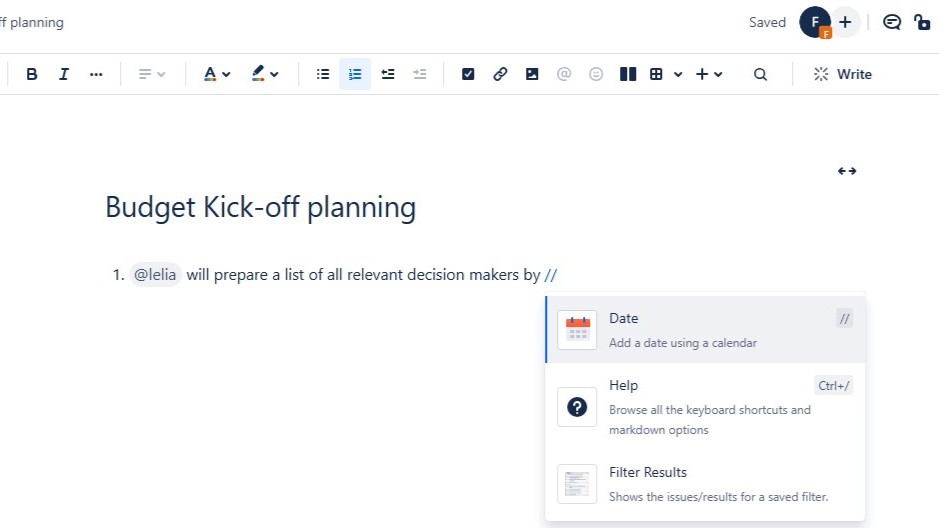
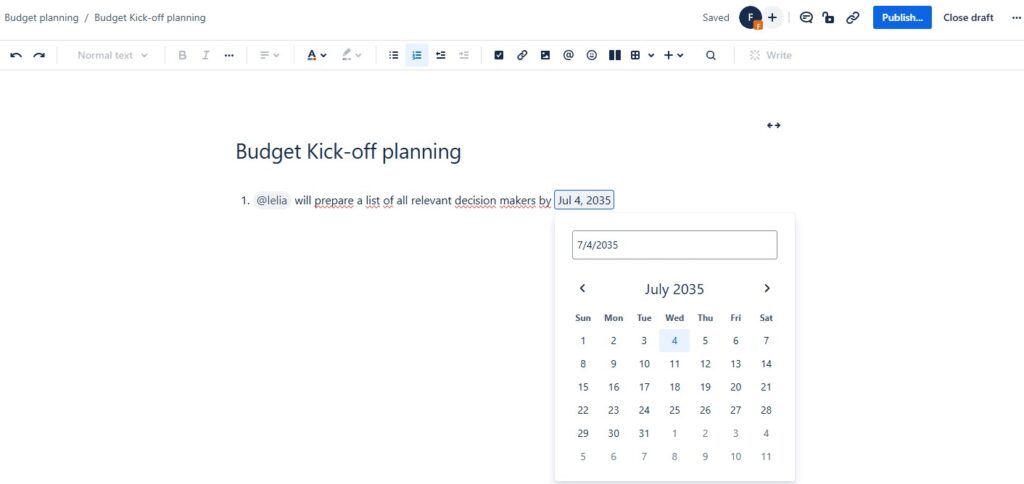
Step 4: Add a Due Date with // (Optional)
If you want to set a deadline, type //. This opens the date picker. Choose the date, and Confluence adds it next to the task.
Deadlines help your team prioritize and keep deliverables on schedule.
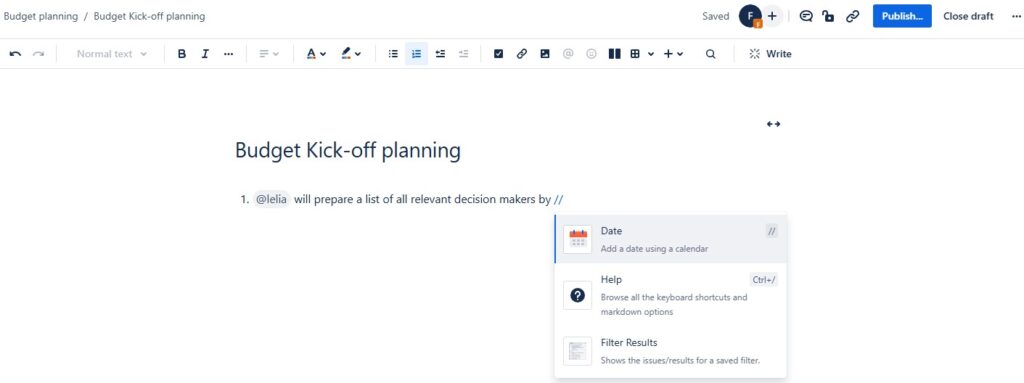
I select the appropriate date, and it gets added next to the task. This helps everyone stay aware of deadlines and prioritize their work accordingly.
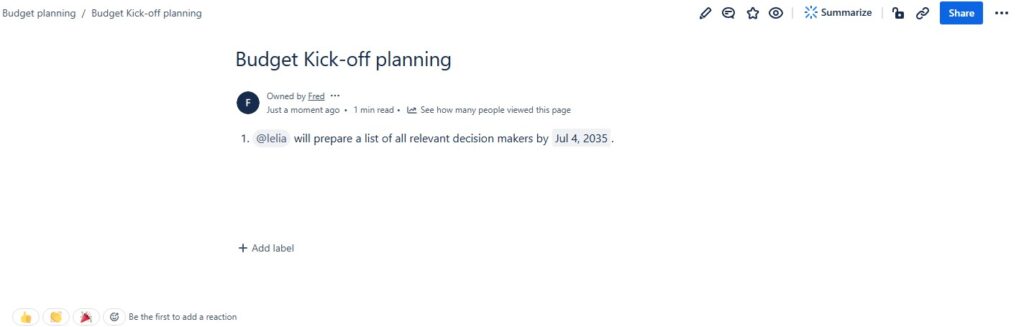
Step 5: Publish and Notify Assignees
When you’re finished, click Publish. The page updates, tasks appear clearly on the page, and assignees get notified.
FAQs About Confluence Tasks
Can I assign a task to multiple people in Confluence?
No, each task can be assigned to only one person. This keeps accountability clear. If multiple people need to be involved, create separate tasks.
Where can I see all my assigned tasks?
Navigate to your profile and select Tasks. This shows everything assigned to you across Confluence.
Can I use tasks in Confluence templates?
Yes, many templates (like Meeting Notes) include task sections by default. Hence, you can add, edit, and assign tasks as needed.
Final Thoughts
To sum up assigning tasks in Confluence is quick and powerful. With just @mentions and optional due dates, you can keep projects moving without losing track of who’s responsible.
Try assigning a task the next time you capture meeting notes. Then, you’ll see how easily Confluence keeps your team organized and accountable. Use your knowledge about how to use @mentions in Confluence to your advantage.
Eventually, for more tips, check out my guides on Confluence and Jira!
What’s Next?
Now that you know how to assign and manage tasks in Confluence, you can turn collaboration into clear action. Tasks help you define responsibilities, set due dates, and keep follow-up work visible. However, tasks are only one part of a strong Confluence workflow.
In the next article, I’ll explain How I Use Confluence Optimally: A Comprehensive Guide. You’ll learn how I combine structure, pages, tasks, collaboration, and daily habits into one practical system. Click the next article to make Confluence more useful, organized, and effective for your team.
Create Better Requirements with the Right Toolset
Requirements engineering becomes stronger when I use tools that support clarity, structure, and collaboration. In my main article on Requirements Engineering Tools, I explain how draw.io, Confluence, Jira, and Camunda support practical requirements work. Draw.io helps me visualize ideas. Confluence helps me organize knowledge. Jira helps me track tasks and issues. Camunda helps me model processes. Click through to the full article and learn how these tools help you turn requirements into clear project results.
| Read more about Confluence and How to |
|---|
| Format Text in Confluence Make Lists in Confluence Change the Headings in Confluence Create a Blog Post in Confluence Align Text in Confluence |