Learning how to create a Space in Confluence helps me organize team content with clarity. A space works as a home for related pages, projects, departments, or topics. As a result, I can structure information, reduce confusion, and support smoother collaboration. In this guide, I show you the steps to set up a useful Confluence space.
Create a Space
Confluence spaces are crucial for organizing content, enhancing collaboration, and providing customization and flexibility tailored to team or project needs. They allow for granular access control, creating secure, centralized knowledge bases that are essential for onboarding and retaining critical information.
Spaces improve project management by centralizing documentation and progress updates, scaling with organizational growth, and integrating seamlessly with other tools like Jira and Slack. They help preserve organizational knowledge, offer enhanced reporting and analytics, and ultimately streamline content management, boosting overall productivity and alignment.
Step 1: Log In to Confluence
First, log in to your Confluence account. Ensure you have the necessary permissions to create a space. Typically, Confluence administrators and users with specific roles can create spaces.
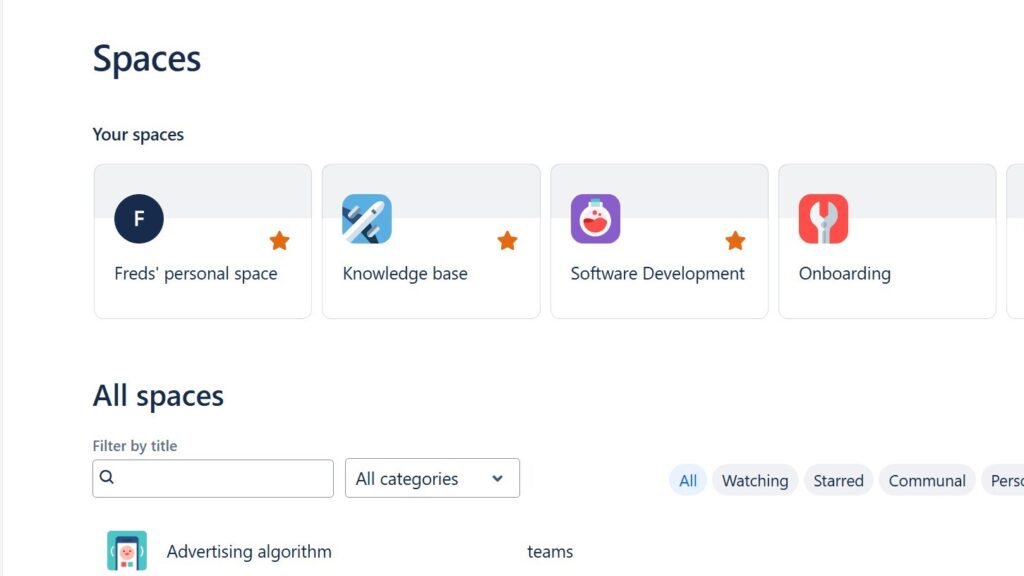
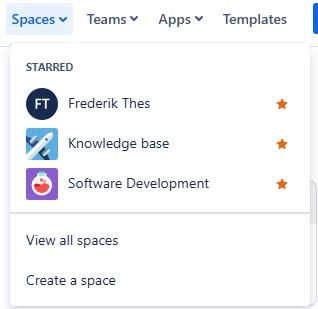
Step 2: Access the Spaces Directory
Once logged in, navigate to the ‘Spaces’ menu located in the top navigation bar. Click on it to reveal a dropdown menu, then select ‘View all spaces’. This will take you to the spaces directory where you can see all the existing spaces.
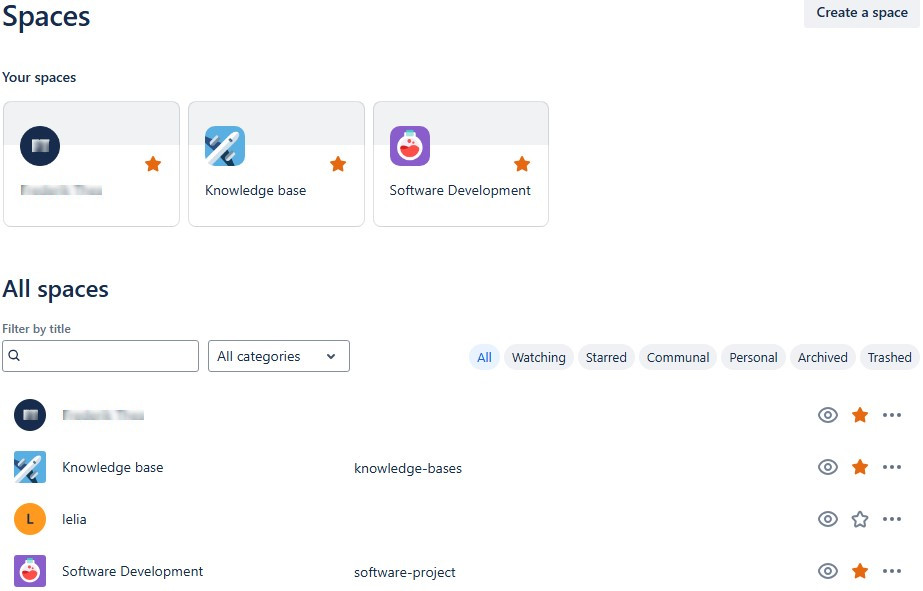
Step 3: Create a New Space in Confluence
In the spaces directory, look for the ‘Create space’ button, usually found in the top right corner. Click on it to start the space creation process.
Step 4: Choose a Space Type
Confluence offers different types of spaces:

Select the type of space that best suits your needs and click Next. Choose a name for your Space:
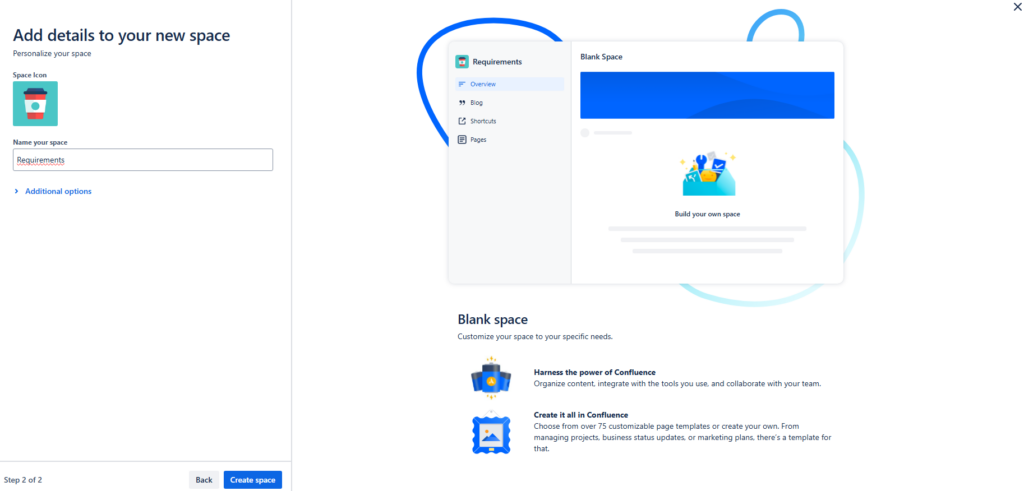
Click ‘Create space’
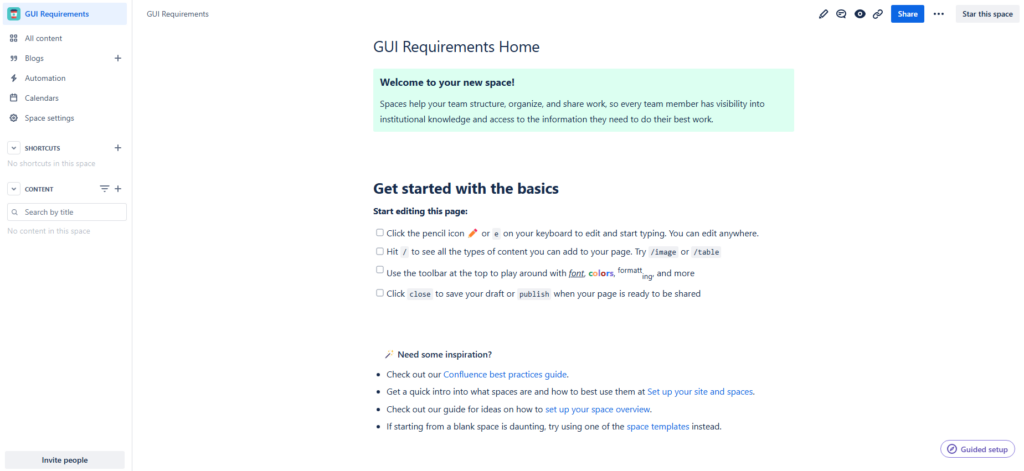
Step 5: Start to work with your Spaces
Now you can start working with your Confluence Space!
Conclusions
To create a space in Confluence is a straightforward process that significantly enhances your ability to organize and manage content. By following these steps, you can create a space that serves as a central hub for your team’s information and collaboration needs. Happy Confluencing!
What’s Next?!
Now that you know how to create a space in Confluence, you can build a clear home for your content. However, you do not always need to start from scratch. Templates can help you move faster and create a useful structure right away.
In the next article, I’ll show you How to Create a Confluence Space from a Template. You’ll learn how templates save time, guide your setup, and help you start with a more organized workspace. Click the next article to create your next Confluence space with a stronger foundation.
Improve Requirements Work with Practical Tools
Requirements engineering becomes easier when I use tools that support each part of the workflow. In my main article on Requirements Engineering Tools, I explain how draw.io, Confluence, Jira, and Camunda work together. Draw.io helps me visualize ideas and structures. Confluence helps me document knowledge. Jira helps me track work and issues. Camunda helps me model and analyze processes. Click through to the full article and learn how these tools help you create clearer requirements and better project results.
| Read more about Confluence and How to |
|---|
| Format Text in Confluence Make Lists in Confluence Change the Headings in Confluence Create a Blog Post in Confluence Align Text in Confluence |