Spaces are the foundation of teamwork and organization in Confluence. They provide structured areas where teams create, share, and manage content effortlessly. Whether for projects, documentation, or cross-department collaboration, Spaces keep everything organized. In this introduction to Confluence Spaces, I’ll explain their key features, benefits, and best practices to help you boost productivity and streamline your workflows.
What is Confluence?
Confluence is a team collaboration and documentation platform developed by Atlassian. It allows users to create, organize, and share information in a single, centralized workspace. Teams can document processes, capture meeting notes, and manage projects seamlessly. With features for commenting, editing, and real-time collaboration, Confluence helps teams stay aligned and transparent. It transforms knowledge sharing into a smooth, structured, and engaging experience for everyone involved.
What is a space?
Are you familiar with Confluence Spaces? They are Confluence’s way of organizing content into meaningful categories, similar to having different folders for your work. There are two main types of Spaces in Confluence:
- Site Spaces: These Spaces are found in the Space Directory. They are the areas where you create content and collaborate with others. You might also hear them referred to as global spaces. Site Spaces are perfect for team projects, documentation, and shared resources.
- Personal Spaces: Every Confluence user can set up a personal space. You have the option to keep your personal space private or make it public so others can view and edit it. Personal spaces are listed in the People Directory and can be found under your personal profile.
By organizing your work into these Spaces, you can keep your content structured and easily accessible. This organization makes collaboration and content management a breeze. Dive into Confluence Spaces and see how they can enhance your workflow!
Spaces are where you store related things like information pages and files. But Spaces also give you a place to collaborate with groups of people. This can be useful when we work in a team or with whoever.
Each Space has its own permissions. This lets you decide who gets which rights. You can also assign other privileges. Spaces also have a blog. This allows you to post important messages and updates – for those who can see the Space. There is no limit to the number of Spaces. You can archive or delete Spaces when you no longer need them.
Create your first project space
Now start creating your first own space:
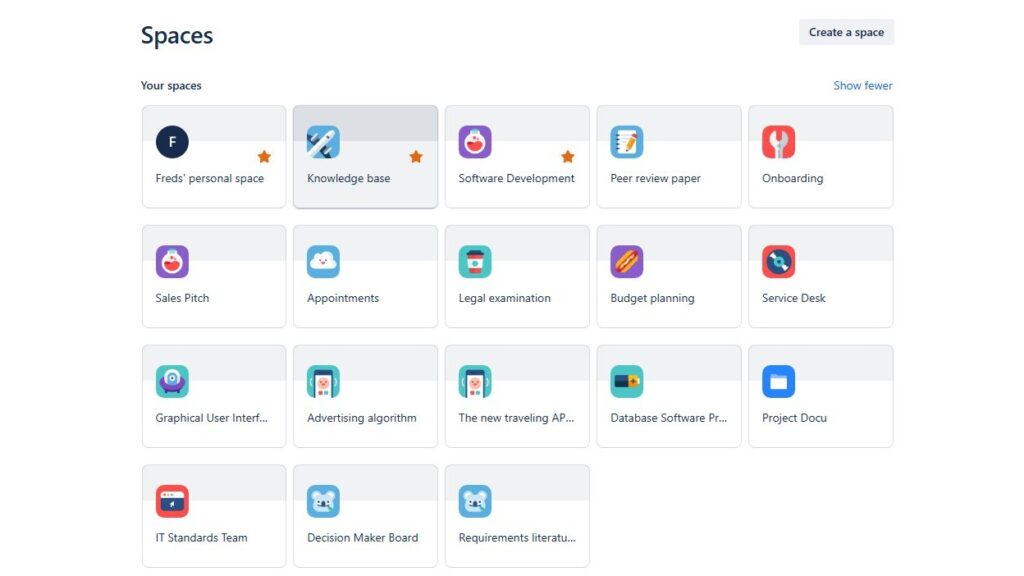
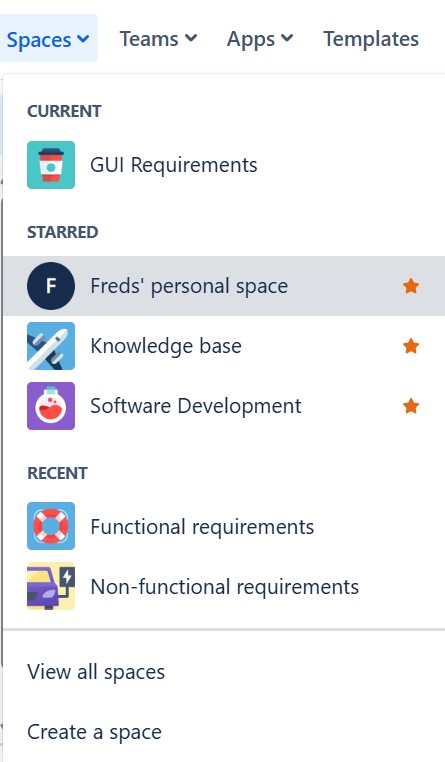
Step 1: Click “Spaces” in the top left menu and then “Create Space”:

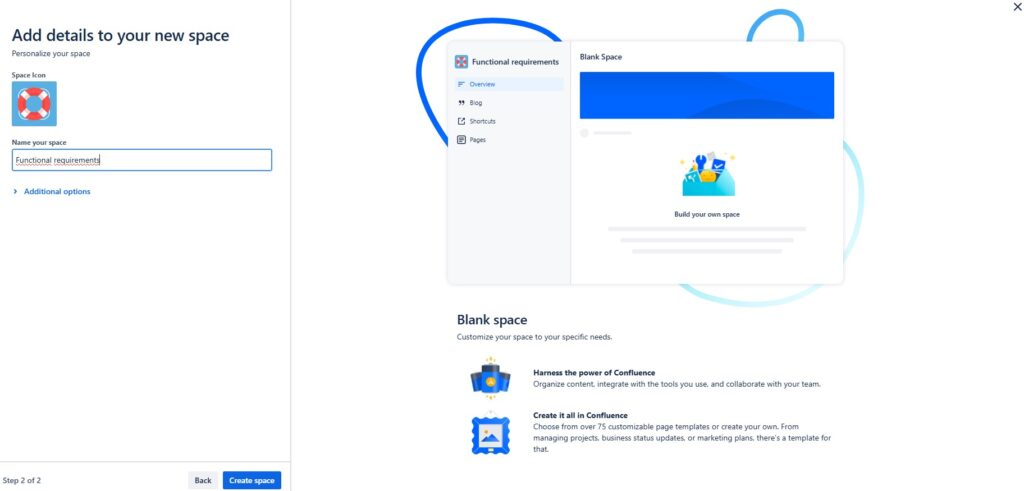
Step 2: select the option “blank”:

Choose a name for your new space and click “Create space”:
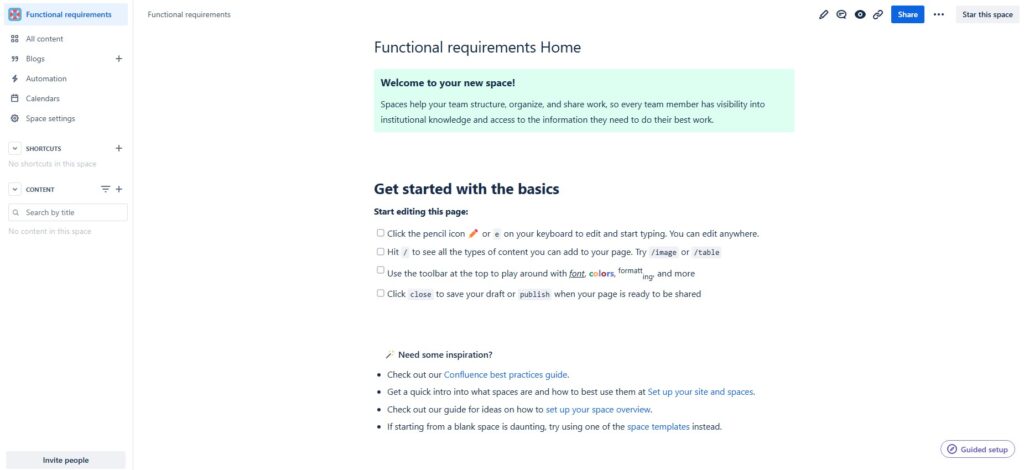
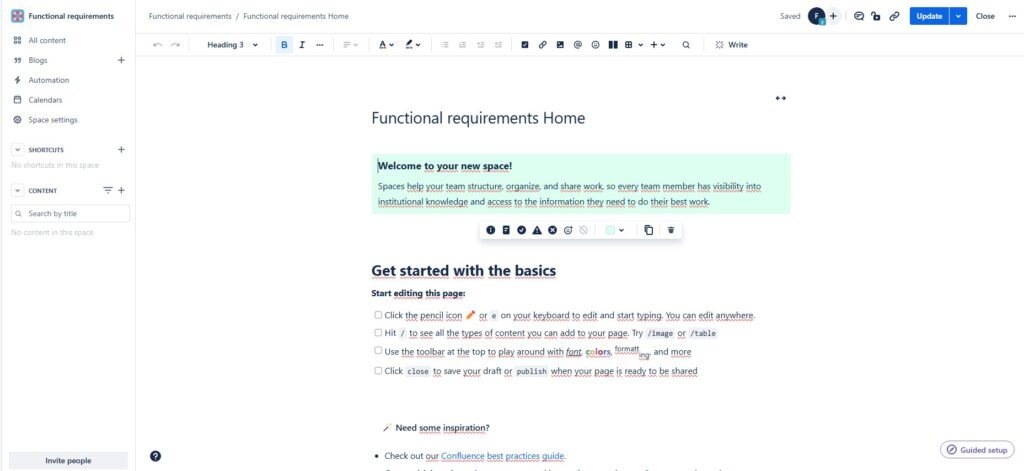
Now you can work in your new space:
If you do not consciously restrict access, all colleagues can see this space. Your space is not accessible outside of your work environment, not even from the Internet.
Edit your Confluence Space
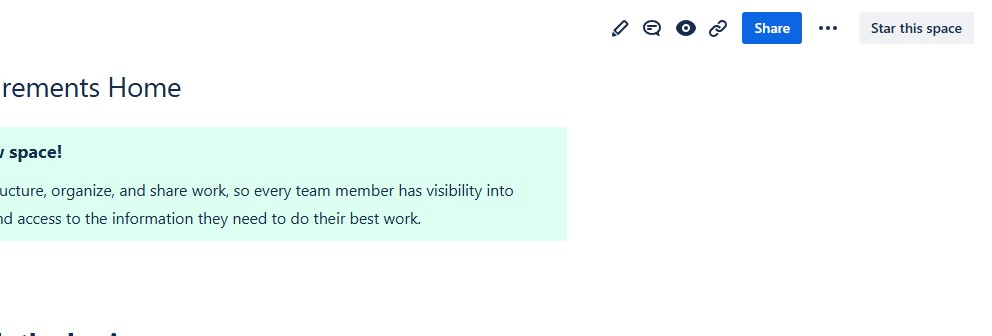
To customize and edit your Confluence Space, click on the pencil icon in the top right corner of the bar. You can also use the keyboard shortcut and simply press “E” (you can find many powerful keyboard shortcuts on our shortcut page (opens in a new tab)).
In edit mode you can now customize your Confluence Space.
In edit mode, you can now customize your Confluence space. Click “Update” when you are happy with your edits.
Your Personal Space
You can work in a personal space for yourself. The settings are configured so that none of your colleagues have access to the pages and blogs in your personal space. Another benefit is that you can work on drafts without worrying, or keep a loose and unformatted notebook. You don’t have to worry about anyone seeing it.
Step 1: Click on your profile picture in the top right. Or on your icon if you haven’t uploaded a photo yet.
Step 2: Click on “Add personal space…”. In the future you will find your access to your “Personal Space” here.

Step 3: Give your personal room a name and click “Create”.

Welcome to your personal space!
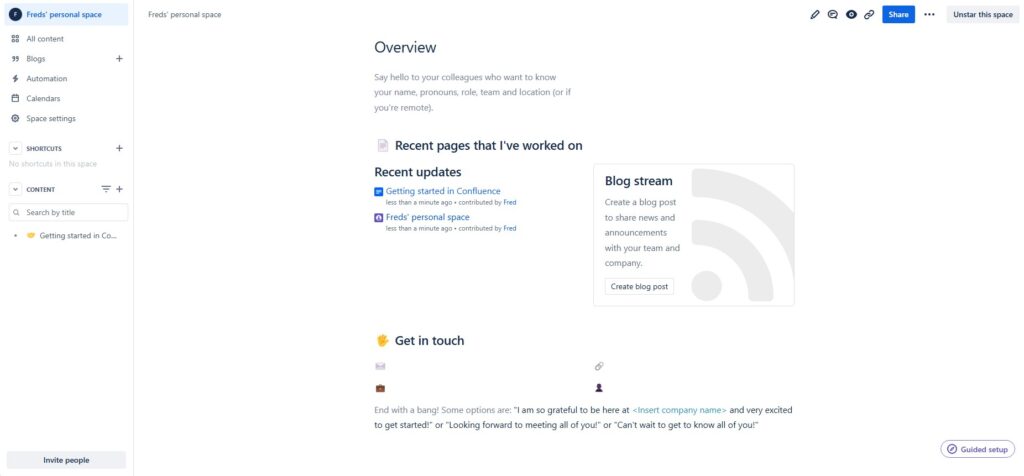
You can now edit and design your personal room like any other room.
Archive and Delete your Spaces
If you no longer need your space, you can delete or archive it. If you delete your space, it is gone and cannot be restored (after a short period). Archiving just means that it is stored in an archive and is no longer visible to you.
Deleting
To delete, follow these steps:
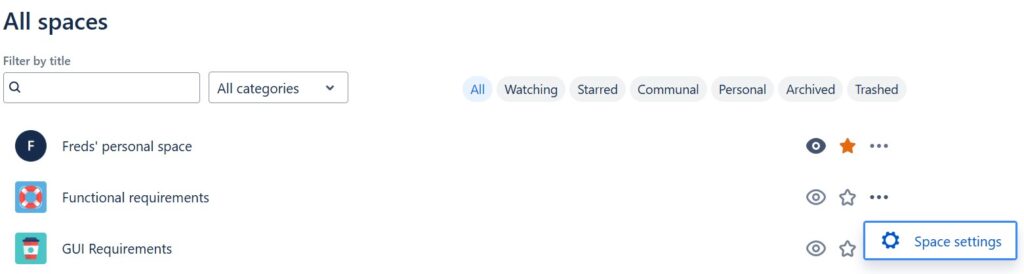
Step 1: Navigate to “Spaces” in the top right menu. Click “View all Spaces”:
Step 2: Click on the three dots on the right of the space you want to delete. “More Options” opens the way to “Space Settings”
Alternatively, go directly to the space you want to delete and navigate to “Space settings” in the left row.

Step 3: Click “Send space to trash”.

Step 4: In the next step you have to decide to actually delete it. Click on “Send this space to trash”.
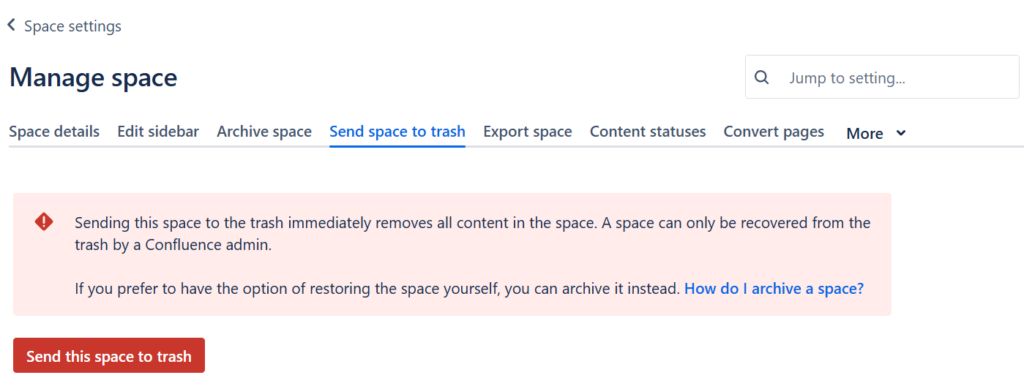
Step 5: Finally confirm with “Send to trash”.

Archive
Steps 1 to 3 are the same as for deletion. In the Space settings in step 4 click “Archive space”.
Step 4: Click on “Archive space” again.
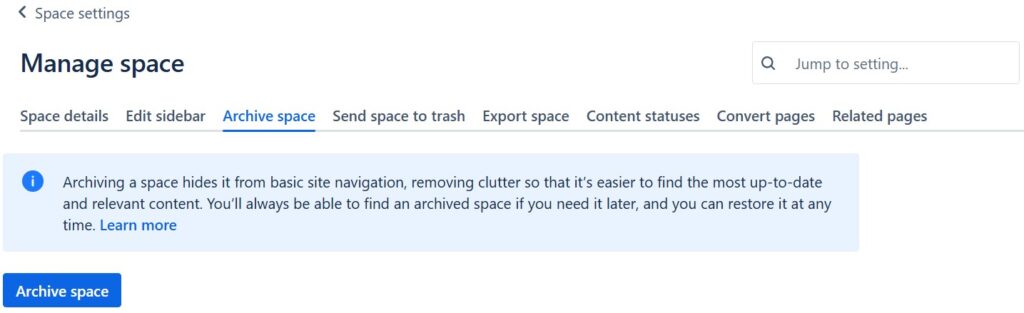
Step 5: In the last step you confirm the archiving again.

Conclusions
In conclusion, Spaces in Confluence are essential for fostering collaboration, organization, and efficiency within teams. By leveraging their robust features, users can create a centralized hub for all project-related information. Implementing best practices in managing Spaces not only enhances productivity but also promotes a culture of knowledge sharing and continuous improvement. As you explore and utilize Spaces, you’ll discover the full potential of Confluence in driving your team’s success. I hope this introduction to Confluence Spaces takes you one step further.
what’s Next?!
Now that you understand what Confluence is and how it supports collaboration, let’s make your pages more engaging and visually clear. In my next article, How to Color Text in Confluence: A Quick Guide to Text Color and Highlight Color, I’ll show you how to use colors effectively to emphasize key information and improve readability. Discover how a touch of color can make your Confluence pages both functional and visually appealing.
| Read more about Jira |
|---|
| Exploring the Capabilities of Jira in Project Management Introduction to Issues in Jira Introduction to JIRA Query Language (JQL) Comparison of Confluence & Jira |
| Read more about Requirements Validation |
|---|
| Requirements Validation Checks Requirements Validation Techniques: Ensuring System Success Understanding Requirements Validation and Verification Requirements Inspections: A Crucial Step for High-Quality Software Development |