Object geometry helps me create precise diagrams. I adjust size, position, and shape dimensions when I need a cleaner layout. In this guide, I explain how to change geometry in Draw.io. You’ll learn how geometry settings help you fine-tune objects, improve alignment, and create clearer diagrams with a more professional look.
What is draw.io?
draw.io is a powerful diagramming tool. It allows me to create flowcharts, network diagrams, and organizational charts with ease. With its extensive features, I can quickly manipulate shapes and customize diagrams. One of its essential functions is the ability to change an object’s geometry, which helps in creating structured and visually appealing designs.
Steps to Change Geometry in draw.io
Adjusting an object’s geometry in draw.io is simple. Here’s how I do it:
1. Step: Select the Object
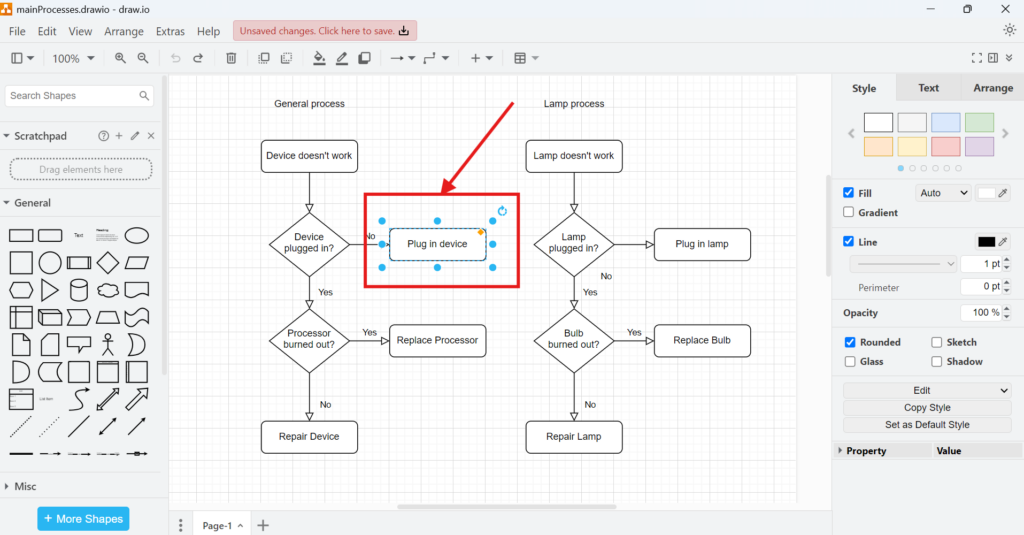
First, I click on the object I want to modify. The selection highlights the shape, making it ready for changes.
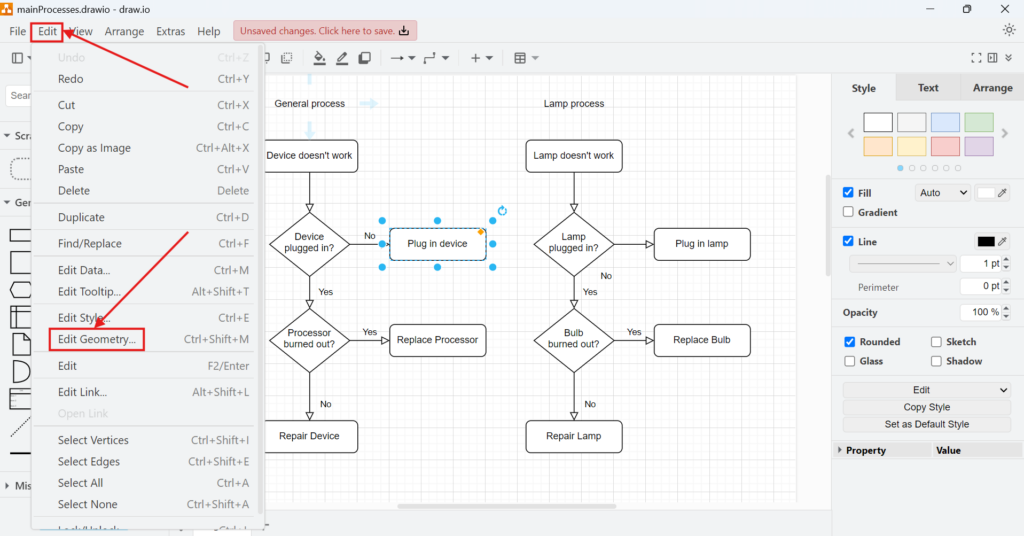
2. Step: Open the Edit Geometry Window
Next, I navigate to the Edit menu at the top. From there, I select Edit Geometry or use the shortcut Ctrl + Shift + M. This shortcut saves time and enhances workflow efficiency.
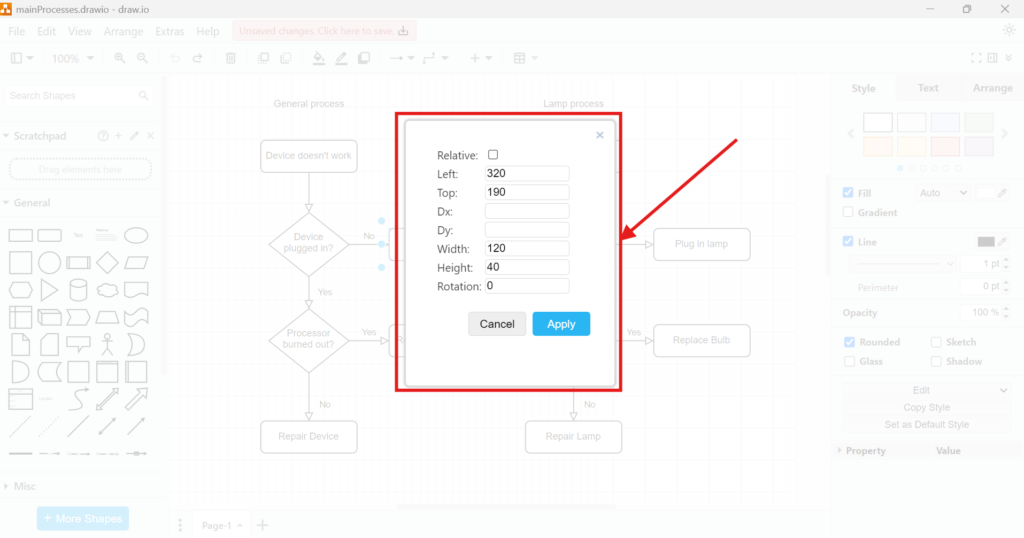
3. Step: Configure Geometry Settings
A new window appears with multiple configuration options:
- Relative Checkbox: Enables proportional adjustments.
- Left (X Position): Adjusts the horizontal placement.
- Top (Y Position): Moves the object vertically.
- Dx (X Offset) and Dy (Y Offset): Fine-tunes object positioning.
- Width and Height: Controls the object’s size.
- Rotation: Changes the angle of the object.
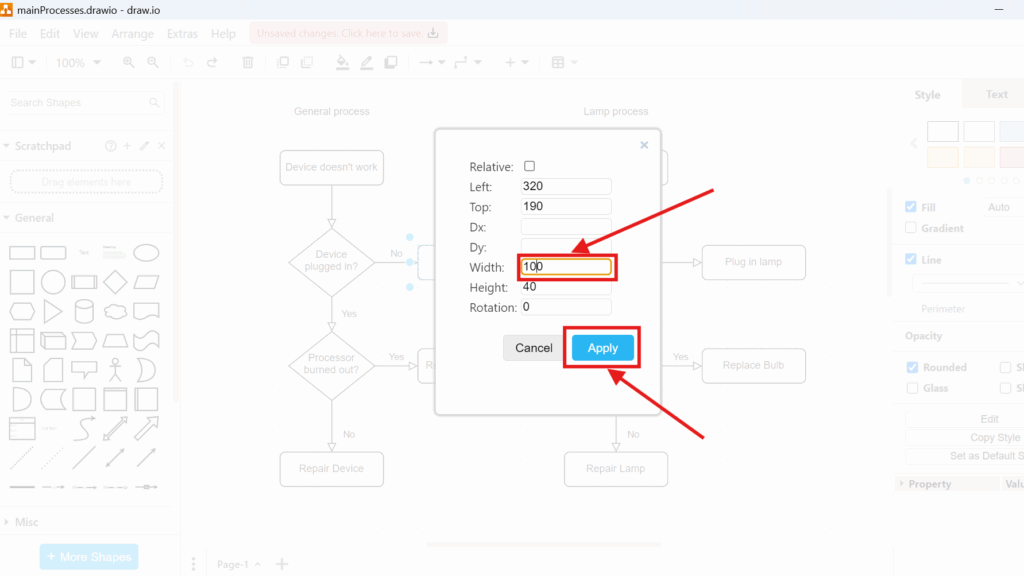
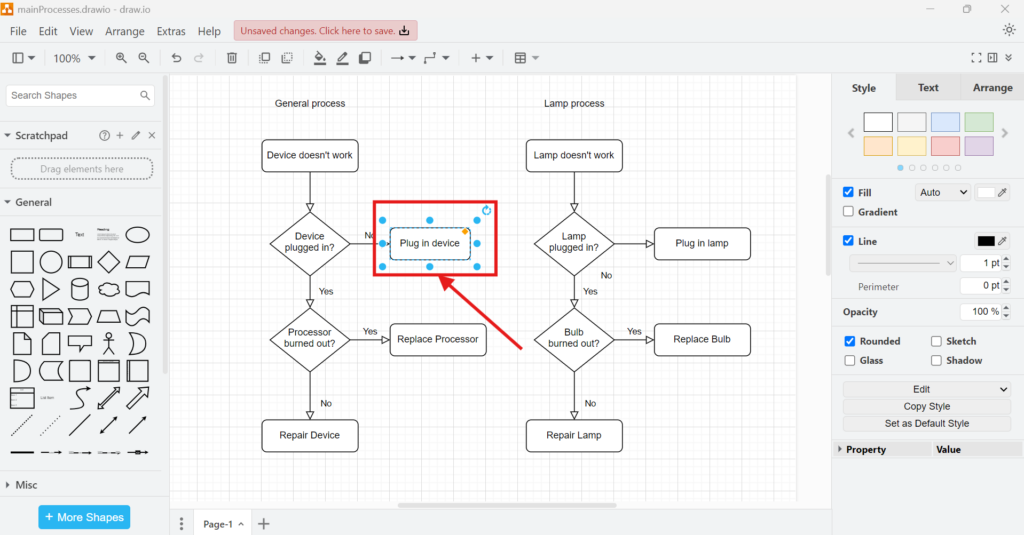
4. Step: Apply Geometry Changes
To demonstrate, I modify an object’s width. Initially, the width is set to 120. I change it to 100 by simply entering the new value.
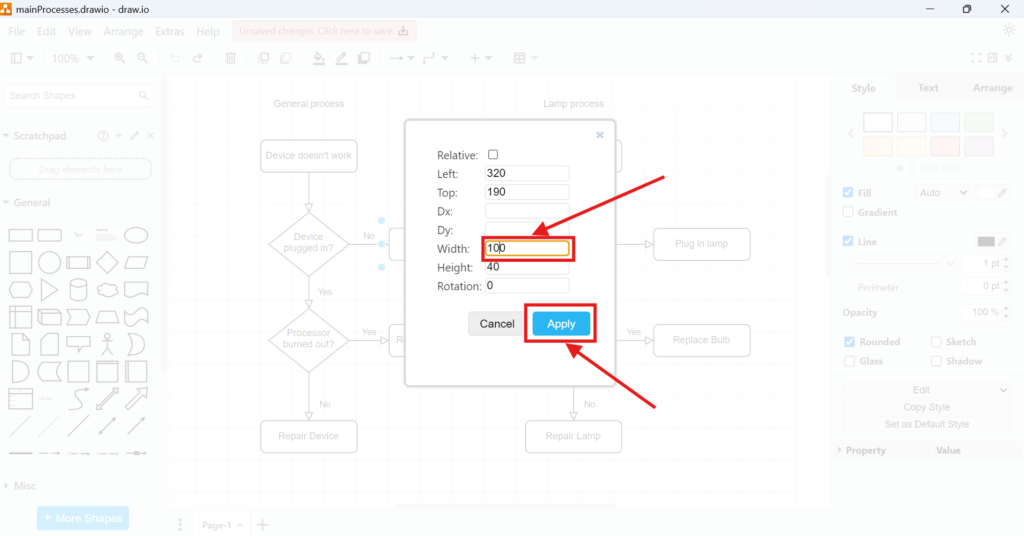
5. Step: After making adjustments, I click Apply, and the object updates immediately.
Business Case: Optimizing Diagram Layouts
Consider a business designing a process flow diagram. If certain steps appear too large or misaligned, the team can refine object sizes using geometry settings. For example, in a project roadmap, resizing milestone markers ensures a balanced layout. By changing geometry in draw.io, businesses create structured visuals that improve clarity and communication.
Final Thoughts
Changing geometry in draw.io enhances the flexibility of diagram creation. Whether resizing elements or repositioning them, I find these features invaluable. With just a few clicks, I can fine-tune objects and maintain a clean, professional layout. For anyone working with diagrams, mastering these settings will improve efficiency and design quality.
What’s Next?
Now that I know how to change geometry in Draw.io, I can control the shape and position of diagram elements more precisely. However, clear diagrams also need clear connections. In the next article, I’ll explain Connection Arrows and Points in draw.io. You’ll learn how arrows, connectors, and connection points help you show relationships between elements. Click below to continue and make your draw.io diagrams easier to follow.
Build Clearer Requirements with the Right Tools
Requirements engineering becomes easier when I use tools that support visual thinking, structured documentation, task management, and process modeling. Therefore, I use draw.io to create diagrams, Confluence to organize knowledge, Jira to manage work, and Camunda to model business processes. Each tool adds clarity to a different part of the workflow. As a result, I can connect ideas, decisions, requirements, and processes more effectively. In the main article on Requirements Engineering Tools, I show how these tools work together and help me create a stronger requirements engineering workflow.