Embedding a diagram on a website should be simple and useful. That is why I explain How to embed an IFrame draw.io diagram in this guide. You’ll learn the step-by-step process, the benefits of iframe embedding, and how this method can improve sharing, presentation, and collaboration in real business use.
What is draw.io?
Draw.io is an intuitive diagramming tool. Thus, it’s perfect for creating flowcharts, organizational charts, network diagrams, and more. The platform offers a seamless way to visualize data and concepts. Whether you’re managing projects or designing workflows, draw.io has you covered. Plus, you can save your diagrams as images or SVG files. But today, we’ll focus on embedding your diagrams as IFrames.
Why Embed a Diagram from draw.io as an IFrame?
Embedding diagrams as IFrames has several advantages. First, it ensures your diagram remains interactive and dynamic. Unlike static images, IFrames allow for zooming and navigating through layers.
Second, it simplifies updates. If you edit your diagram in draw.io, the changes reflect automatically on your site. No need to re-upload files—a real time-saver. Lastly, embedding via IFrame enhances user experience by maintaining high-quality visuals and interactive features.
Step-by-step guide
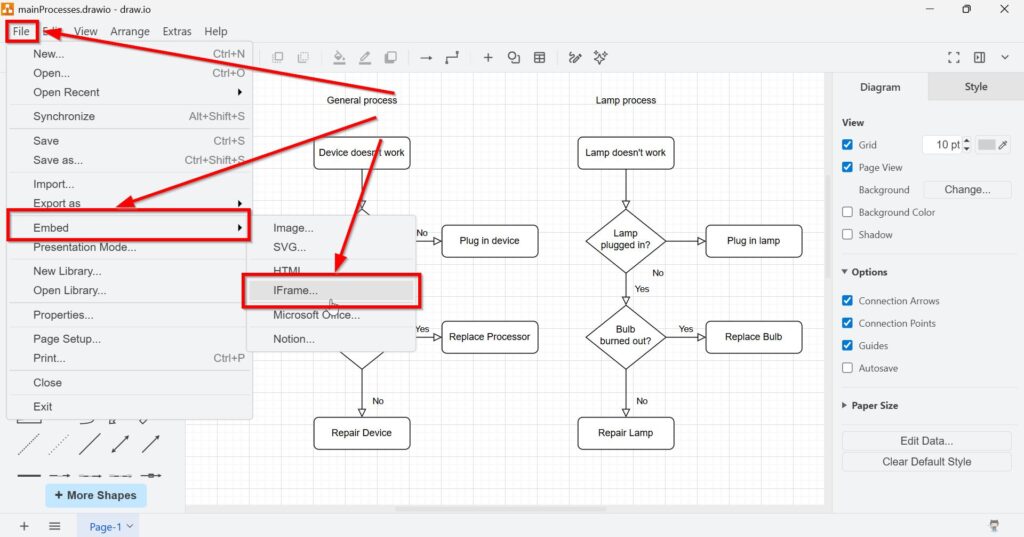
1. Step: Export the Diagram as IFrame Code. Click File > Embed and select IFrame.
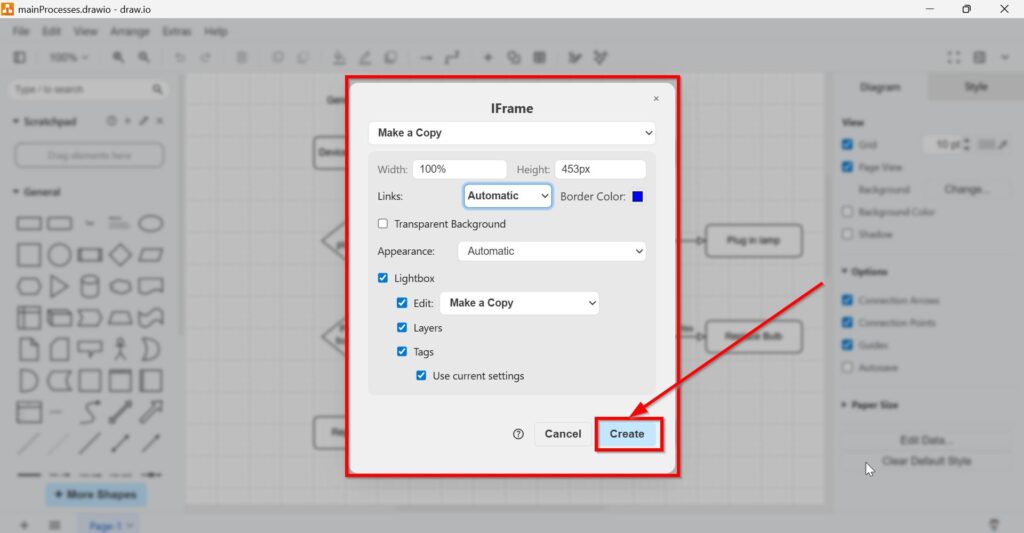
2. Step: Choose from the following configurations and customize them as needed:
Access Mode:
At first at the top of the IFrame dialog, you can choose how viewers should access the embedded diagram. The available options shown are:
“Make a Copy”: Viewers can open the diagram and create their own copy.
“Authorization required”: Access is restricted and requires authorization.
“Public URL of the diagram (Diagram is not public)”: This option refers to a public URL of the diagram. In the screenshot, it is shown together with the note that the diagram is not public.
Dimensions:
You can define the size of the embedded diagram directly in the dialog.
Width: Sets the horizontal size of the IFrame. In the example, it is set to 100%.
Height: Sets the vertical size of the IFrame. In the example, it is set to 453px.
Link Behavior:
The Links setting controls how links inside the embedded diagram behave. The visible options are:
“Automatic”: Uses the default behavior.
“Open in New Window”: Opens diagram links in a new browser window or tab.
“Open in This Window”: Opens diagram links in the current browser window.
Border Color:
You can define a Border Color for the embedded diagram. In the example, a blue border color is selected.
Transparent Background:
If Transparent Background is enabled, the embedded diagram is shown without a solid background. This can help the diagram blend better into the surrounding page design.
Appearance:
The Appearance setting controls the visual theme of the embedded diagram. Hence, the visible options are:
“Light”: Uses a light appearance.
“Dark”: Uses a dark appearance.
“Automatic”: Uses the default appearance automatically.
Lightbox
The Lightbox option is enabled in the example. This allows viewers to open the embedded diagram in a larger overlay view.
Edit Option:
Inside the Lightbox settings, the Edit option is enabled. The visible options are:
“Make a Copy”: Lets viewers create their own editable copy of the diagram.
“Custom…”: Opens an additional dialog where a URL can be entered manually.
Custom URL Dialog:
If “Custom…” is selected in the Edit setting, an extra dialog appears with a URL input field. There, you can enter a custom link manually. The dialog provides OK and Cancel buttons.
Layers:
The Layers option is enabled in the example. This allows the embedded diagram or lightbox view to include access to diagram layers.
Tags:
The Tags option is also enabled. This makes tags available for the embedded diagram.
Use current settings:
The option Use current settings is checked in the example. This means the embed uses the current diagram settings already defined in draw.io.
Create Button:
After configuring all settings, click Create to generate the IFrame code.
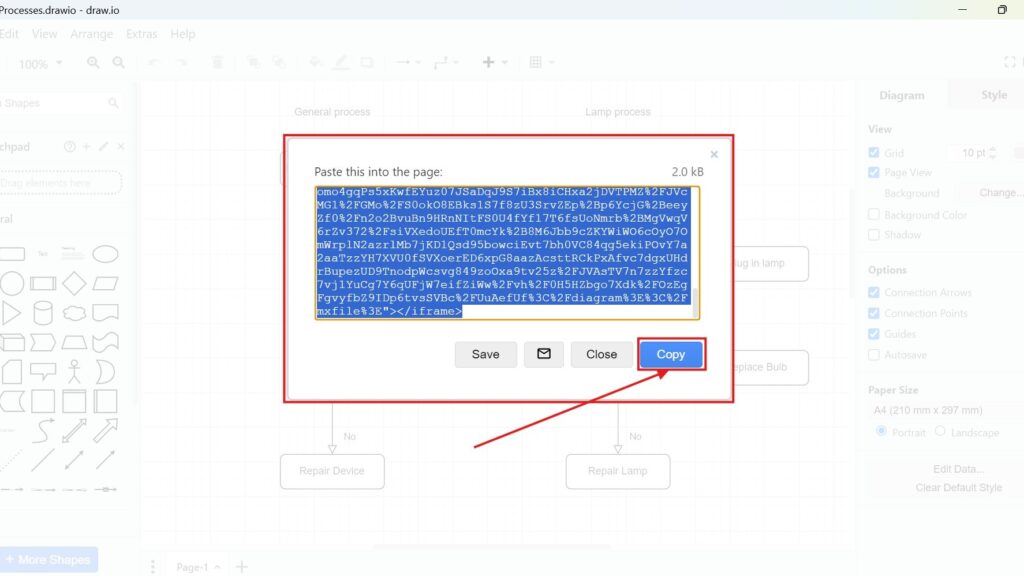
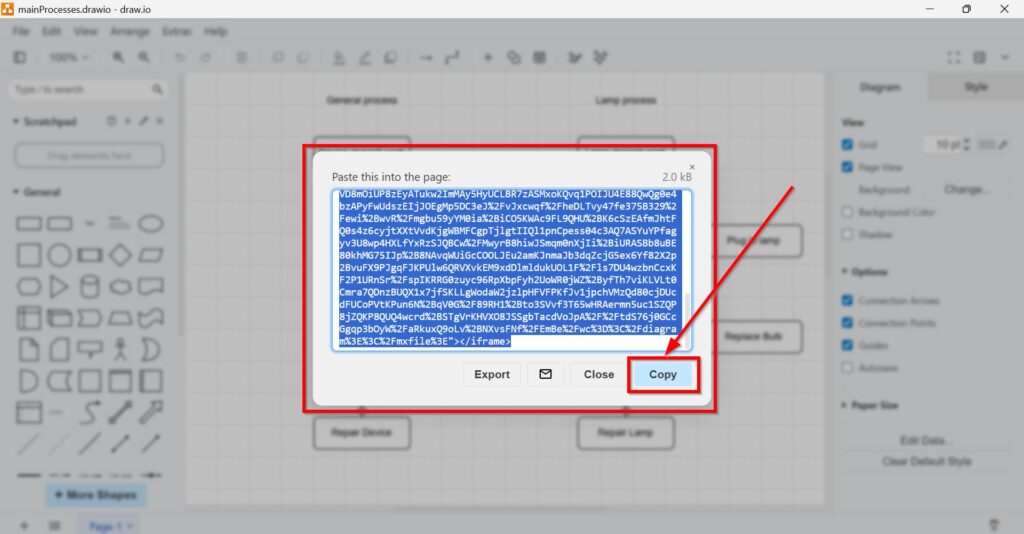
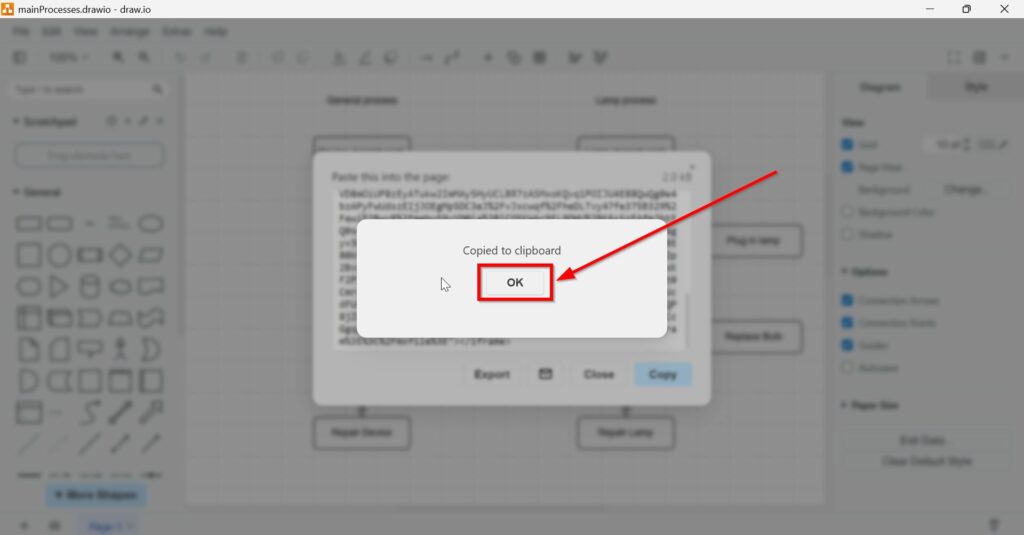
3. Step: Copy the IFrame Code
Once you finalize the settings, the tool generates the IFrame code. Click “Copy” to save it to your clipboard.
4. Step: Embed in Your Website
Paste the IFrame code directly into the HTML of your web page. For simplicity, I use a raw HTML page here during testing. This ensures I can tweak the code as needed without other elements interfering.


Business case example
Here’s a practical business case: Imagine e.g. a project manager designing a workflow diagram for a team’s quarterly goals. By embedding the diagram as an IFrame, the manager ensures team members always see the latest version, complete with interactive elements for exploring individual tasks. Thus, it saves time, reduces confusion, and keeps everyone aligned.
Final Thoughts
In conclusion, embedding an IFrame draw.io diagram is a straightforward process. Therefore, it brings interactivity, flexibility, and efficiency to your website. With just a few clicks, you can enhance user engagement and streamline updates. If you haven’t tried it yet, now’s the time to experiment with embedding diagrams. It’s a game-changer for web content.
What’s Next
If I want to use draw.io diagrams even more effectively, the next step is to bring them directly into my daily Office workflow. That is why learning how to add the draw.io add-on to Microsoft Office makes so much sense. It helps me work with diagrams inside familiar tools like Word, PowerPoint, and Excel. In the next guide How to Add the draw.io Add-on to Your Microsoft Office Apps, I show exactly how to set this up and start using it in practice.
Explore Requirements Engineering Tools in Practice
Requirements engineering becomes clearer when I use tools that support visual thinking, documentation, coordination, and process modeling. Therefore, I use draw.io to create diagrams, Confluence to structure knowledge, Jira to manage requirements-related work, and Camunda to model business processes. Each tool supports a different part of the workflow. As a result, I can connect ideas, decisions, tasks, and processes more effectively. In the main article on Requirements Engineering Tools, I show how these tools work together and help me build a stronger requirements engineering process.
| Read mora about draw.io |
|---|
| Import PNG Export JPEG Export WebP Export SVG Export |