Diagrams make documents easier to understand. That is why I use draw.io directly in Word when I want clear visuals inside my text. In this guide, I explain How to use the draw.io in Microsoft Office Word. You’ll learn how it supports better documentation, faster diagram editing, and clearer communication inside your Office workflow.
What is draw.io?
Draw.io is an intuitive diagramming tool. It allows you to create flowcharts, organizational charts, and technical diagrams effortlessly. Whether you’re drafting a process flow or visualizing data, this tool makes it simple. It’s free to use, versatile, and integrates seamlessly with applications like Microsoft Word.
For example, imagine you’re preparing a report. Instead of inserting static images, you can create and edit diagrams directly within Word. This ensures your visuals remain sharp and consistent with your document’s design.
Why Use draw.io in Microsoft Office Word?
Integrating draw.io into Word can save time and improve your workflow. First, it’s convenient. You don’t need to switch between apps to design visuals. Second, it’s efficient. Changes made to diagrams within Word are instant. Lastly, it’s collaborative. Your diagrams can be shared and edited easily by others.
For instance, if you’re writing a project proposal, adding a diagram can clarify complex ideas. A clear flowchart can illustrate dependencies between tasks. This makes your document more engaging and easier to follow. Using draw.io in Word ensures that diagrams enhance, rather than disrupt, the reader’s experience.
Step-by-Step Guide to Using draw.io in Microsoft Word
Here’s how to use the draw.io add-on in Microsoft Office Word:
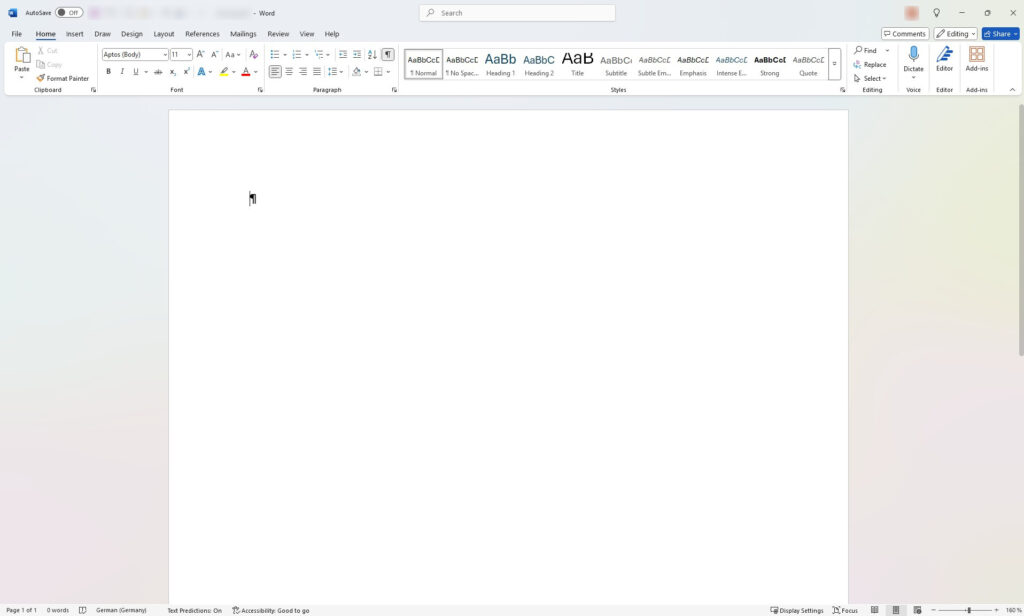
1. Step: Open a Blank Word Document: Start by creating a new document.
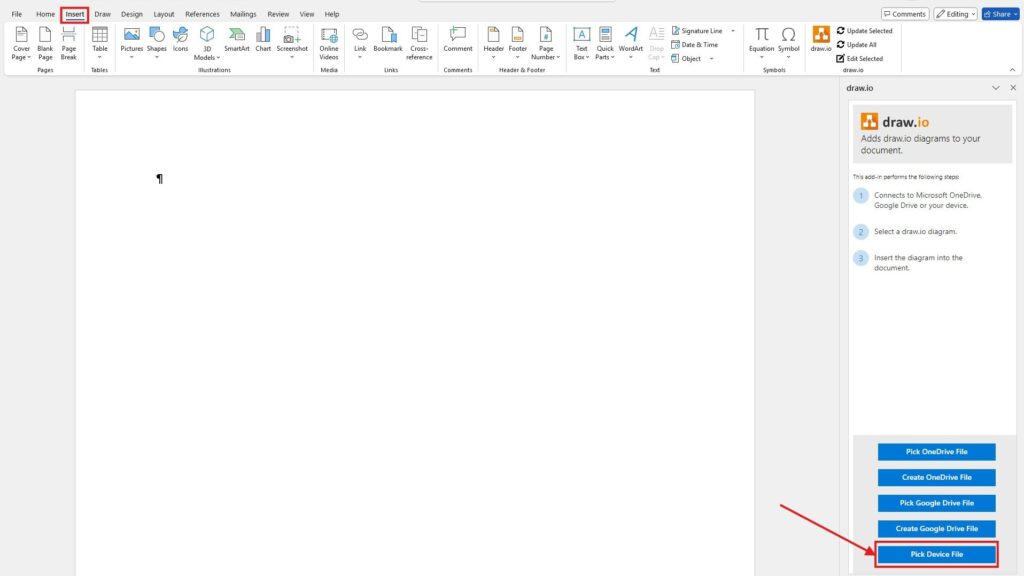
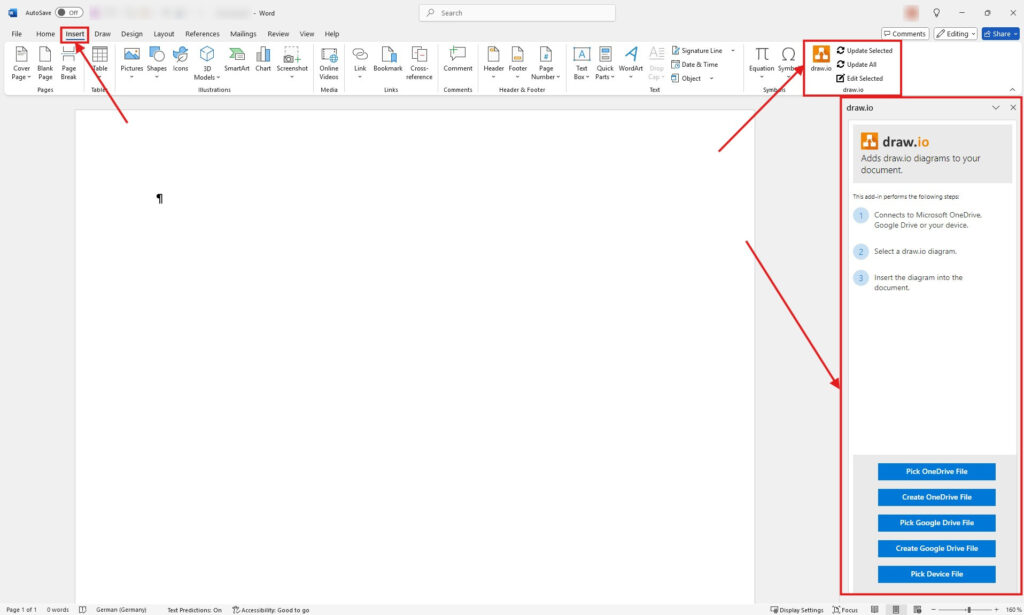
2. Step: Navigate to the Insert Tab: Go to the “Insert” tab and find the draw.io section. If you haven’t installed draw.io, follow the setup guide provided in this article (opens in new tab). The draw.io pane will appear on the right-hand side. From here, you can select various options.
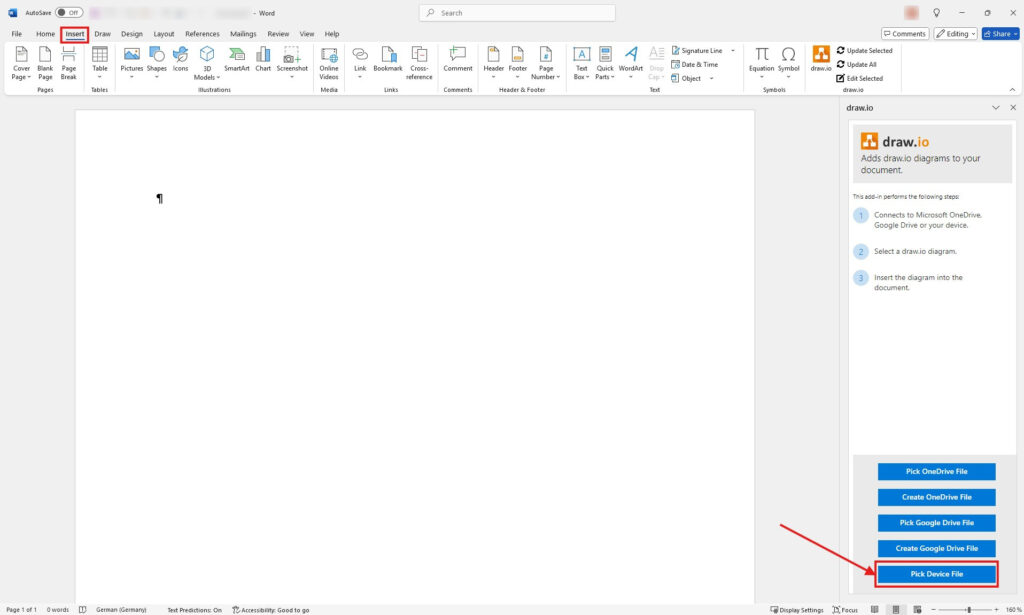
3. Step: Choose Your Diagram File: Click “Pick device file” to upload a diagram file from your computer.

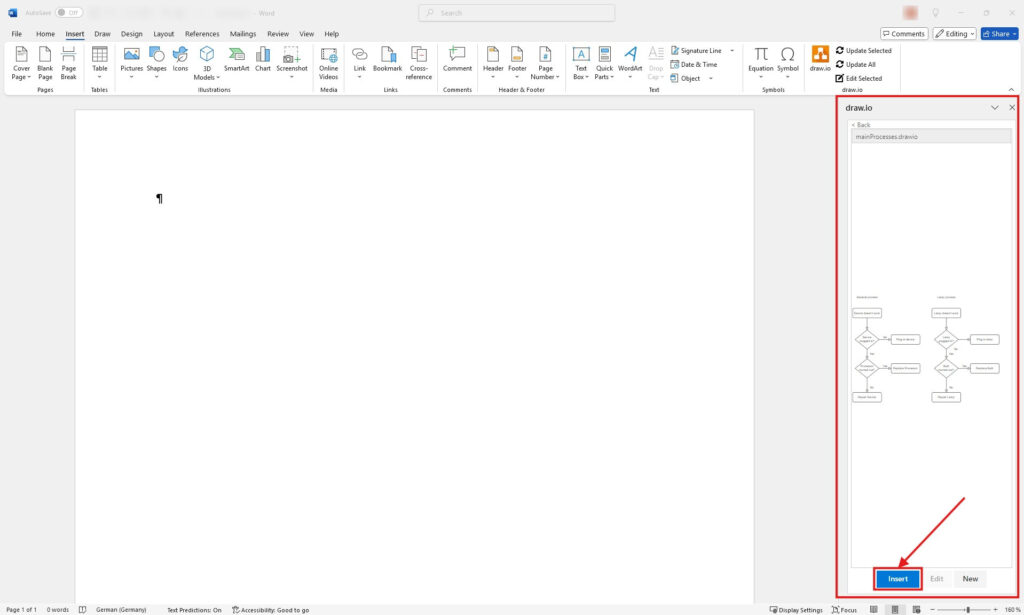
4. Step: Preview Your Diagram: A preview of the diagram will appear. Review it and make any necessary adjustments. Click “Insert” to add the diagram directly into your Word document.
5. Step: Edit and Finalize: Once the diagram is in your document, you can resize, reposition, or tweak it as needed.

With these steps, you’ll have a polished diagram ready to complement your text. The process is straightforward and boosts your productivity.
Final Thoughts
Using draw.io in Microsoft Word is a smart way to enhance your documents. I’ve found it to be a reliable tool for creating detailed visuals quickly. Whether you’re working on a presentation, report, or project plan, this integration saves time and ensures your work looks professional.
Now that you know how to use the draw.io in Microsoft Office Word, why not try it today? With its easy integration and powerful features, it’s the perfect tool for anyone looking to create impactful diagrams. Go ahead, install the add-on, and elevate your Word documents.
What’s Next?
Now that I know how to use draw.io in Microsoft Office Word, I can also connect diagrams with other knowledge tools. Word helps me create structured documents, but Notion can help me organize linked knowledge and project pages. In the next article, I’ll explain How to Use Links to Notion Draw.io Diagrams. You’ll learn how diagram links support better access, clearer documentation, and smoother collaboration. Click below to continue and connect draw.io diagrams with Notion.
Strengthen Requirements Work with the Right Tools
Requirements engineering becomes clearer when I use tools that support visual thinking, documentation, coordination, and process modeling. Therefore, I use draw.io to create diagrams, Confluence to organize knowledge, Jira to manage requirements-related work, and Camunda to model business processes. Each tool helps me structure a different part of the workflow. As a result, I can connect ideas, decisions, tasks, and processes more effectively. In the main article on Requirements Engineering Tools, I show how these tools work together and help me build a stronger requirements engineering workflow.