Confluence is a powerful tool for collaboration and documentation, but customizing page styles can sometimes be challenging. One common need is learning how to change headings in Confluence to improve structure and readability. In this guide, I’ll show you simple steps to adjust heading levels and apply consistent formatting. Mastering this skill will help you organize content more effectively and create professional, easy-to-navigate Confluence pages.
What is Confluence
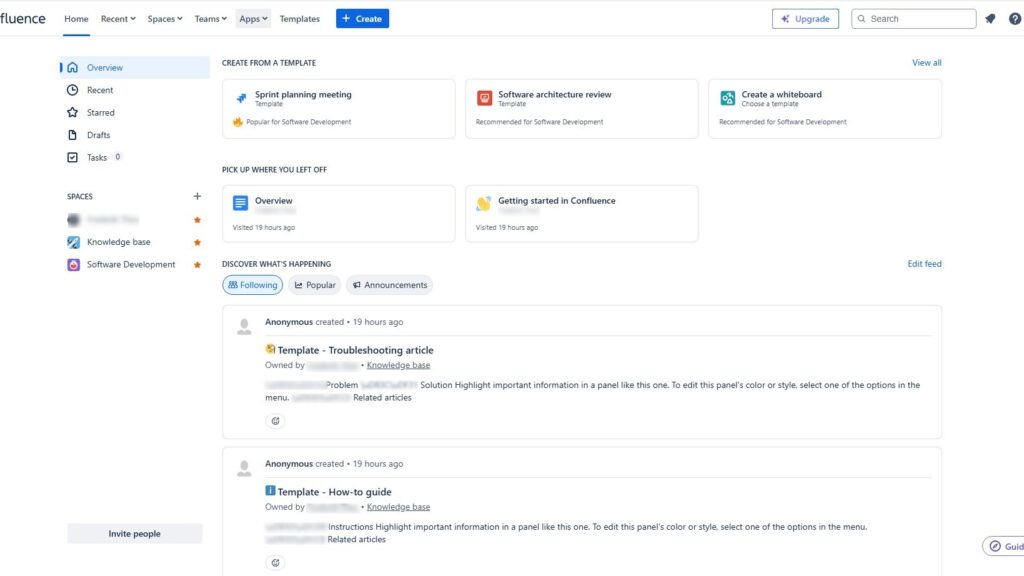
Confluence is an online platform designed to help teams collaborate, document, and manage knowledge efficiently. It allows users to create pages, share updates, and organize information within structured spaces. Whether you’re managing projects, writing documentation, or tracking ideas, Confluence keeps everything connected in one place. Its intuitive interface and real-time collaboration features make teamwork smoother and information easier to find and maintain.
Step-by-Step Guide to Changing Headings
Below we will show you step by step how to change your headings on your Confluence pages, blogs and spaces. Learn how to use headings quickly.
Access the Editor
Access the Editor and open the Confluence page you wish to edit. Click the “Edit” button to access the editor.

Select the Heading
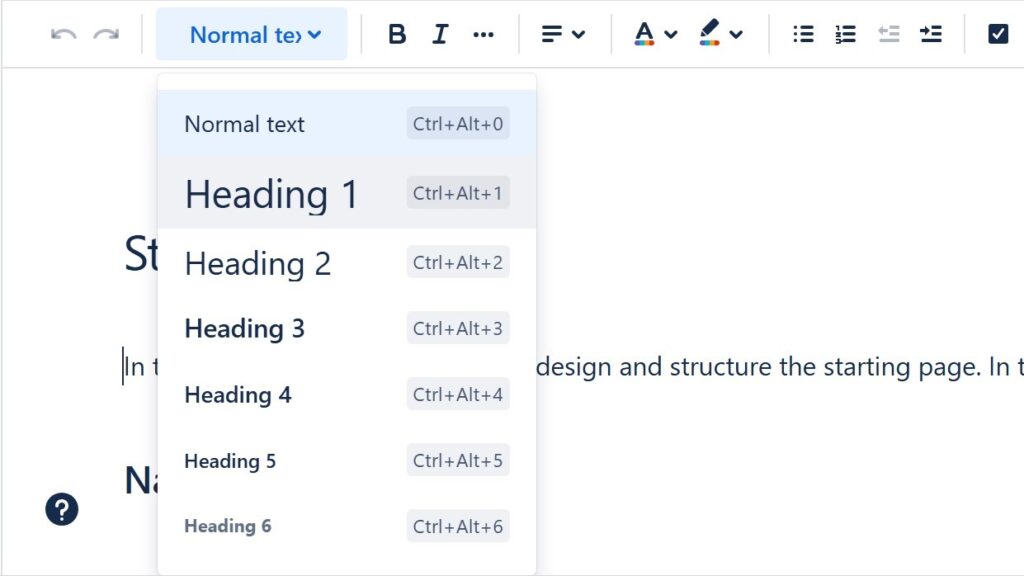
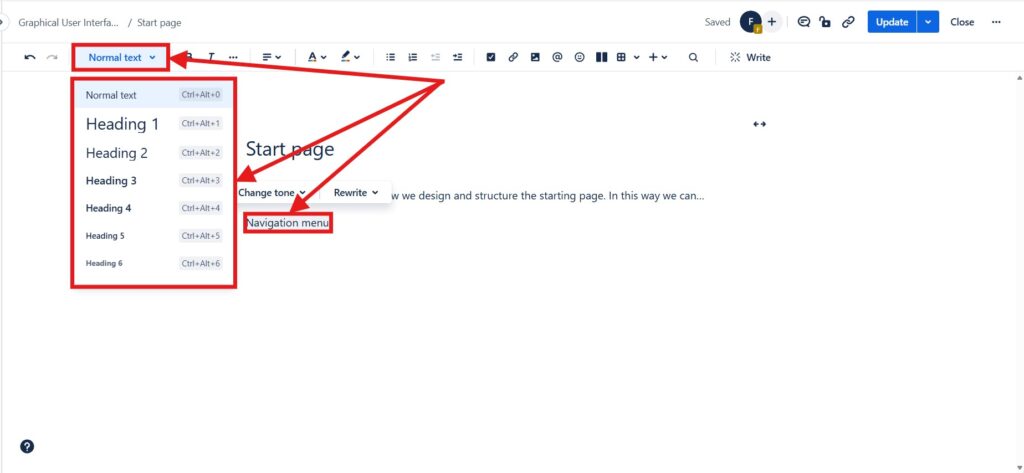
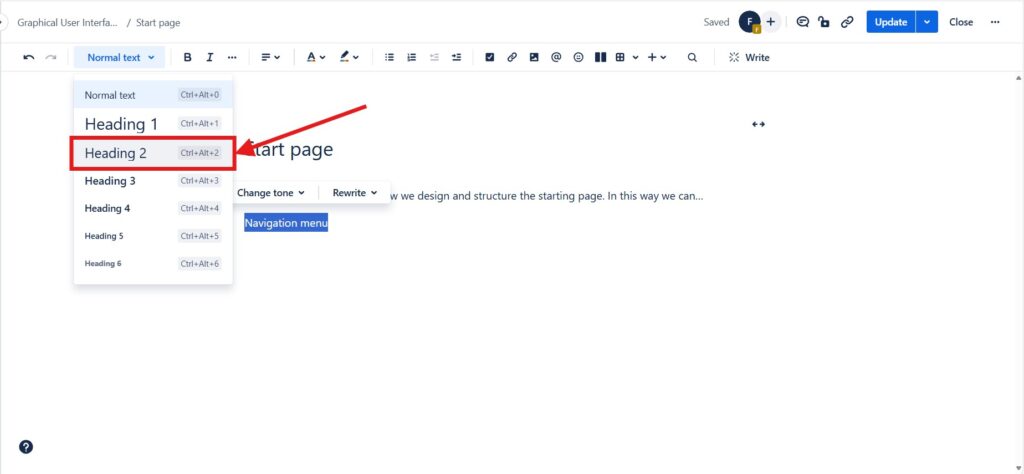
Highlight the text you want to change into a heading. In the toolbar, click the dropdown menu that shows the current text style (usually “Paragraph”).
Choose the Heading Level
Select the desired heading level (H1, H2, H3, etc.) from the dropdown menu. This will change your selected text into a heading.
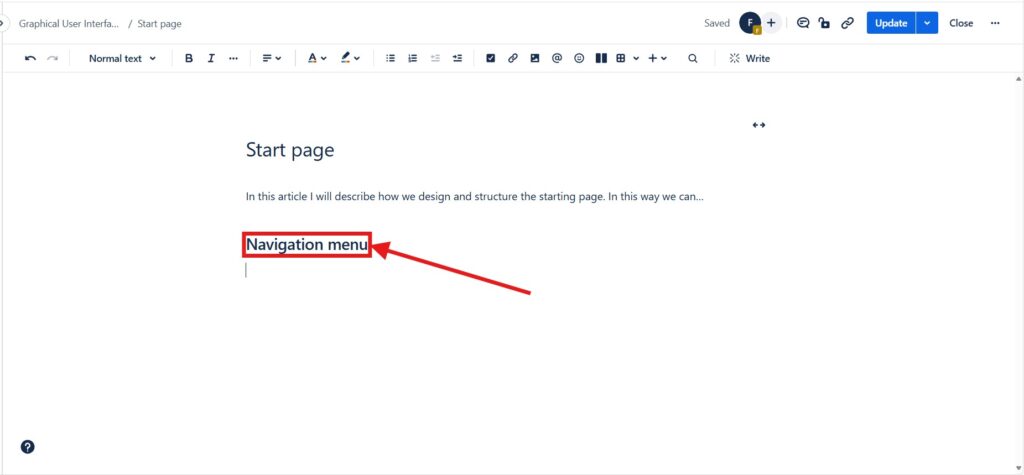
After clicking, the heading is already formatted in the editor.
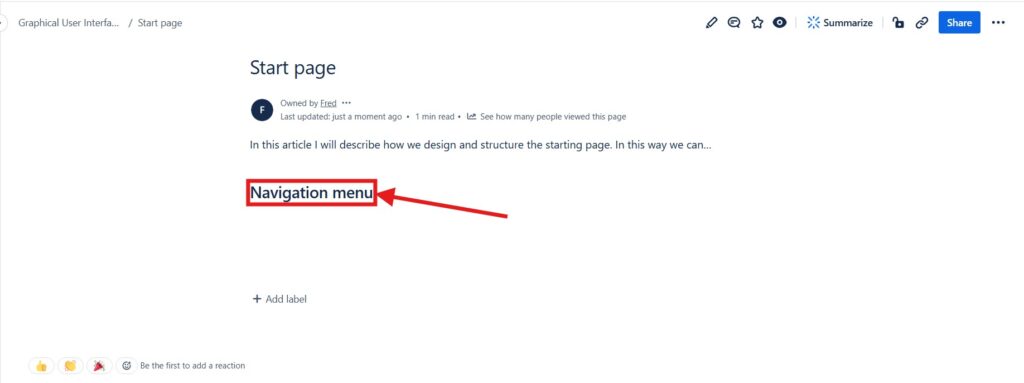
Click “Update” and get the result published.
Conclusion
Change headings in confluence is simple as using the built-in editor. Whether you’re a regular user or an admin: these steps will help you tailor the appearance of your documentation to better suit your needs.
Use headings to make your texts easier to read and understand. Have fun!
What’s Next?!
Now that you understand what Confluence is and how it helps teams collaborate and stay organized, it’s time to learn how to manage your content efficiently. In my next article, How to Delete a Page in Confluence: A Step-by-Step Guide, I’ll walk you through the exact process of removing old or unnecessary pages safely. Discover how proper content maintenance keeps your workspace clean, structured, and easy to navigate for everyone.
| Read more about Confluence and How to |
|---|
| Create a Space in Confluence Access Confluence and Jira for free Use shortcuts in Confluence Assign a task in Confluence Create a Confluence space from a template |


