When I work on complex diagrams, I often need to separate different elements into clear sections. That is when I use page tabs in draw.io. They help me organize my work and keep everything accessible within a single file. But many people do not know how to add and use a new page tab in draw.io efficiently. So, I want to share the steps and explain why this feature can improve your workflow.
What is draw.io
draw.io is a powerful diagramming tool. I use it to create flowcharts, network diagrams, mind maps, and much more. It allows me to save, open, and work on diagrams quickly. Best of all, it lets me keep multiple tabs with different grids in one file. This saves time and keeps my workspace tidy.
What Are Page Tabs in draw.io
Page tabs in draw.io work like tabs in a web browser. Each tab represents a separate page within the same file. I can switch between diagrams or sections of the same project by clicking on different tabs. When I work on multi-part diagrams, page tabs keep my ideas structured and easy to navigate.
How to Add and Use a New Page Tab in draw.io
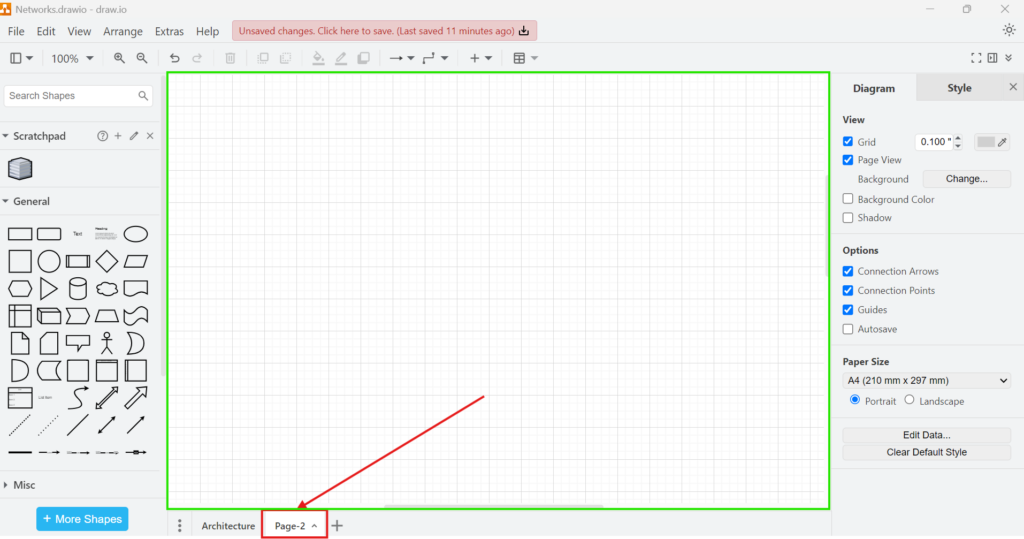
First, I open my diagram in draw.io. Sometimes, I do not see the page tabs at the bottom. When that happens, I go to the top menu bar. I click on “View.” Then, I select “Page Tabs.” A check mark appears next to it.
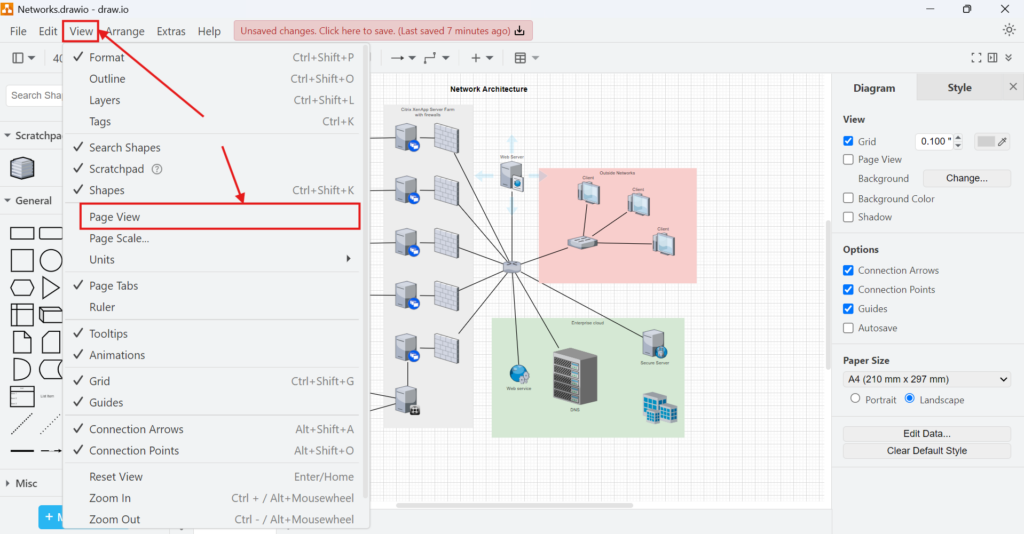
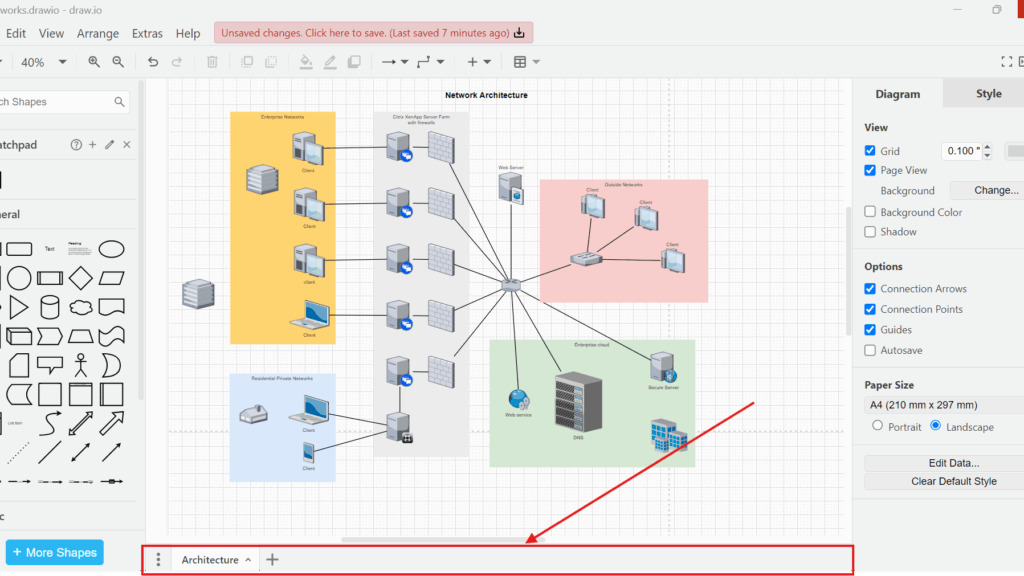
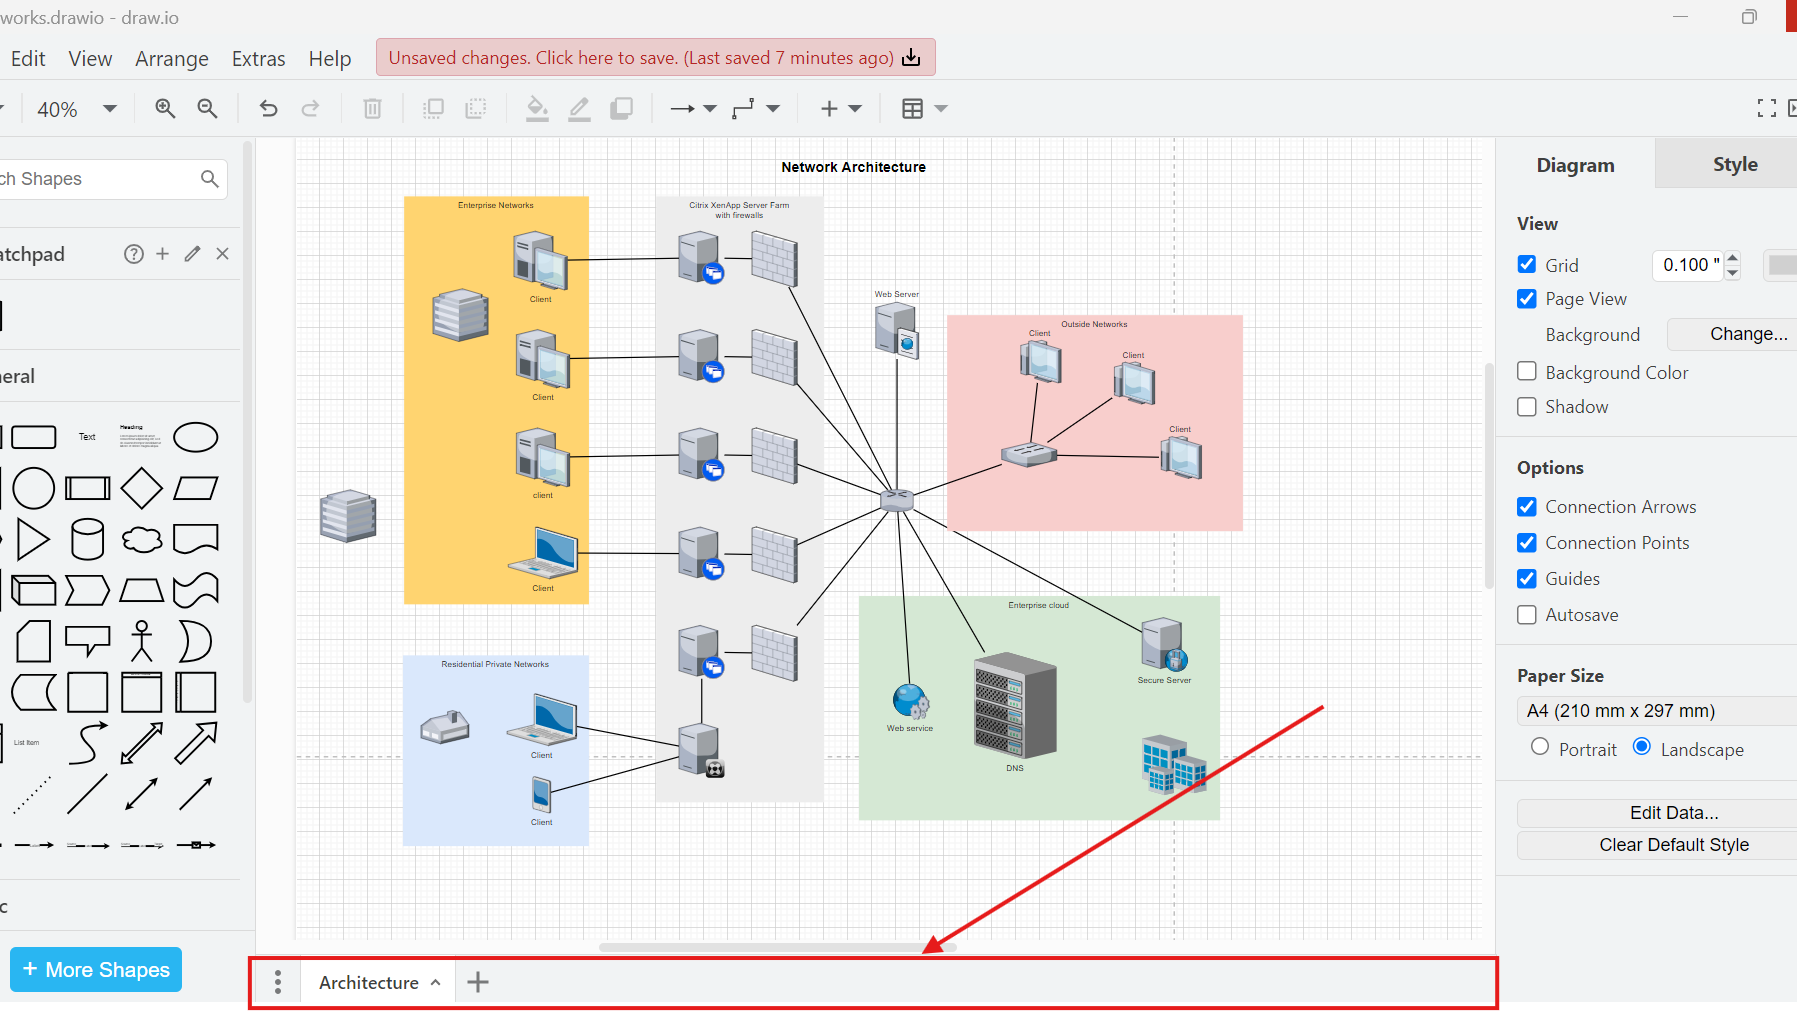
Right after that, the page tab bar shows up at the bottom of the grid.
Next, I want to add a new tab. I look at the page tab bar, see a plus sign (+) next to the current tab or at the far right. Then I click on it.
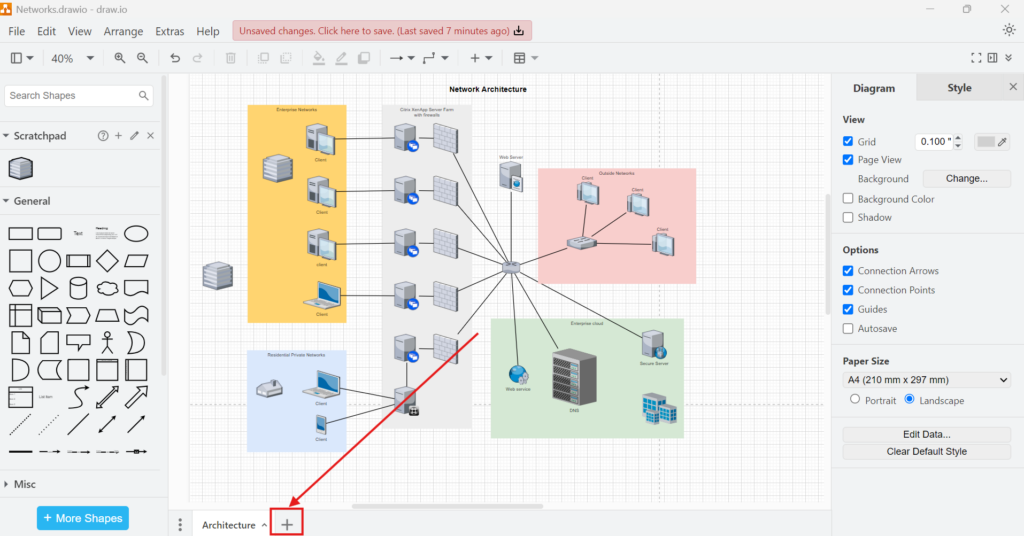
Instantly, a new tab appears. It holds a fresh grid where I can start working on a different part of my diagram.
Example Use Case: Project Planning Diagram
Let me explain this with a business case. Imagine I plan a complex project for a client. I need to show the project phases, task dependencies, and resource allocation.
Phase 1: I create the first tab. I name it “Project Timeline.” Here, I map out the project phases from start to finish.
Phase 2: I need to show task dependencies in detail. I add a new page tab. I name it “Task Dependencies.” On this grid, I create a dependency chart showing which tasks rely on others.
Phase 3: I focus on resources. I click the plus sign and create another page tab called “Resource Plan.” Here, I plot resource assignments for each phase and task.
Switching between tabs lets me see the whole project without juggling multiple files. Everything stays in one place. I save time and avoid confusion.
Benefits of Using Page Tabs
Firstly, I keep related diagrams together. When I work on a business process, I often need several views. Page tabs let me link them within one file.
Secondly, I improve collaboration. When I share a file with my team, they see all tabs. They understand the project better because everything is connected.
Finally, I stay organized. Instead of searching through different files, I open one document. I switch between tabs and focus on the work.
Final Thoughts
I find page tabs in draw.io invaluable. They help me manage complex diagrams with ease. When I need different views or break down projects into parts, tabs keep me organized. So, knowing how to add and use a new page tab in draw.io saves time and boosts productivity. If you create detailed diagrams like me, this feature will transform your workflow.