Efficiency matters when I create diagrams. In this article, I explain How to Cut, Copy, Paste and Delete in draw.io. You’ll learn how to move, reuse, duplicate, and remove diagram elements with confidence. As a result, you can build workflows, flowcharts, and system diagrams faster and with less effort.
Why these commands matter
Cut, Copy, Paste, and Delete are simple commands. However, they make diagram editing much faster.
I use them when I restructure a diagram. I also use them when I reuse formatted shapes. In addition, I use them when I remove content that no longer helps the reader.
These commands help me edit a diagram without rebuilding it from scratch.
Cut in draw.io
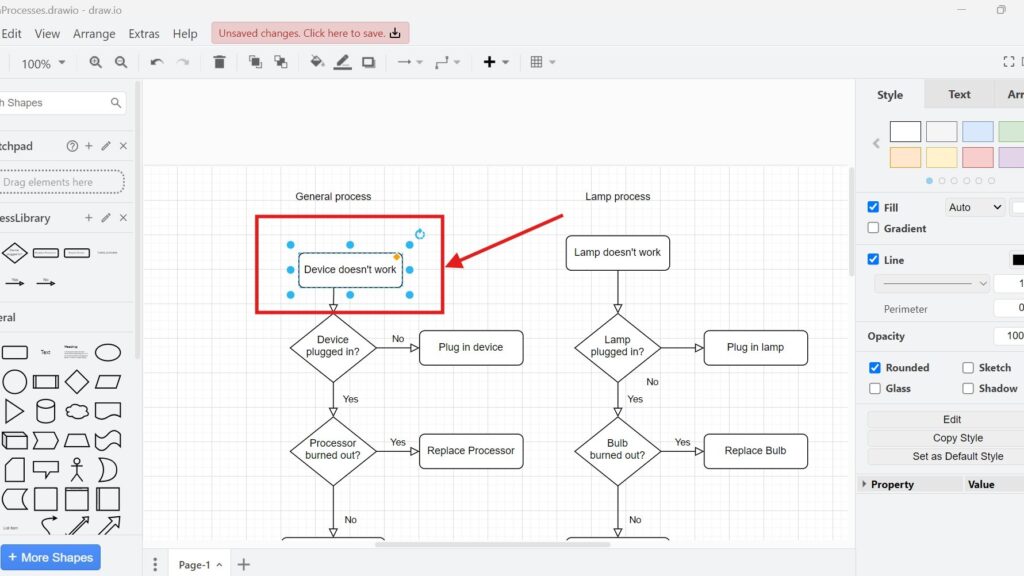
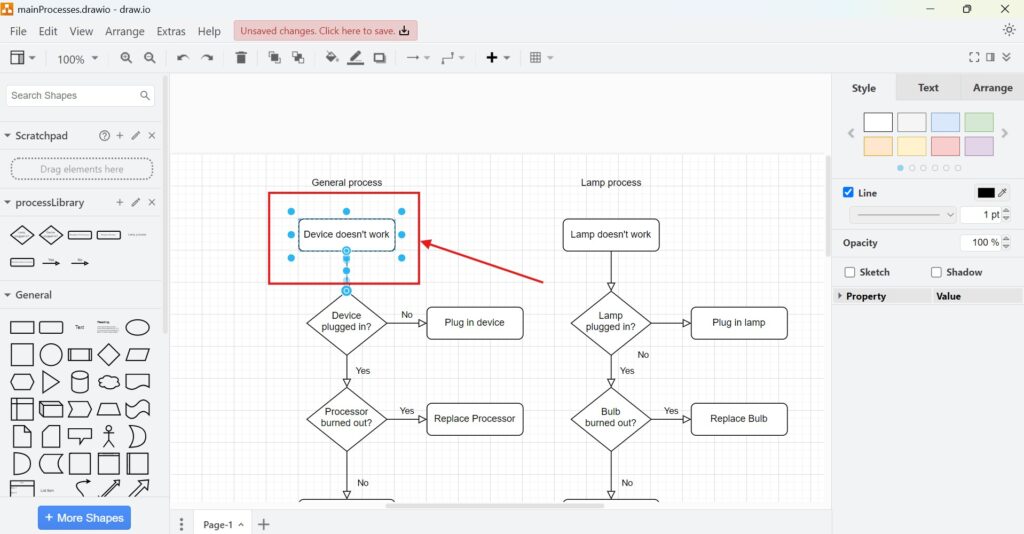
I use Cut when I want to move an element to another place.
First, I select the element.
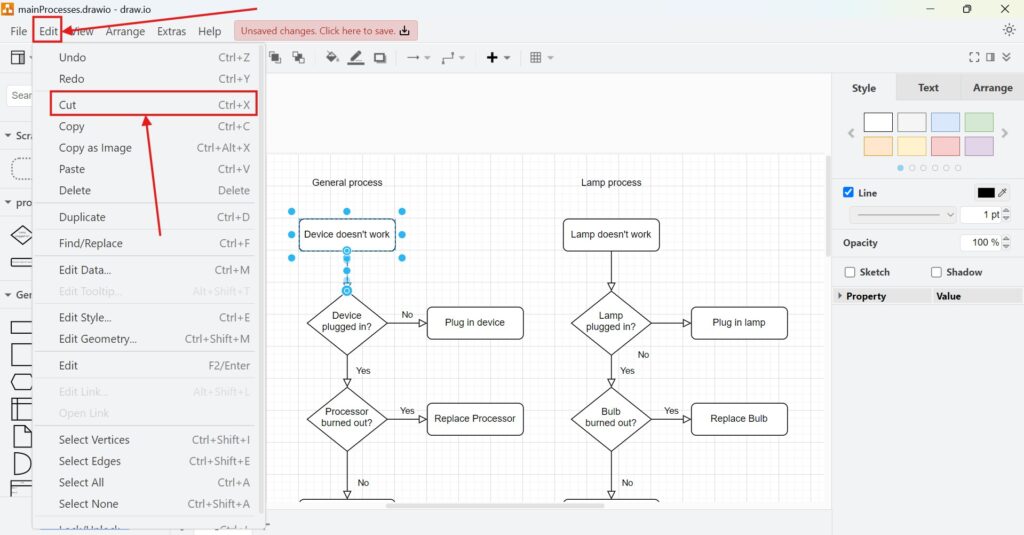
Then I choose Edit > Cut.
Alternatively, I use Ctrl + X on Windows.
On an iMac, I use Command + X.
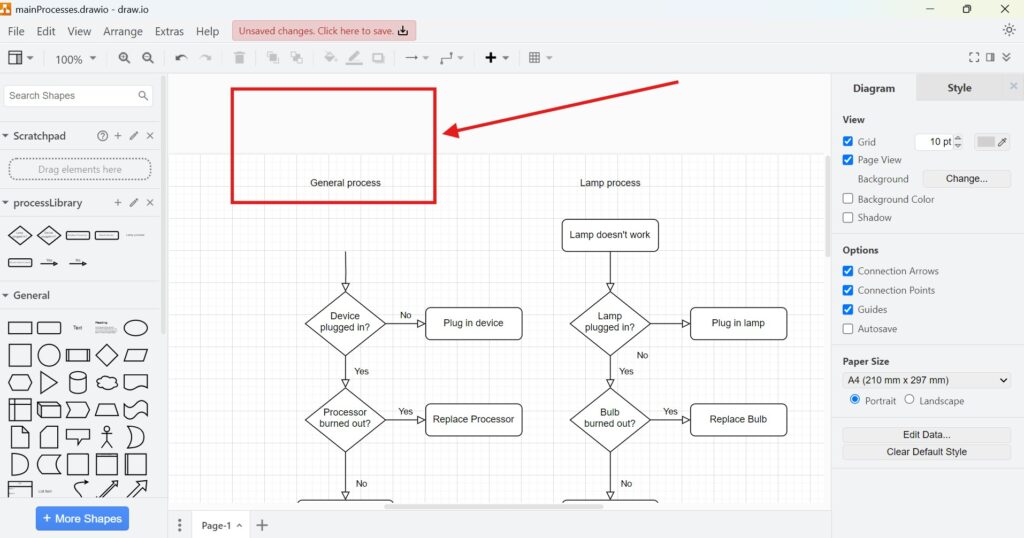
After that, the element disappears from its current position. Then I can paste it somewhere else.
Cut removes an element from its current position and keeps it ready for pasting.
Copy in draw.io
Steps to Copy an Element:
I use Copy when I want to duplicate an element.
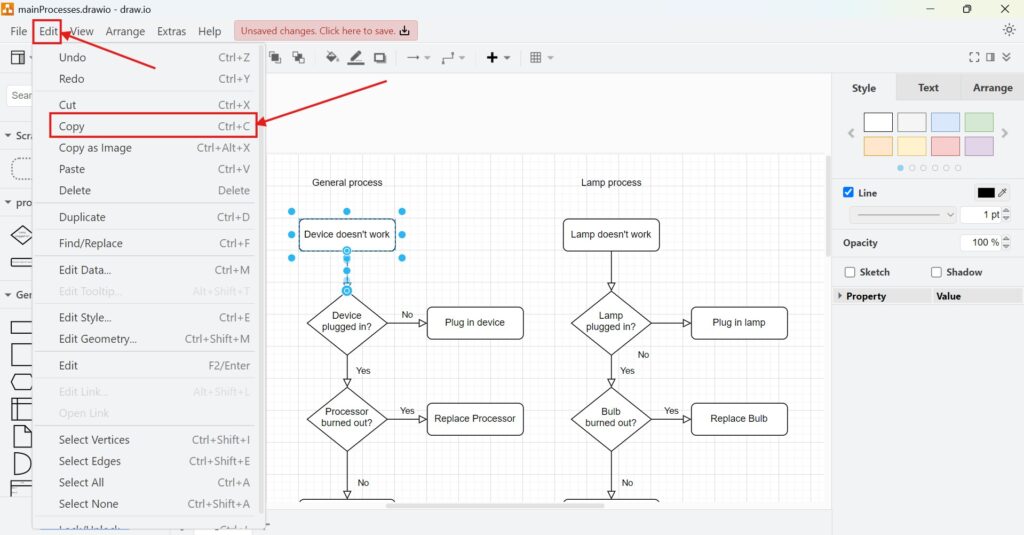
First, I select the element like above.
Then I choose Edit > Copy.
Alternatively, I use Ctrl + C on Windows.
On an iMac, I use Command + C.
The original element stays on the canvas. Then I can paste a copy somewhere else.
Copy keeps the original element and prepares a duplicate for pasting.
Paste in draw.io
I use Paste after I cut or copy an element.
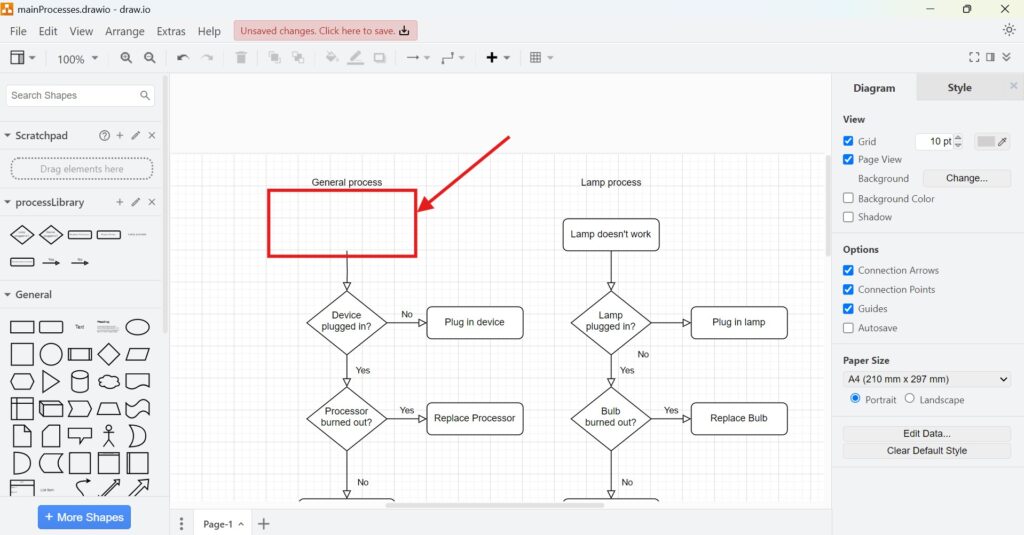
First, I click the area where I want to continue editing.
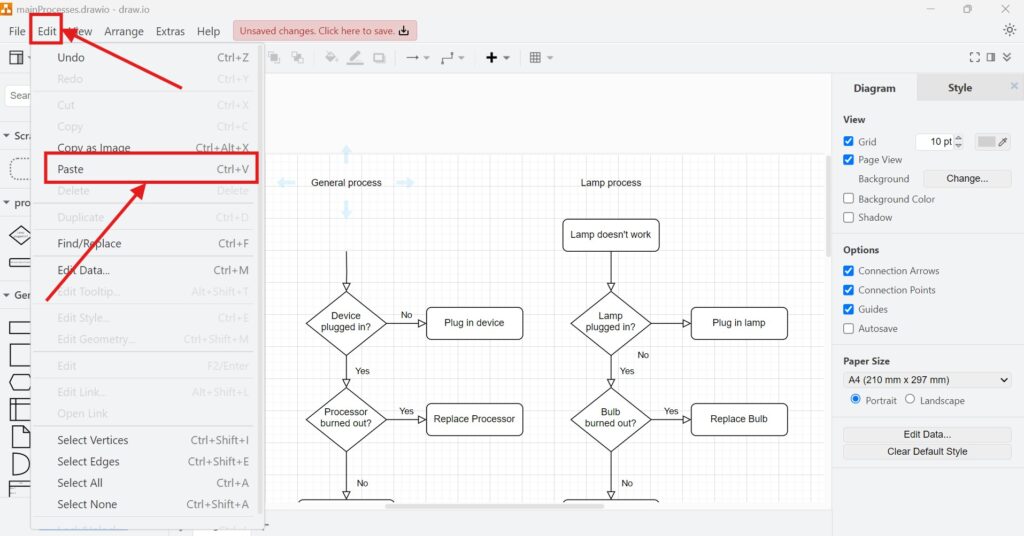
Then I choose Edit > Paste.
Alternatively, I use Ctrl + V on Windows.
On an iMac, I use Command + V.
After that, draw.io inserts the element. Then I move it to the correct position.
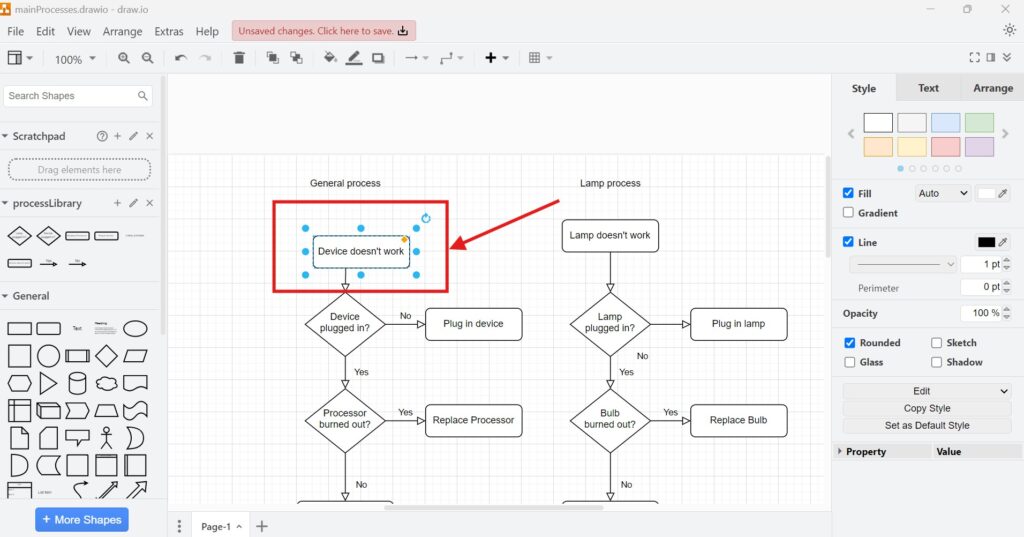
Paste inserts the element that I cut or copied before.
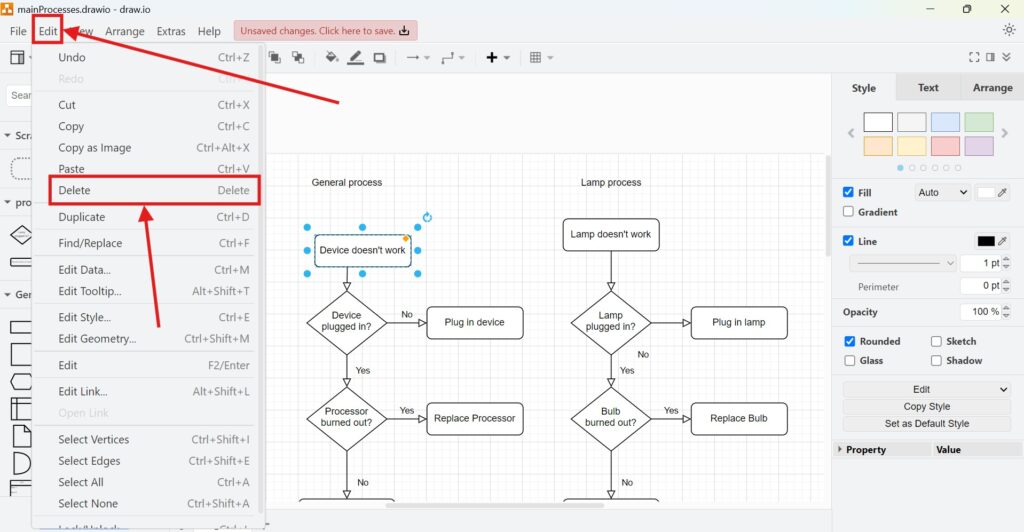
Delete in draw.io
I use Delete when I want to remove an element from the diagram.
First, I select the element.

Then I choose Edit > Delete.
Alternatively, I press Delete on Windows.
On an iMac, I press Delete. Depending on the keyboard, I may also use Fn + Delete.
After that, draw.io removes the element from the canvas.
Delete removes an element without preparing it for pasting.
Quick comparison
- I use Cut when I want to move an element.
- I use Copy when I want to duplicate an element.
- I use Paste when I want to insert a cut or copied element.
- I use Delete when I want to remove an element.
The right command depends on whether I want to move, duplicate, insert, or remove content.
Shortcuts
Windows:
- Cut: Ctrl + X
- Copy: Ctrl + C
- Paste: Ctrl + V
- Delete: Delete
iMac:
- Cut: Command + X
- Copy: Command + C
- Paste: Command + V
- Delete: Delete or Fn + Delete
Final thoughts
How to Cut, Copy, Paste and Delete in draw.io is a small topic with a big effect on daily diagramming work. I use these commands whenever I correct, restructure, or clean up a diagram.
Cut moves elements. Copy duplicates elements. Paste inserts elements. Delete removes elements.
When I use these commands correctly, I edit draw.io diagrams faster and with fewer mistakes.
What’s Next?
Now that I know how to cut, copy, paste, and delete in draw.io, I can reuse diagram elements even faster. Duplicating helps me create similar shapes without rebuilding them from scratch. In the next article, I’ll explain How to Duplicate in draw.io. You’ll learn how duplication works and how it helps you build diagrams more efficiently. Click below to continue and speed up your draw.io editing workflow.
Improve Requirements Engineering with Connected Tools
Requirements engineering becomes clearer when I use tools that support visual thinking, documentation, task management, and process modeling. Therefore, I use draw.io to create diagrams, Confluence to organize knowledge, Jira to track requirements-related work, and Camunda to model business processes.
Each tool adds structure to a different part of the workflow. As a result, I can turn ideas into clear models, useful documentation, manageable tasks, and understandable processes. In the main article on Requirements Engineering Tools, I show how these tools work together and support better requirements work.