
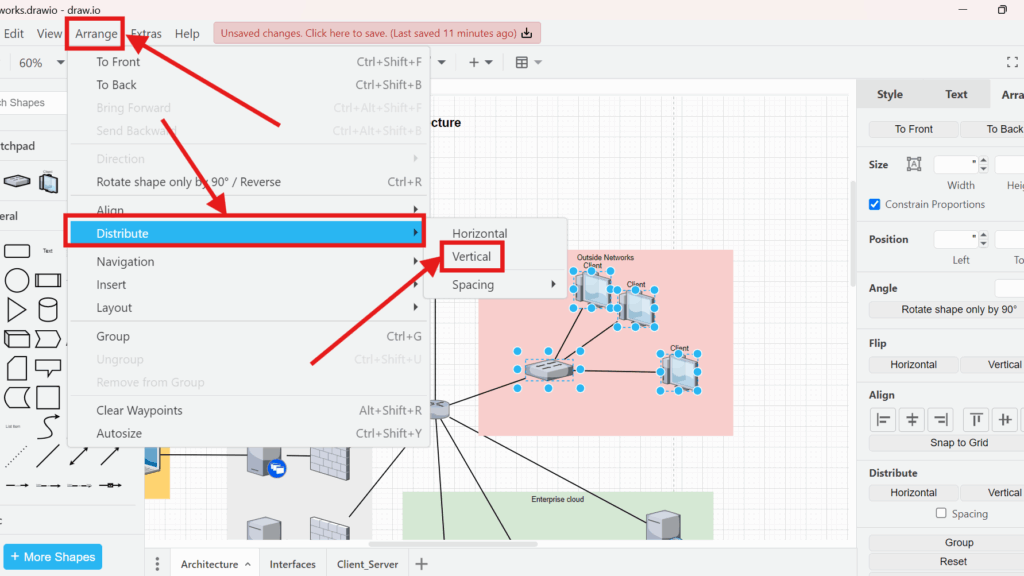
When creating diagrams, whether for personal or business use, organization is key. A neat, aligned layout makes information easier to digest and interpret. In Draw.io, the “distribute” function is one of the most helpful features for achieving this goal. It ensures that elements in your diagram are evenly spaced, either horizontally or vertically, with equal distance between them. In this article, I’ll walk you through how to distribute elements in Draw.io and why it’s crucial for creating professional and clear diagrams.
What Does Distribute Mean in draw.io?
I use the distribute function when several elements should have equal spacing. Instead of adjusting every position manually, I select the relevant objects and let draw.io calculate the spacing.
I can distribute elements in two directions:
- Horizontal distribution creates equal horizontal spacing.
- Vertical distribution creates equal vertical spacing.
The distribute function helps me create consistent spacing quickly and precisely.
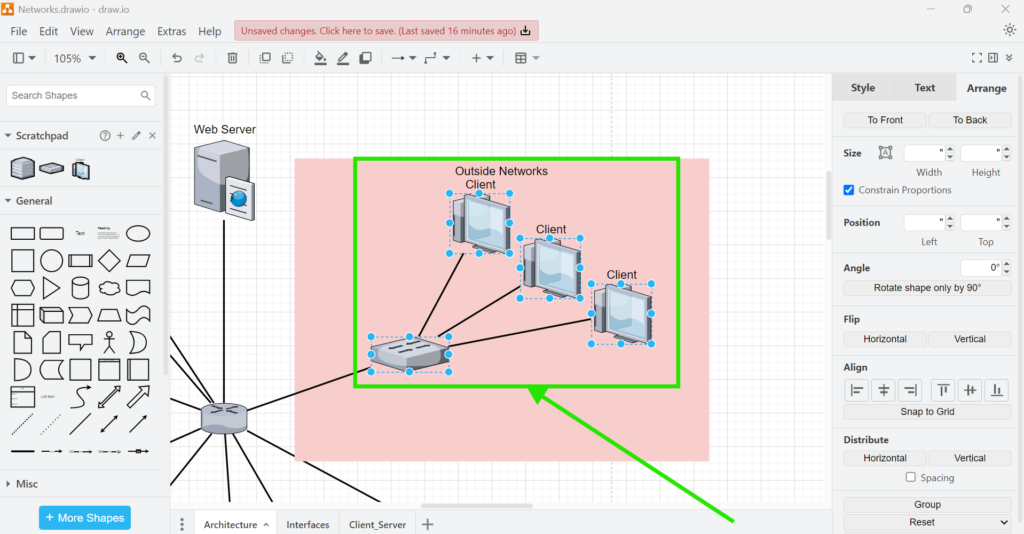
This becomes especially useful when I work with repeated shapes, icons, or diagram elements. For example, I can distribute several client icons around a network diagram instead of estimating each distance manually.
How to Distribute Elements Horizontally in draw.io
I use horizontal distribution when several elements should have consistent spacing from left to right.
1. Select the elements
First, I select all elements that I want to distribute. I can drag a selection area around them or select the relevant objects individually.
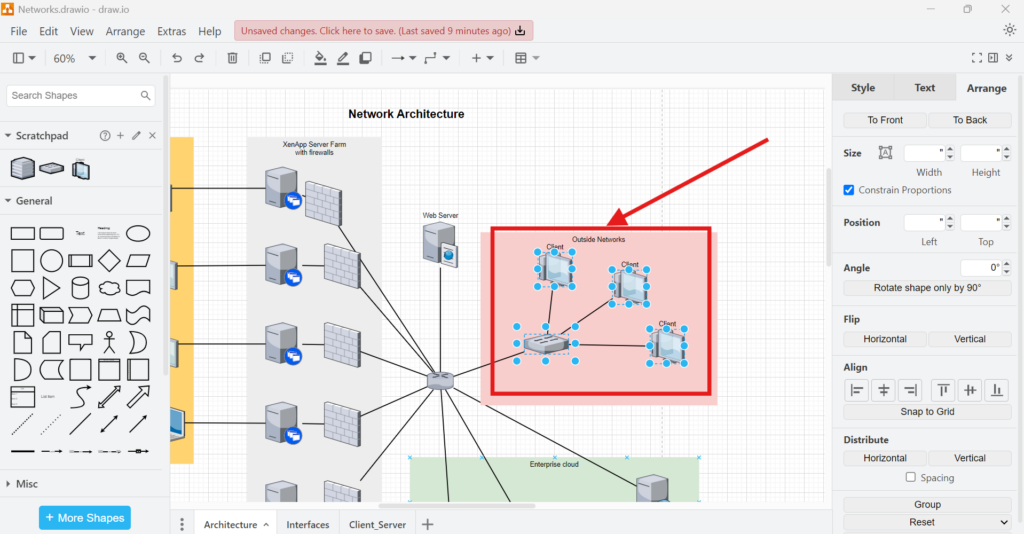
2. Open the horizontal distribution command
Next, I open the “Arrange” menu at the top of draw.io. Then, I move to “Distribute” and select “Horizontal.”
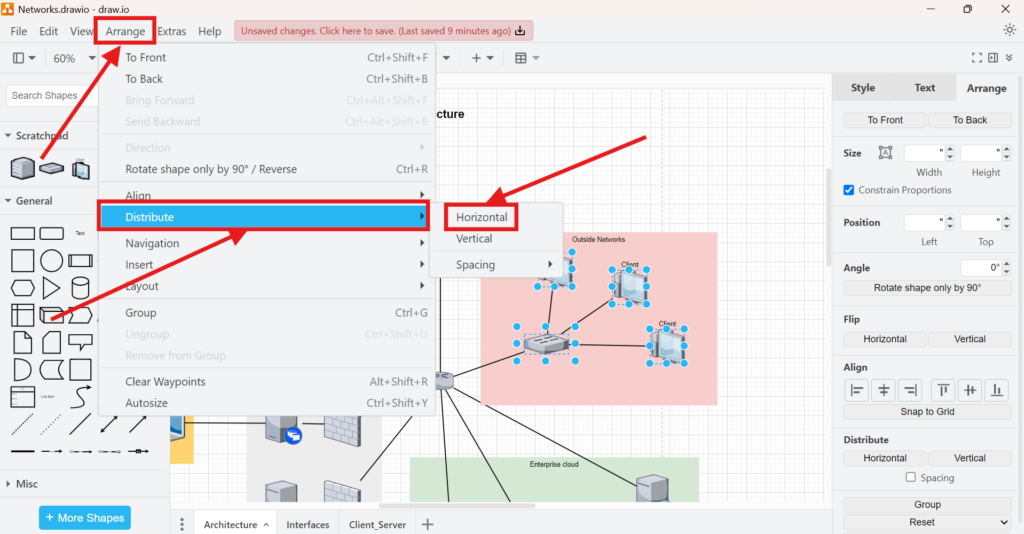
After I select “Horizontal,” draw.io distributes the selected elements evenly from left to right.
3. Use the Arrange sidebar as an alternative
Alternatively, I can use the panel on the right. I open the “Arrange” tab and find the “Distribute” section. Then, I select “Horizontal.”
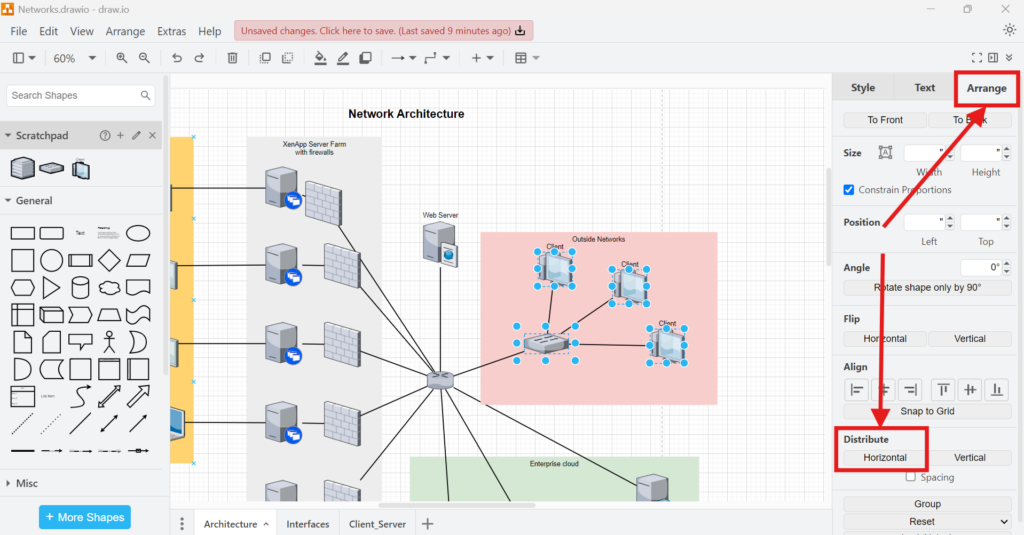
The menu and the sidebar perform the same task. Therefore, I can use whichever method fits my workflow better.
4. Check the result
After the distribution, I check the spacing between the elements. The selected objects now have consistent horizontal distances.
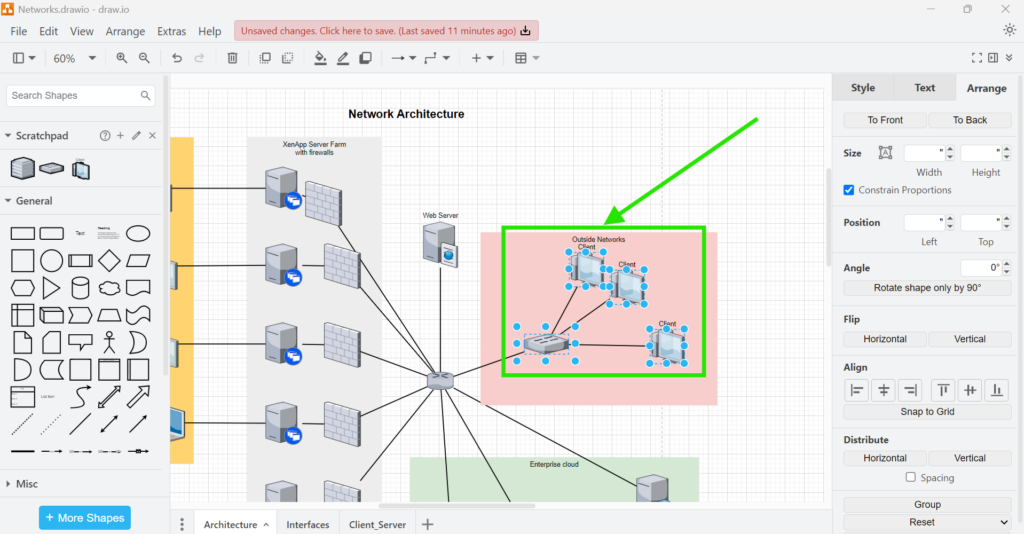
I use the result to create a cleaner and more structured visual layout without adjusting every object manually.
How to Distribute Elements Vertically in draw.io
Vertical distribution works in the same way. However, draw.io now calculates the spacing from top to bottom.
1. Select the elements
First, I select the elements that I want to distribute vertically.
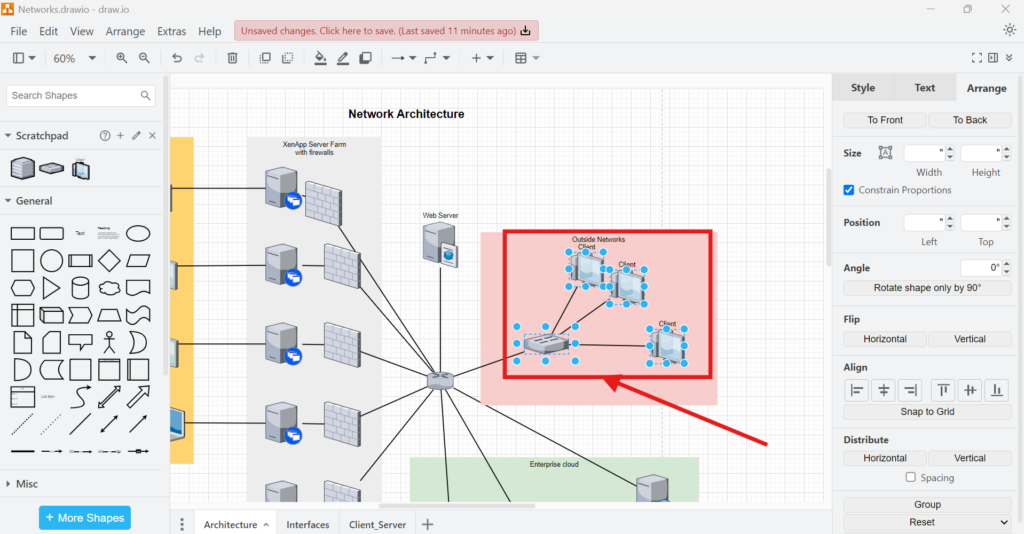
2. Select vertical distribution
Next, I open “Arrange.” Then, I move to “Distribute” and select “Vertical.”
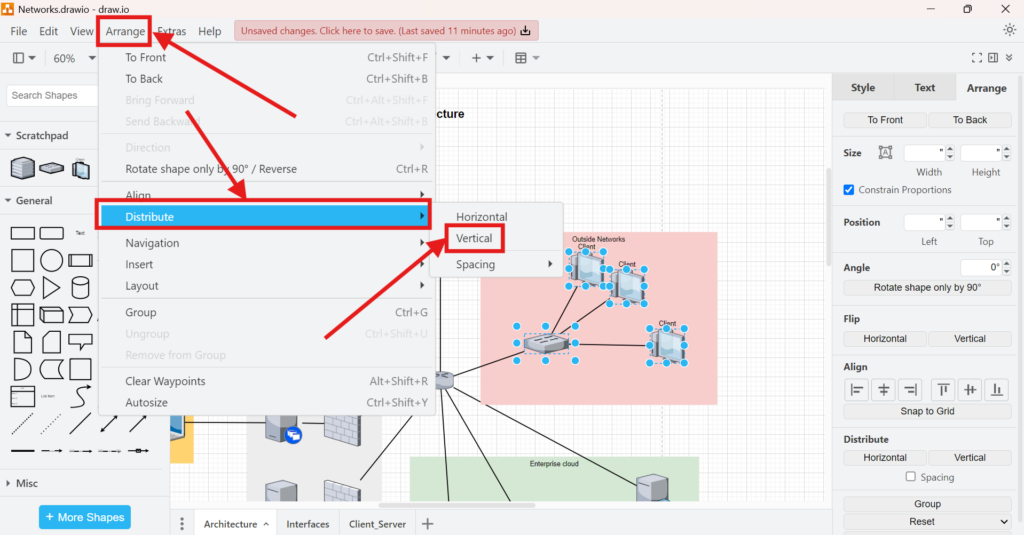
The Vertical command creates consistent spacing between the selected elements from top to bottom.
3. Use the sidebar if preferred
Again, I can use the right sidebar instead. I open the “Arrange” tab, locate “Distribute,” and select “Vertical.”
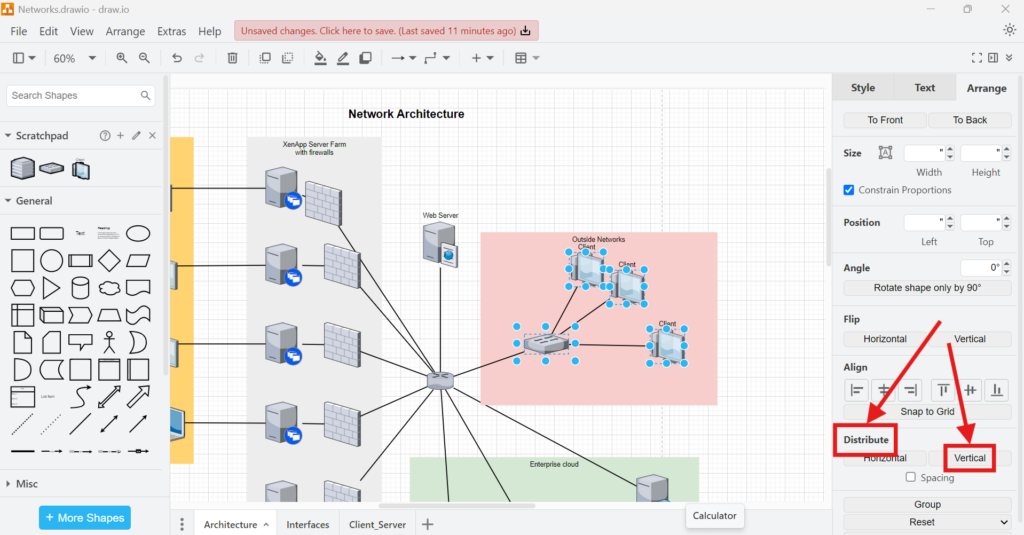
Therefore, I do not need to return to the top menu when I already work with the Arrange panel.
4. Check the vertical spacing
Finally, I review the result. The selected elements now have consistent vertical spacing.
When I Use the Distribute Function
I mainly use distribution when a diagram contains repeated elements. Typical examples include client systems, servers, process steps, components, or other visual groups.
Manual spacing can work for a few objects. However, small differences become noticeable when several elements appear together. Distribution removes these inconsistencies and saves time.
I use horizontal or vertical distribution whenever equal spacing supports the structure and readability of my diagram.
The direction depends on the layout. If the elements form a row, I use horizontal distribution. If they form a column, I use vertical distribution.
Final Thoughts
Distributing elements in draw.io is a simple way to improve diagram structure. I select the relevant objects and choose either horizontal or vertical distribution. I can access both commands through the “Arrange” menu or the Arrange sidebar.
By using distribution instead of manual positioning, I create consistent spacing with less effort and make complex diagrams easier to read.
| Read more about draw.io |
|---|
| PDF Export VSDX Export HTML Export URL Export XML Export |