
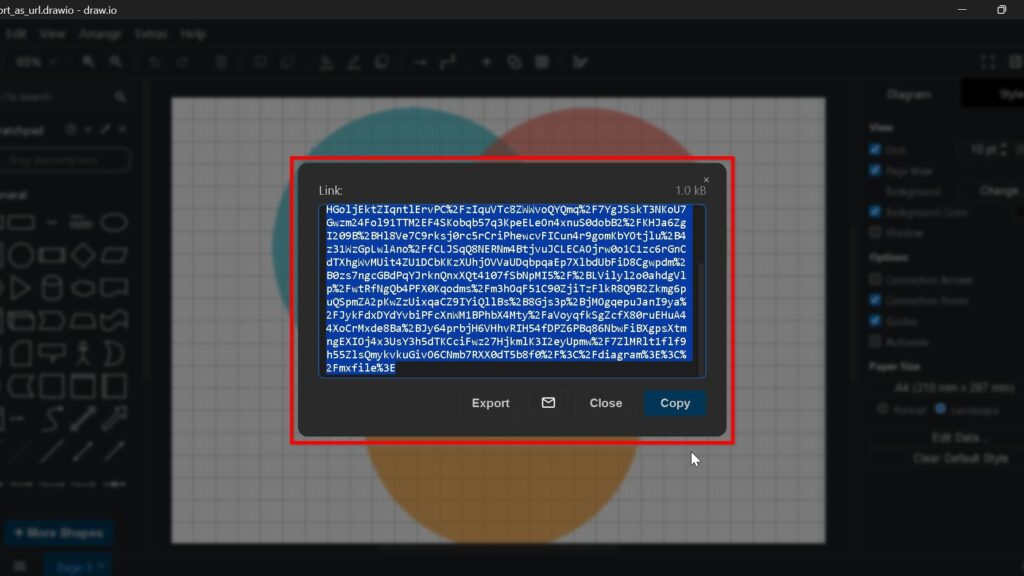
Exporting diagrams to a URL helps me share draw.io content quickly. I can create a reusable link, send it to others, or include it in another workflow. In this guide, I explain how to export diagrams to a URL in draw.io step by step. You’ll learn why this option is useful and how it makes diagram sharing more flexible.
Prefer a video format? Watch the quick walkthrough here:
What is draw.io?
Before diving into the details, let’s talk about draw.io (opens in new tab). It’s a versatile diagramming tool that lets you create flowcharts, mind maps, wireframes, and much more. You can use it online or offline, and it’s completely free. Businesses, educators, and developers love its flexibility. For instance:
- A project manager can use it to map workflows for their team.
- A developer might create software architecture diagrams for better understanding.
- An educator could illustrate complex concepts for students.
What makes draw.io even better? It offers dynamic export options like URLs. Instead of static images, you can share interactive diagrams. Thus, let’s explore how to do that.
How to Export a Diagram to URL in draw.io
A URL export lets me share a diagram through a browser. However, I check access and viewing settings before I distribute the link.
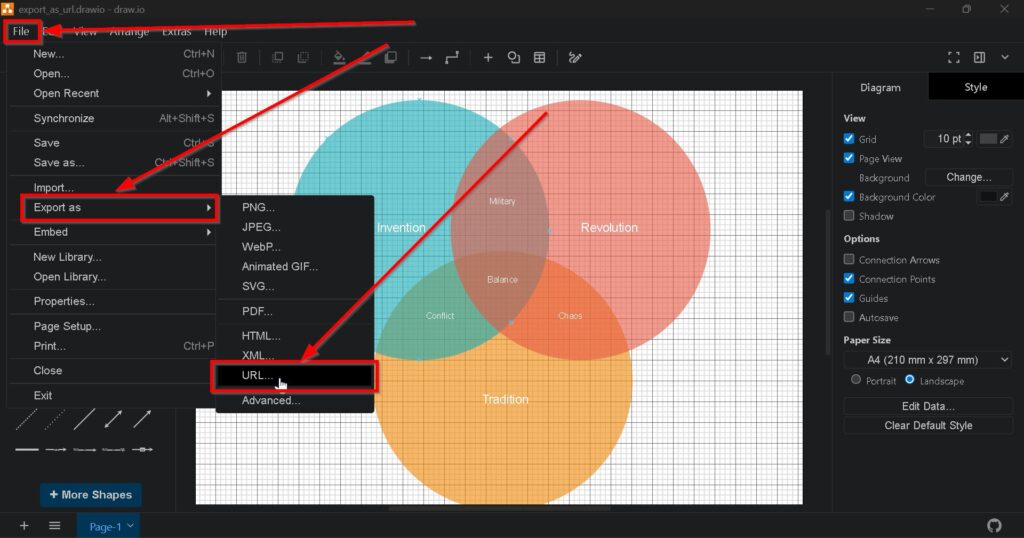
Step 1: Open the Export Menu
First, I open the diagram.
Then, I select File > Export as > URL.
Draw.io opens the URL settings.
I use URL export when browser-based access works better than sending a PDF, image, or source file.
Step 2: Configure the Export Options
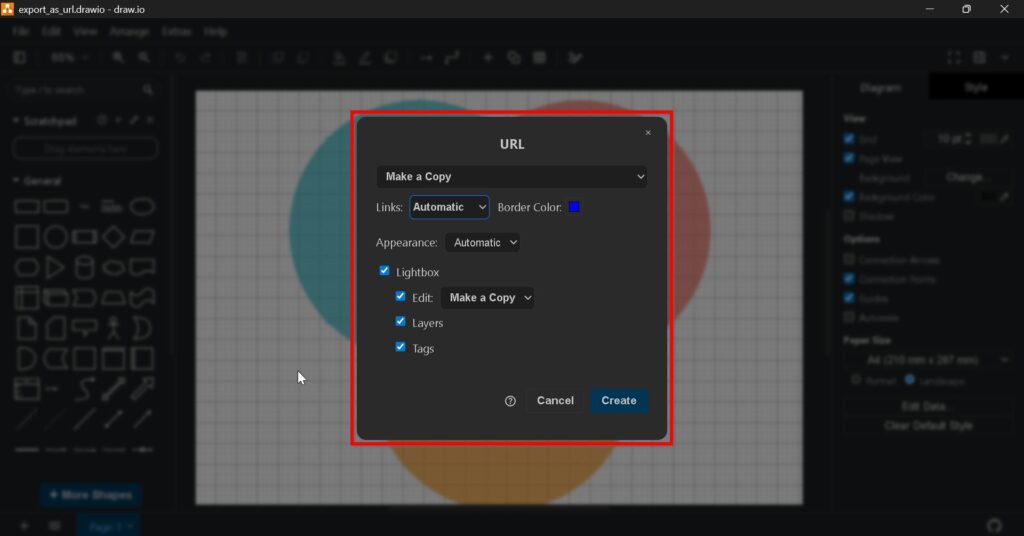
Next, I configure the available options.
The exact choices can depend on the draw.io environment and storage location. Therefore, I focus on the settings that appear in my export dialog.
Make a Copy
I use Make a Copy when I want the shared workflow to create or work from a separate copy instead of changing my original diagram.
This option can be useful when other people need their own version.
Authorization Required
When this option is available, I enable it when access should require authorization.
Therefore, I use it for diagrams that should not be available to everyone who receives the link.
I always match the access setting to the sensitivity of the diagram before I share the URL.
Public URL
A public URL provides a link that I can distribute to other people.
However, I do not assume that the word public automatically means search-engine indexing or unrestricted access. The actual accessibility depends on the storage provider, sharing configuration, and selected permissions.
Therefore, I review those settings before distribution.
Links
If my diagram contains hyperlinks, I decide how they should open.
Automatic uses the normal link behaviour.
Open in New Tab opens the target in another browser tab.
Open in New Window opens it in a separate browser window.
I choose the option that best fits the viewing context.
Border Color
If the export dialog provides a border colour setting, I can adjust the visual frame around the viewer.
However, I normally keep this setting simple because the diagram itself should remain the main focus.
Appearance
I can choose how the diagram viewer appears.
Automatic follows the available default behaviour.
Light uses a light appearance.
Dark uses a dark appearance.
I select the mode that keeps labels, connectors, and backgrounds easy to read.
Lightbox
Lightbox presents the diagram in a focused viewer.
I use this mode when I want people to explore the diagram without unnecessary surrounding interface elements.
A focused viewer works especially well for large process models, architecture diagrams, and other detailed visualisations.
Edit
Editing options control whether the viewer offers actions related to editing or reuse.
I enable them only when I want other people to work with the diagram.
In contrast, I keep them restricted when I only want to provide a controlled view.
Lightbox Edit
Depending on the available settings, I may allow viewers to create a copy or use customised editing behaviour.
For example, Make a Copy can let another person create an independent version.
This approach protects my original while still supporting reuse.
Lightbox Layers
If the diagram uses layers, I can allow viewers to work with them in the lightbox.
For example, people may show or hide specific information.
Therefore, layers can help me provide several views within one diagram.
Lightbox Tags
Tags can support navigation or selective display when the diagram uses them.
However, I include these controls only when they improve understanding. Otherwise, they can add unnecessary complexity.
I enable only the viewing and interaction options that provide a clear benefit to the intended audience.
Step 3: Generate and Share the URL
After I configure the settings, I generate the URL.
Draw.io then displays the resulting link.
Next, I copy the URL.
I can place it in an email, project documentation, a collaboration platform, or another communication channel.
Before I distribute it widely, I test it myself. In particular, I check whether the link opens correctly and whether the intended permissions apply.
I also test links, layers, tags, and viewer controls when I enabled them.
I test the generated URL before sharing it because access settings and viewer behaviour directly affect the recipient.
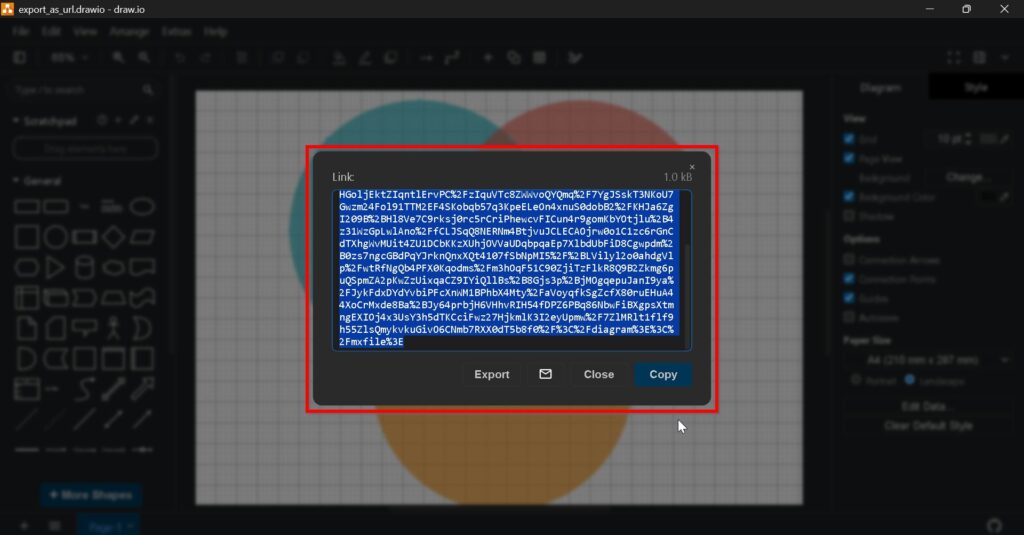
After reviewing the URL, I confirm the dialog with OK.
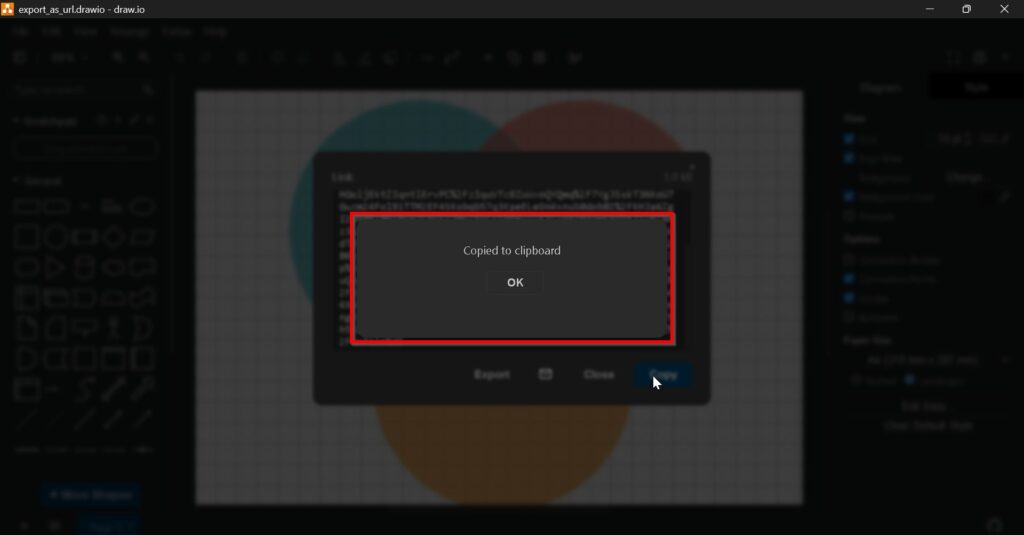
Step 4: Display in Your Browser
Finally, I open the generated URL in a browser.
I check the complete viewing experience from the recipient’s perspective.
For example, I review:
- the diagram layout,
- text readability,
- zoom behaviour,
- hyperlinks,
- layers,
- tags,
- appearance,
- and editing options.
I also test the link in a separate browser session when access permissions matter. As a result, I can detect problems that may not appear while I remain signed in to my own account.
The browser test confirms whether the shared diagram actually works as intended for another viewer.
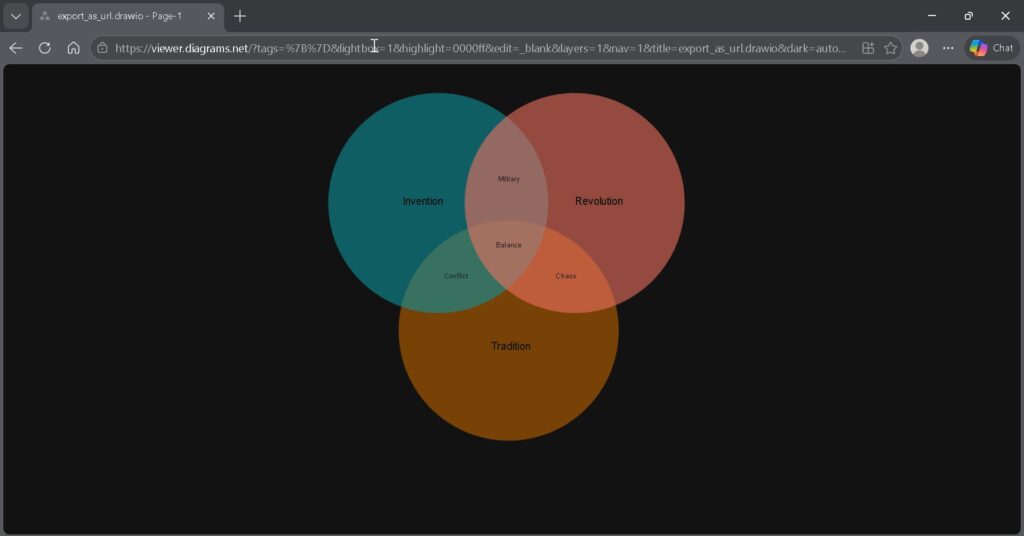
When I Use a URL Instead of a File Export
I choose a URL when easy browser access matters.
For example, a link works well in project documentation, internal knowledge bases, emails, and collaboration tools.
In contrast, I choose PDF when I need a fixed document. I use SVG when I need a scalable graphic. Meanwhile, PNG works well for a simple image.
Therefore, I select the sharing method according to what the recipient needs to do with the diagram.
Access and Security Matter
A generated link can make distribution very convenient. However, convenience does not replace access control.
I first decide who should see the diagram.
Then, I check whether authorization is required.
Next, I verify the permissions of the underlying storage location when relevant.
Finally, I test the URL as another viewer.
I never rely on the URL itself as proof that a diagram is private or protected.
This distinction becomes especially important for architecture diagrams, customer information, internal processes, or other sensitive project content.
I Keep the Original draw.io Diagram
I treat the URL as a way to access or present the diagram.
I still maintain the original draw.io file as my source.
When I change the model, I update that source first. Afterwards, I check whether the existing shared URL still shows the intended content or whether I need to generate a new one.
As a result, I keep one clear source of truth.
Final Thoughts
To export a diagram to URL in draw.io, I open File > Export as > URL, configure the access and viewer settings, generate the link, and test it in a browser.
The most important settings concern access, links, appearance, lightbox behaviour, layers, tags, and editing permissions.
I keep the configuration as simple as possible. Moreover, I test both access and presentation before I distribute the link.
A carefully configured URL gives me a practical way to share a draw.io diagram through a browser while controlling how other people view and interact with it.
What’s Next
Now that I know how to export diagrams to a URL in draw.io, I can also look at the source-based export option. A URL helps me share diagrams quickly, but XML helps me preserve the diagram structure. In the next article, I’ll explain How to Export a Diagram as XML in draw.io. You’ll learn why XML export matters, how it supports backups, and how it helps with technical reuse. Click below to continue and export your draw.io diagram as XML.
Use Practical Tools for Clear Requirements Engineering
Requirements engineering becomes easier when I use tools that support visual thinking, documentation, coordination, and process modeling. Therefore, I use draw.io to create diagrams, Confluence to structure knowledge, Jira to manage requirements-related work, and Camunda to model business processes. Each tool helps me turn complexity into something clearer and more manageable. As a result, I can connect ideas, decisions, tasks, and workflows in one stronger requirements process. In the main article on Requirements Engineering Tools, I show how these tools work together and support better requirements work from start to finish.