
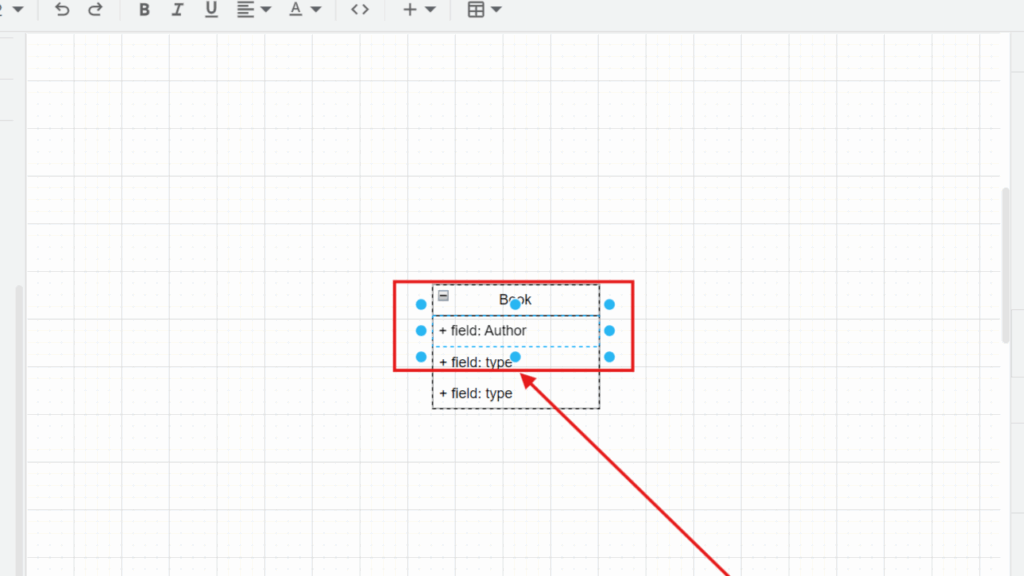
Have you ever wondered how to visualize complex systems? UML diagrams make it easy to represent structures, especially when you want to show a class attribute. In this article, I’ll walk you through modeling UML class attributes in draw.io step by step. By the end, you’ll be able to create clean and organized diagrams that bring clarity to your designs.
What is a UML class attribute?
I use a UML class attribute to describe a property that belongs to a class. For example, a Book class can contain attributes for its title, author, and inventory number.
A UML class normally contains separate compartments for the class name, attributes, and operations. In this tutorial, I focus only on the class name and its attributes.
I use attributes to describe the data structure of a class, not its behavior.
For a more precise UML model, I can define an attribute with several elements:
- Visibility, such as + for public or – for private
- Attribute name
- Type
- Optional default value
- Optional multiplicity
For example, instead of writing only Title, I could model the attribute as:
- title: String
Likewise, I could model author as:
- author: String
The draw.io template provides placeholder text. Therefore, I treat it as a starting point rather than as mandatory UML syntax.
1. Open the UML shape library
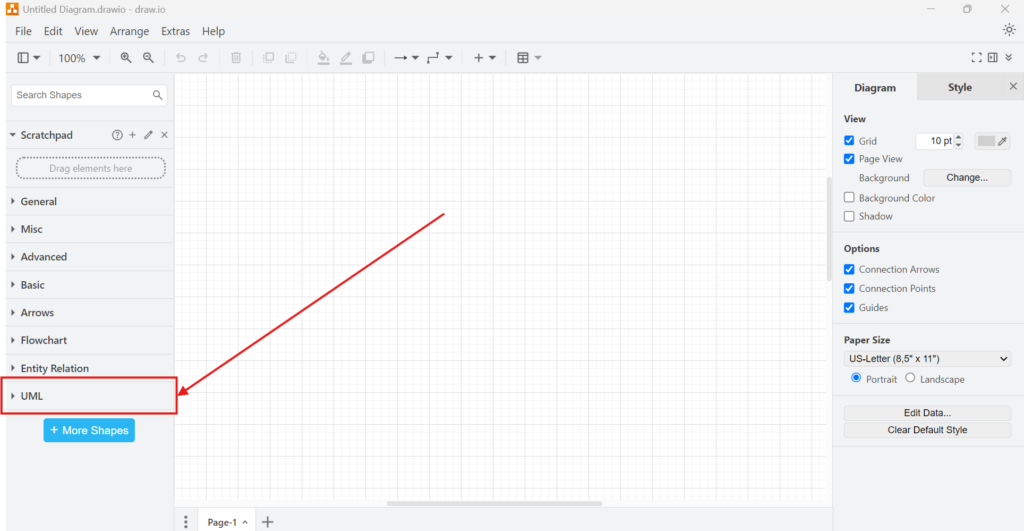
First, I open draw.io and look at the shape libraries on the left side of the editor. Then I select UML.
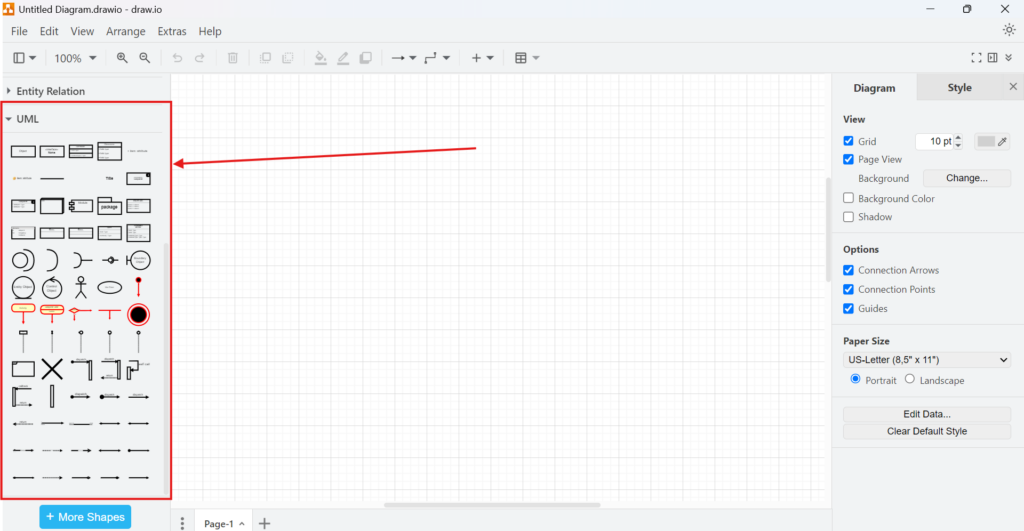
After I expand the library, draw.io displays the available UML shapes. These include class elements as well as several relationship and diagram symbols.
2. Add a UML class
Next, I select the Class 2 shape from the UML library. This shape already contains a class name and an attribute compartment. Therefore, I do not need to construct the class manually.
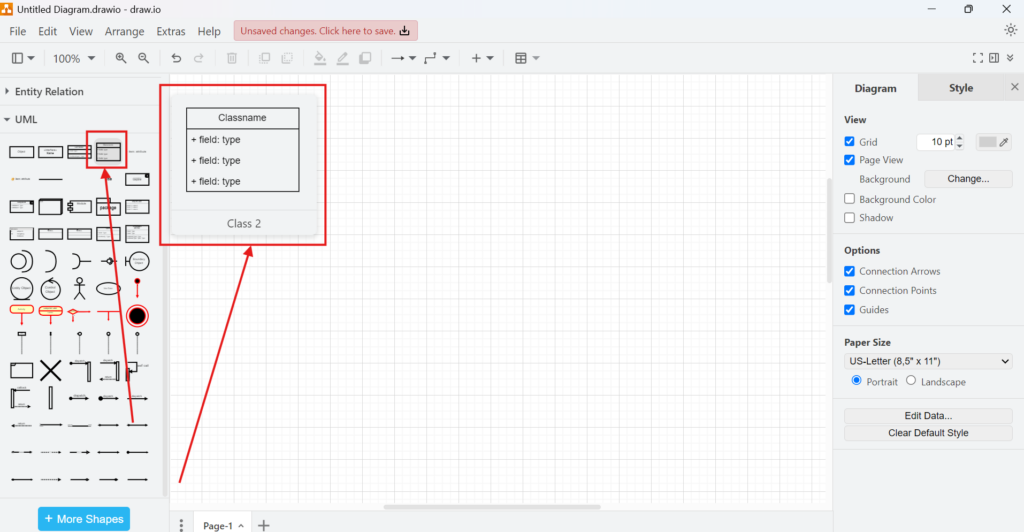
I then place the class on the canvas and select it.
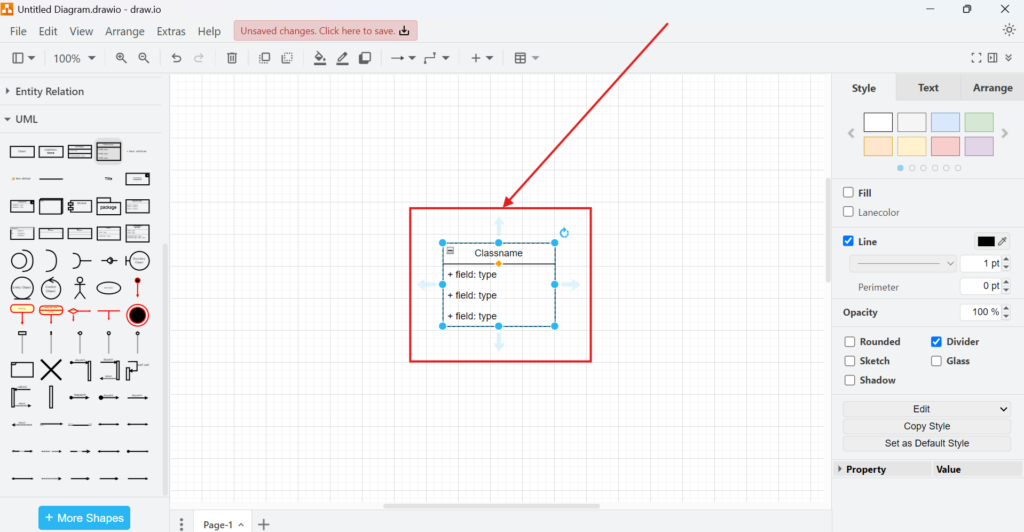
The template gives me the structure, while I provide the actual model semantics.
3. Rename the class
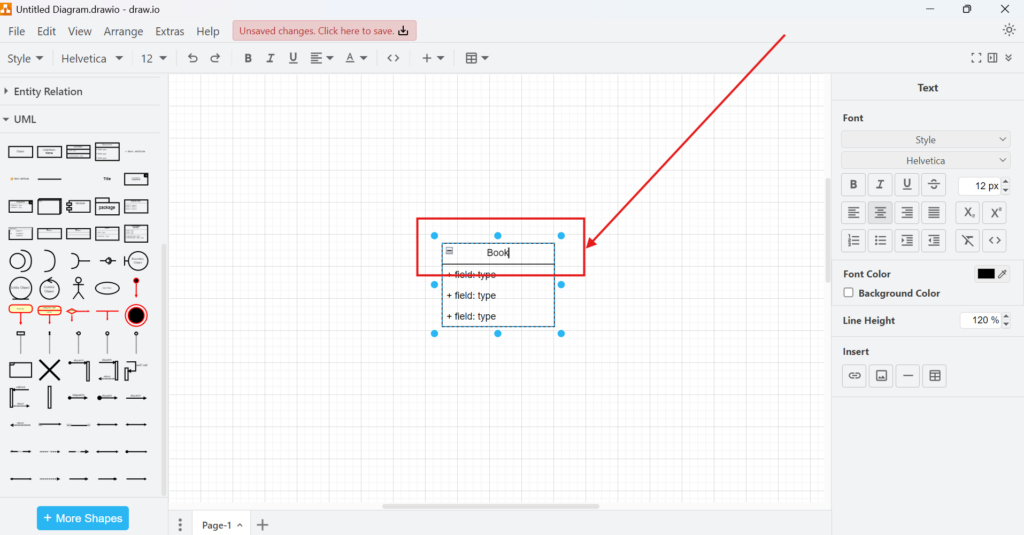
I now replace the placeholder class name with the name of the concept I want to model.
For this example, I use Book.
I double-click the class name and enter the new value. Because a UML class represents a type or concept, I normally use a singular noun for its name.
4. Add the class attributes
Next, I edit the attribute compartment. In this example, the Book class contains three attributes:
- Author
- Inventory number
- Title
I double-click each placeholder field and replace its text.
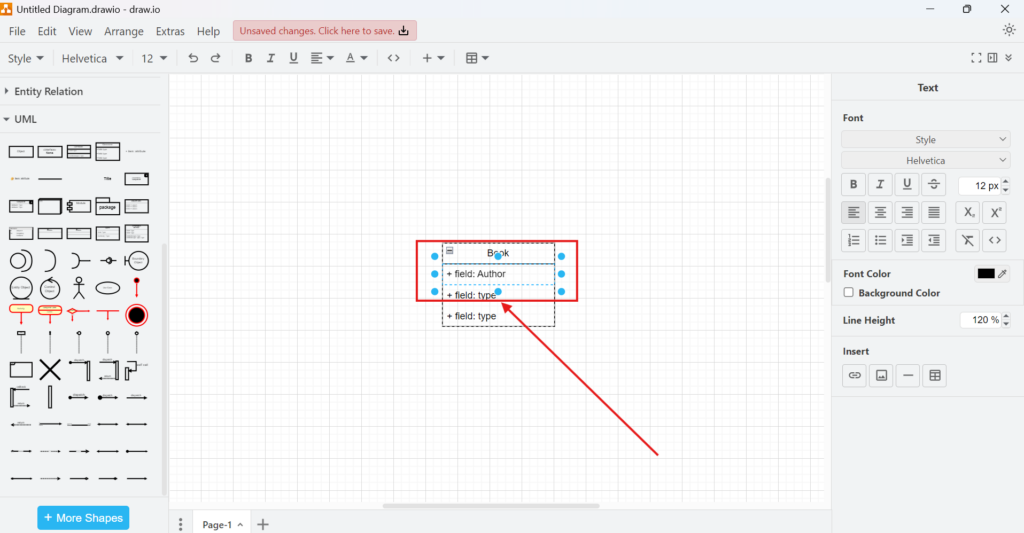
However, I do not have to preserve the template wording such as field:. I can remove it and use standard UML attribute notation instead.
For example, I could refine the class as follows:
- author: String
- inventoryNumber: String
- title: String
If I want to show visibility as well, I can add the appropriate UML symbol. For example, – title: String represents a private attribute, while + title: String represents a public attribute.
I use only as much notation as the diagram needs, but I keep the notation consistent throughout the model.
5. Review the finished class
Finally, I check whether the class name and its attributes communicate the intended structure clearly.
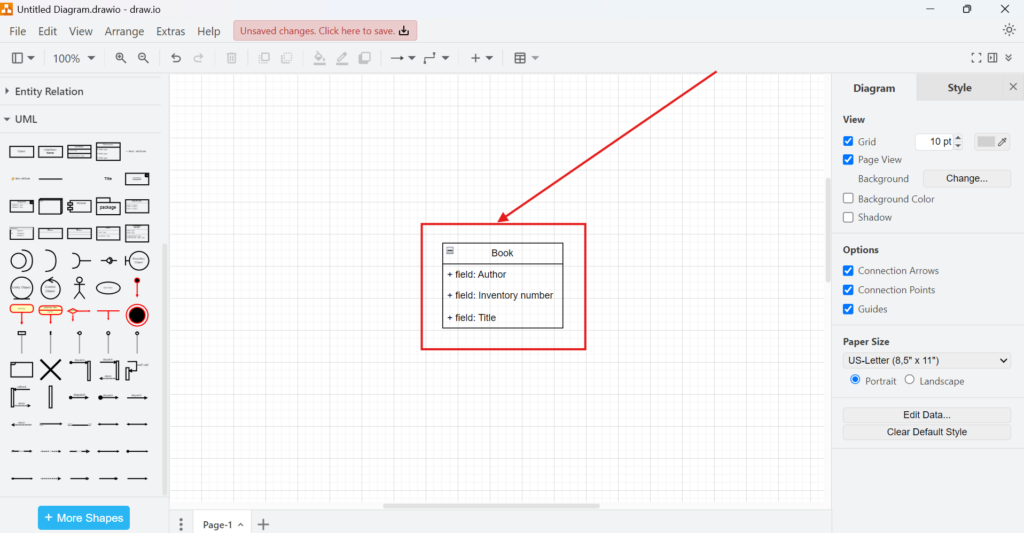
The example now communicates one simple fact: a Book contains information about its author, inventory number, and title.
For an informal conceptual diagram, this level of detail may already be enough. However, for a software design model, I would usually add data types and appropriate visibility. I might also add operations and relationships to other classes.
UML attributes in draw.io: the key point
draw.io makes the mechanical part of creating a UML class easy. I can select a template, rename the class, and edit its attribute compartment within a few steps.
However, the template does not decide whether my UML model is correct.
I distinguish between using a UML-shaped box and creating a meaningful UML model.
Therefore, I define attributes according to the purpose of the diagram. For a quick conceptual model, names such as Author and Title may be sufficient. For a more precise design model, I add visibility, attribute names, types, and other UML details where they provide useful information.
That approach keeps my UML class diagrams both readable and technically meaningful.
Understand Requirements from More Than One Perspective
If I want to understand requirements more clearly, I need more than plain text. I need models that show how ideas, processes, and structures connect. In the main article on Requirements Modeling, I explore core Modeling Concepts, Process Modeling with BPMN, and the structural perspective of UML. Together, these topics help me visualize workflows, clarify relationships, and analyze systems in a more practical way. Click through to see how Requirements Modeling helps me turn complex requirements into clear and useful system views.
This article covers concepts that are also included in the CPRE certification syllabus.