Styles in draw.io can turn simple diagrams into clear and professional visuals. I use them to control colors, lines, text, and shape design. In this guide, I show how style management works and why it matters. As a result, you can make diagrams more consistent, engaging, and easier to understand.
What is Draw.io?
Draw.io is an intuitive, web-based diagramming tool. It’s perfect for creating flowcharts, organizational charts, and more. With its Style and Text tabs, you can customize the appearance of shapes and groups on your canvas effortlessly. The editor automatically switches to the shape style panels whenever you select a shape, ensuring a seamless workflow. For instance, the default style uses a black outline and solid white fill. But that’s just the beginning.
The Basics of Styling Shapes
To manage style in draw.io, you first need to select a shape. Click on a single shape to select it or hold Shift and click on multiple shapes to style them simultaneously. Remember, the style options available depend on the shape you select. For example, you won’t find the “Rounded” option for circles or ellipses since they don’t have corners.
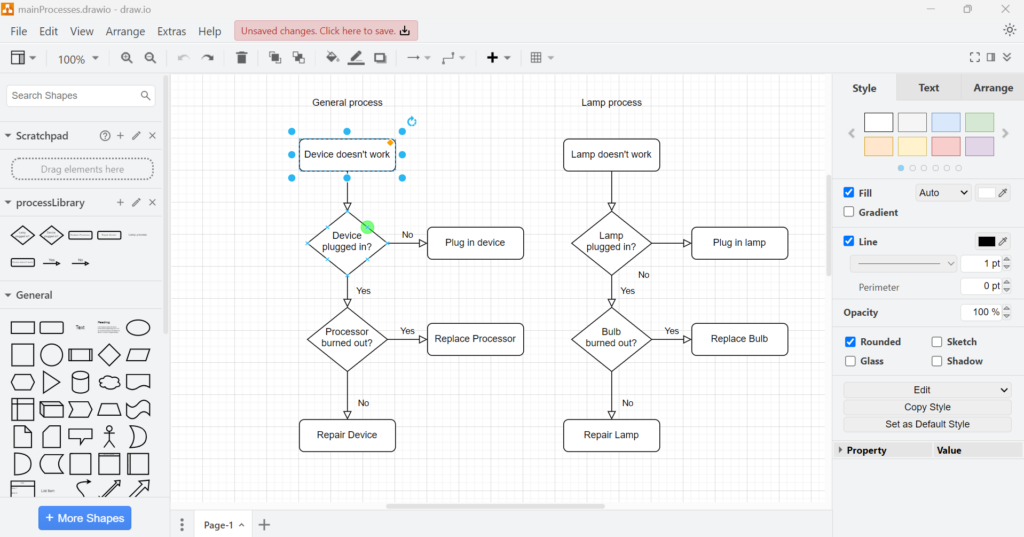
Once you select a shape, you can:
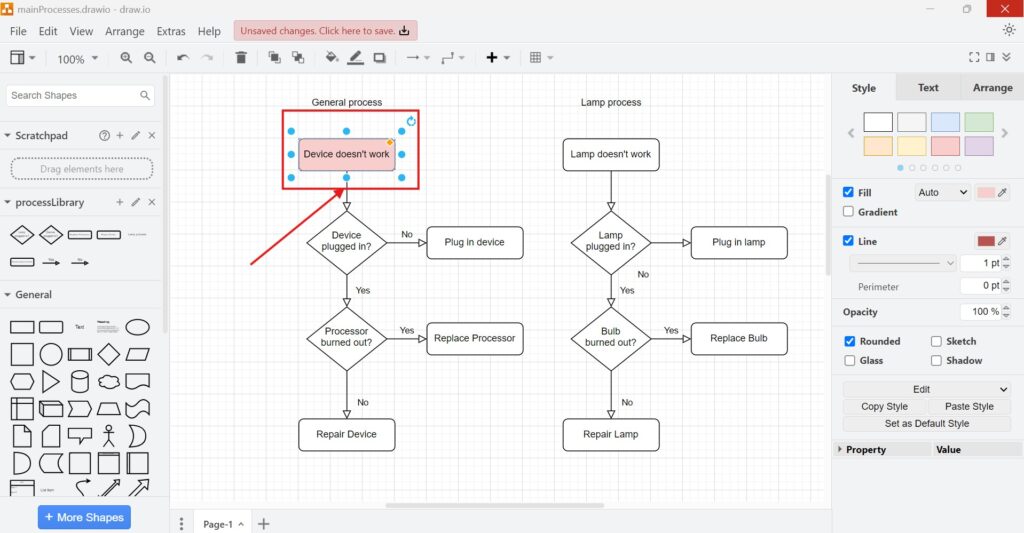
- Change colors with the style palette: Use the palette at the top of the Style tab. Click the arrows to explore more options, or select a fill color by entering a hex code. Want a gradient? Check the Gradient box, choose a direction, and pick your colors. For a transparent effect, uncheck Fill. If you’re feeling creative, enable the Glass effect for a reflective appearance.

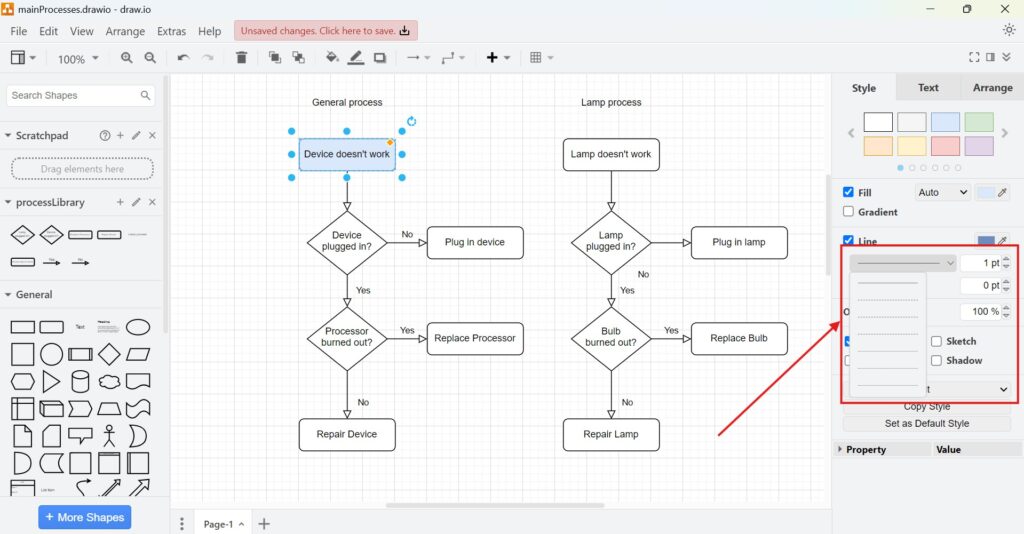
- Customize outlines: Adjust the line color, style (solid, dashed, dotted), and thickness. You can even add space around the shape using the Perimeter option, which moves connection points outward.
- Adjust opacity:
- Make your shapes semi-transparent to reveal elements underneath. Use the Opacity field to control this.
- Round sharp corners: Enable the Rounded option for basic shapes with sharp edges.
- Add shadows: Check the Shadow box for drop shadows on shapes or connectors.

Efficient Style Management
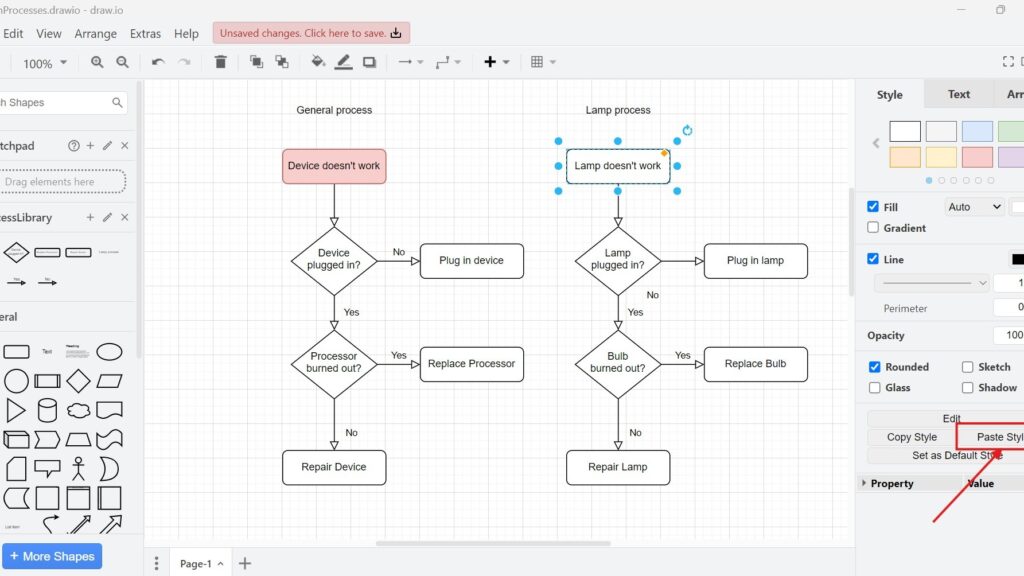
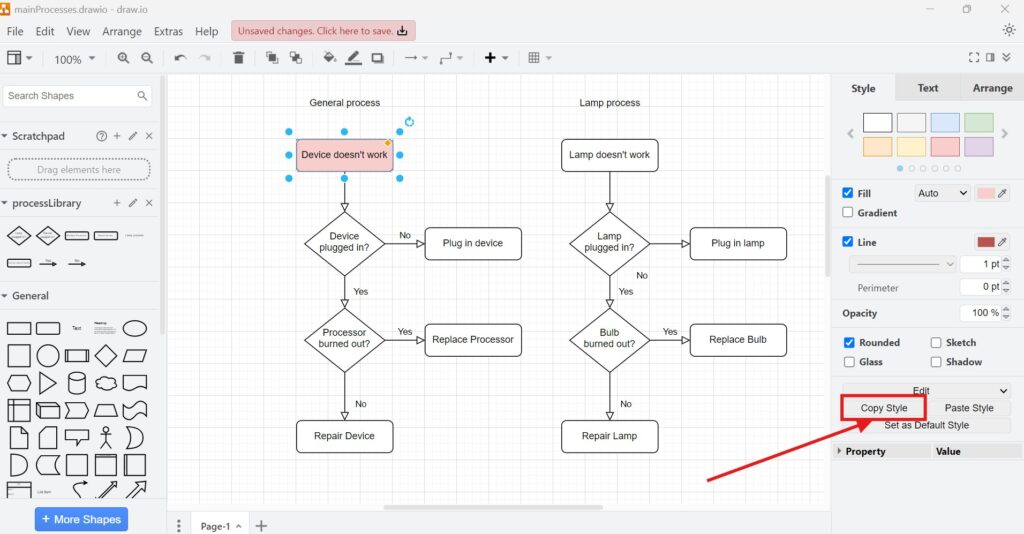
To speed up your workflow, draw.io offers tools to copy, paste, and set default styles. For instance:
Select a shape with your desired style.
Click Copy Style in the Style tab.
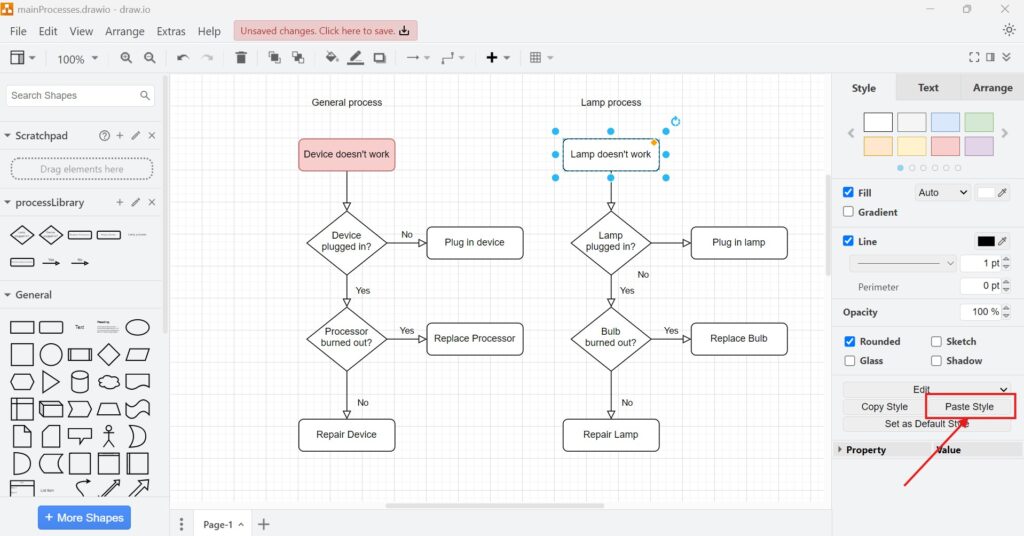
Select other shapes and
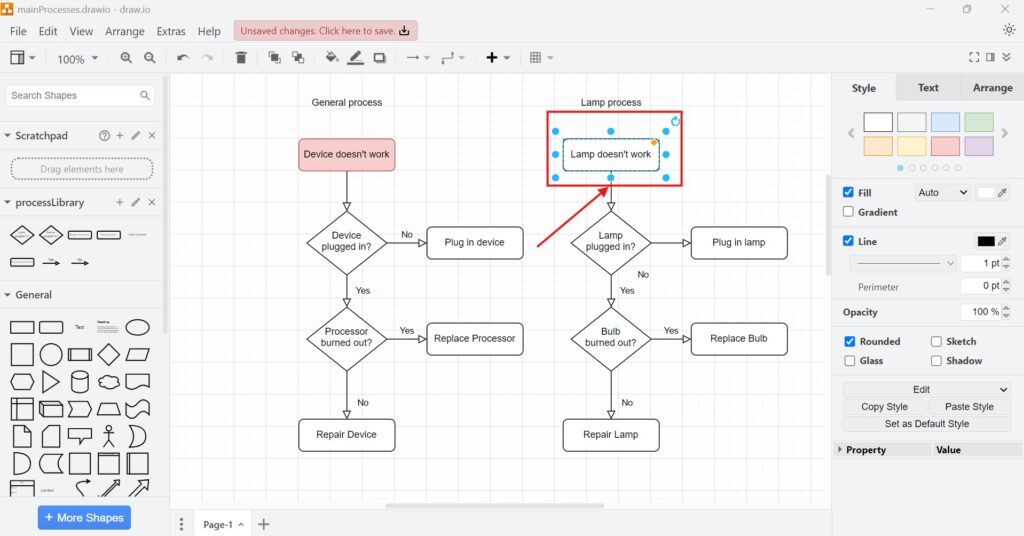
Click Paste Style to apply.
Use your result:
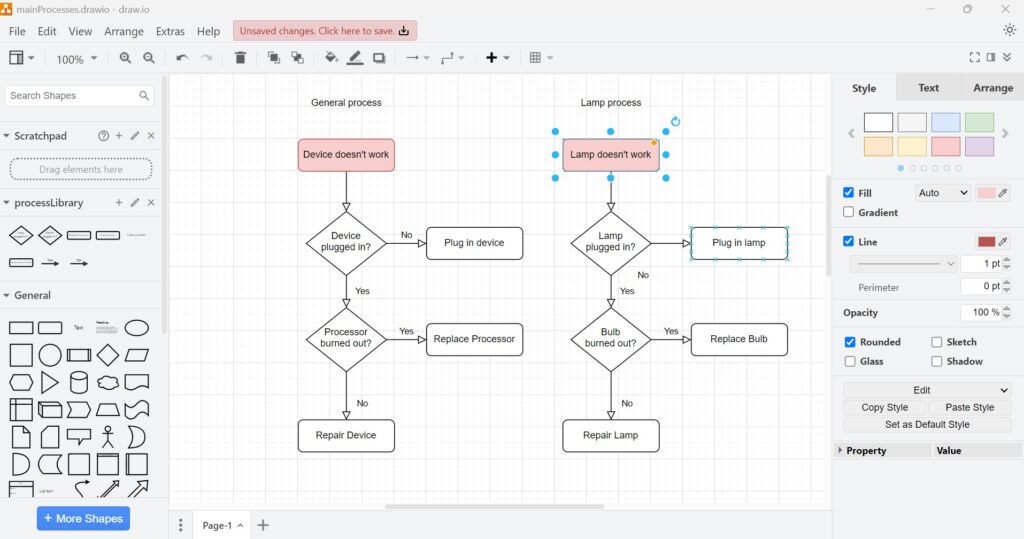
Setting a default style is equally straightforward. Choose a styled shape, then click Set as Default Style in the Style tab. From now on, all new shapes will adopt this style automatically. If you need to reset, clear the default style via the Diagram tab.
Editing Shape Properties
Beyond basic styling, you can fine-tune properties in the Style tab. Expand the Property section to adjust values that control a shape’s behavior. For experts, editing the XML directly offers even greater control. For example, you might configure a rectangle with rounded corners, a custom perimeter size, and a partially transparent outline by modifying its XML code.
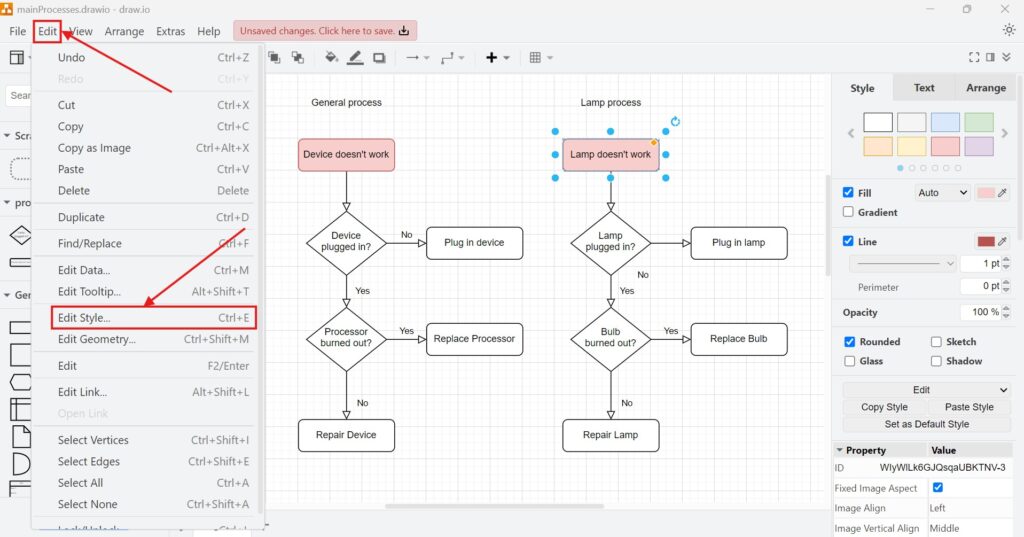
Change the style clicking On Edit Style. Either via the menu and “Edit” and “Change”Edit Style”.
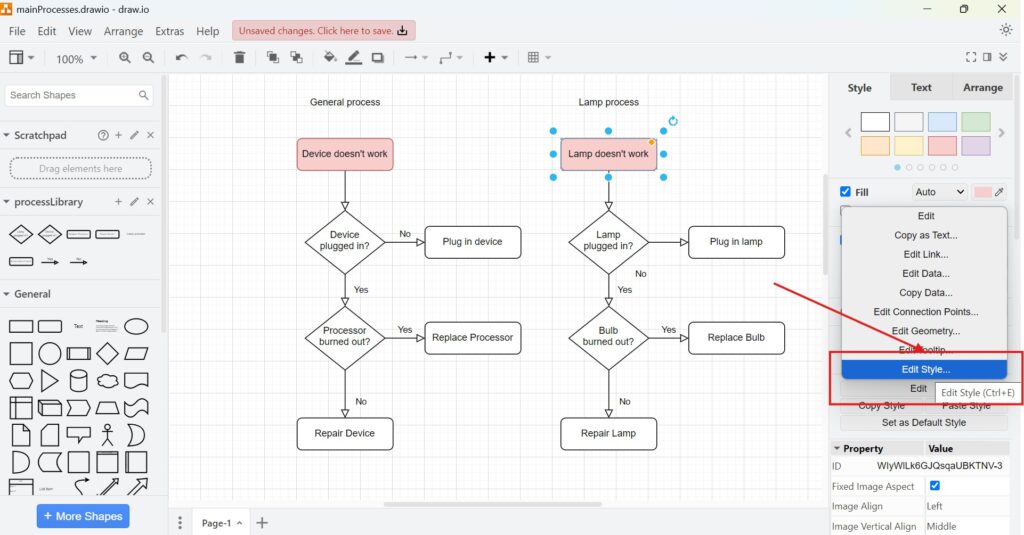
Or navigate with the side palette:
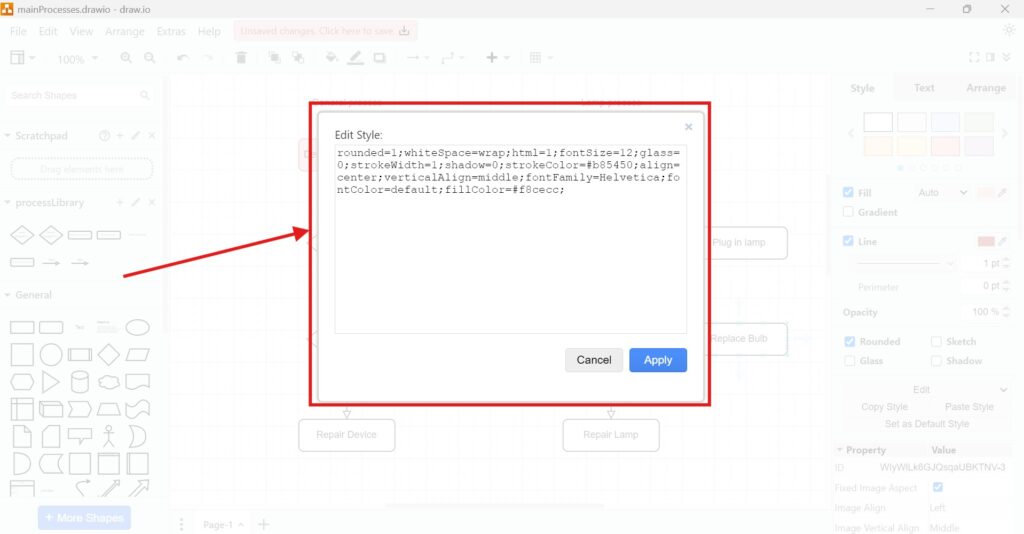
The “Edit Style” windows enables you to go deep into your desired styles:
A Practical Business Case
Let’s consider a business case. You’re a product manager creating a roadmap diagram. You want to emphasize milestones while maintaining clarity. First, set a default style with a gradient fill and bold outline. Then, use the Copy Style feature to ensure all milestone shapes look consistent. To highlight dependencies, apply shadows to connector lines. Finally, adjust the opacity of background shapes to keep the focus on milestones. These small changes elevate the professionalism of your diagram.
Final Thoughts
Mastering styles in draw.io isn’t just about creativity; it’s about communication. By managing styles effectively, you ensure your diagrams convey the right message. Whether you’re building a flowchart or a business roadmap, the tools and techniques in draw.io help you achieve clarity and visual appeal. So why not explore these features today? It’s a simple way to elevate your work.
What’s Next?
Now that I know how styles in draw.io improve clarity and consistency, I can edit visual details even faster. The format view gives me direct access to important design options. In the next article, I’ll explain How to Activate the Format View in draw.io. You’ll learn how to open the format panel, adjust diagram elements, and refine your shapes, text, and connectors more efficiently. Click below to continue and format your draw.io diagrams with more control.
Improve Requirements Engineering with Connected Tools
Requirements engineering becomes easier when I use tools that support clear thinking, documentation, tracking, and process modeling. Therefore, I use draw.io to visualize ideas, Confluence to organize knowledge, Jira to manage requirements-related work, and Camunda to model business processes. Each tool helps me handle complexity from a different angle. As a result, I can connect diagrams, decisions, tasks, and workflows more effectively. In the main article on Requirements Engineering Tools, I show how these tools support a clearer and more reliable requirements engineering workflow.