Selecting the right elements saves time in every diagram. In this guide, I explain how I use select options in draw.io to choose shapes, connectors, vertices, edges, or everything on the canvas. You’ll learn which options matter and how shortcuts make selection even faster. As a result, you can edit diagrams with more control and less effort.
What is draw.io?
draw.io is a powerful diagramming tool that allows users to create and manage complex visual structures. It is widely used for flowcharts, network diagrams, and business process models. To work efficiently, knowing how to select specific elements is crucial.
Selecting Vertices
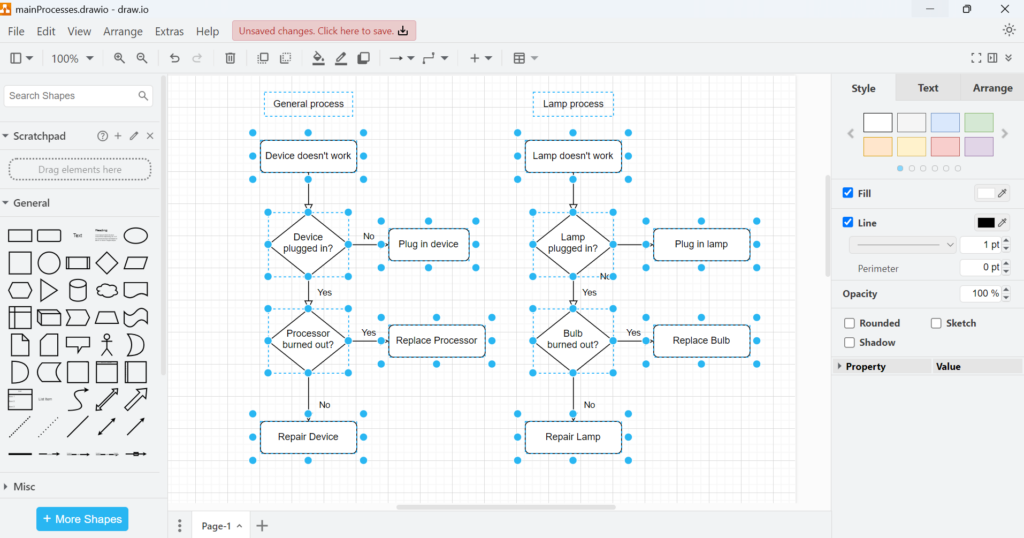
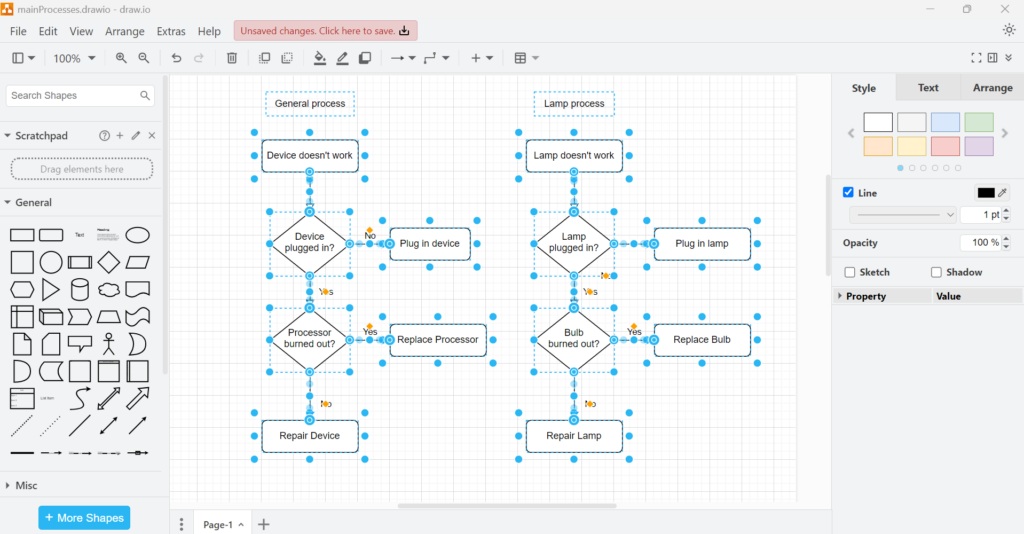
To select all vertices in your diagram click on “Edit” in the menu and choose “Select Vertices”. Alternatively, press Ctrl+Shift+I on your keyboard.

After doing this, all vertices in your diagram will be highlighted. This option is especially useful when you need to move, style, or delete multiple nodes at once.
Selecting Edges
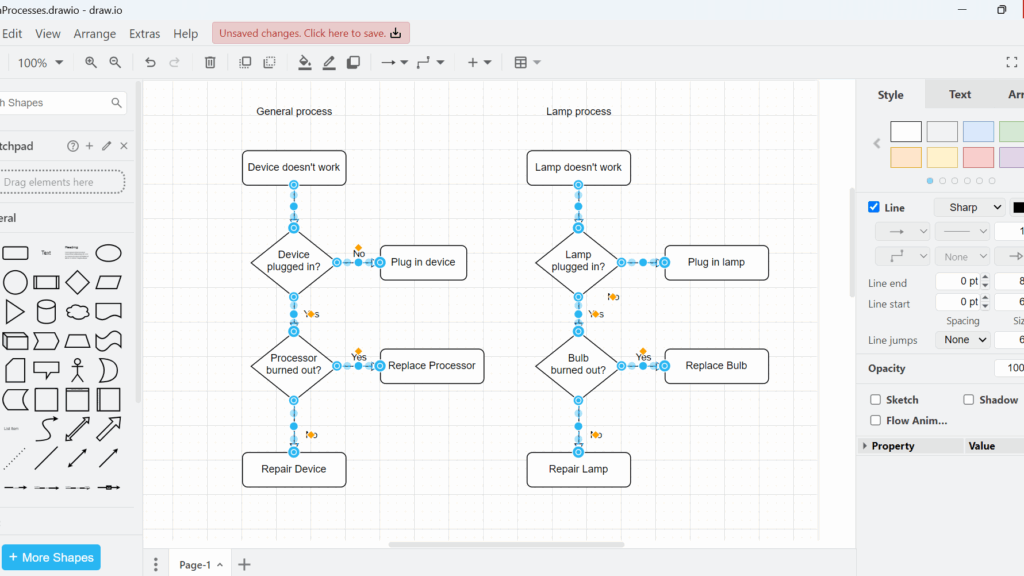
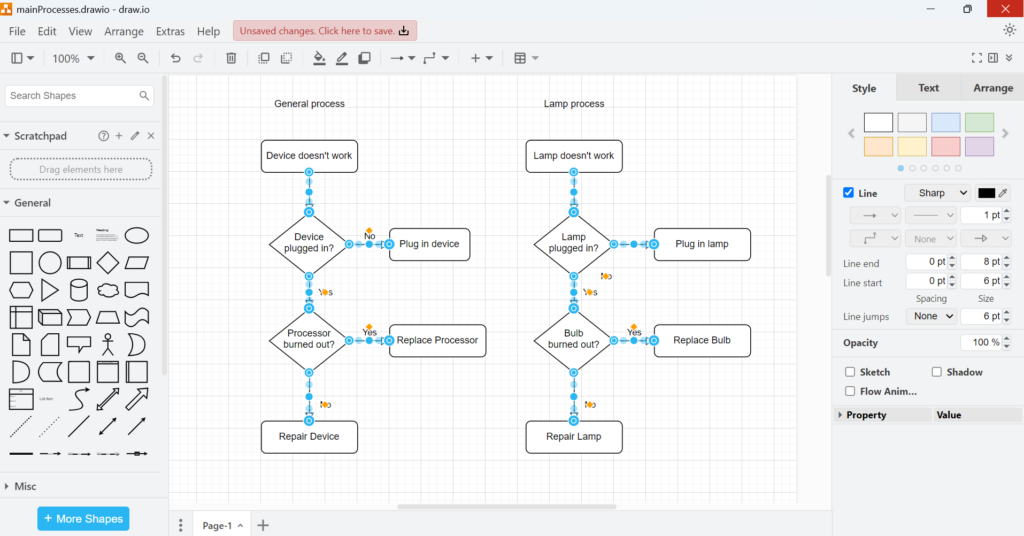
To select only the edges click on “Edit” in the menu and select “Select Edges”. You can also use the shortcut Ctrl+Shift+E.
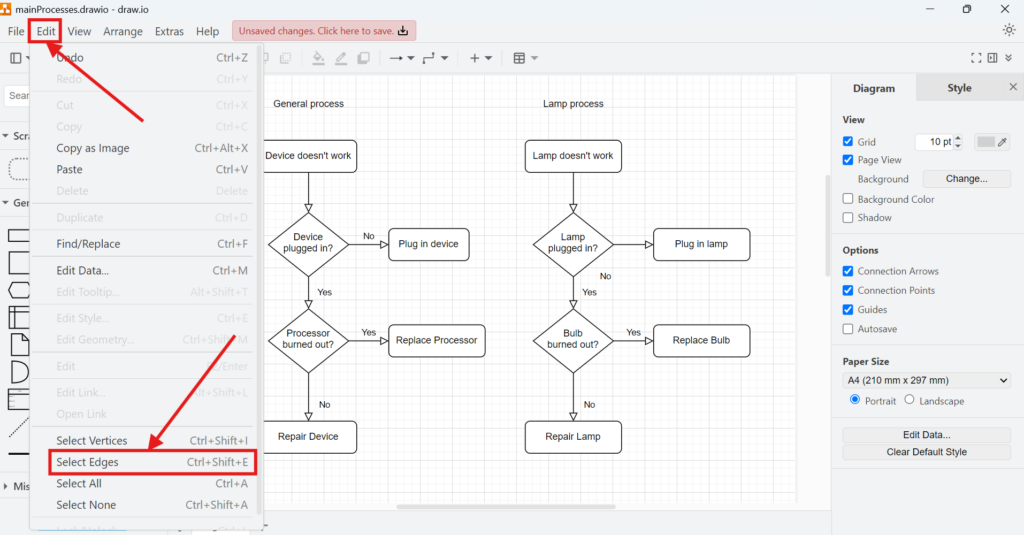
Once activated, all edges in your diagram will be selected. This helps when you need to modify connection styles or delete specific links without affecting vertices.
Selecting All Elements
Sometimes, you need to select everything in your diagram. To do this open the “Edit” menu. Click on “Select All”. Or use the shortcut Ctrl+A for quicker access.

Now, both vertices and edges are selected. This feature is perfect when you want to move or style the entire diagram at once.
Deselecting Everything
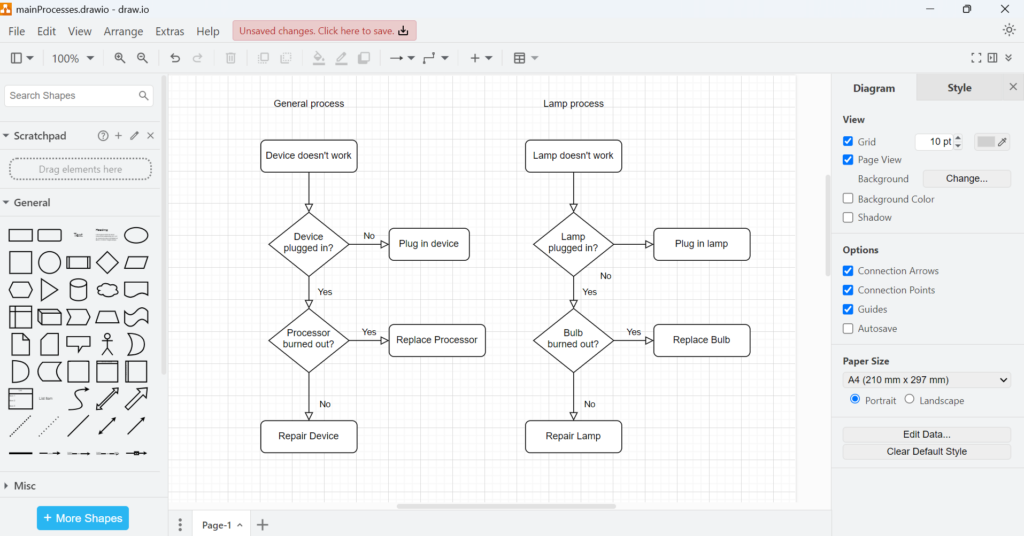
If you want to clear your selection, open the “Edit” menu. Click on “Select None”. Or press Ctrl+Shift+A for faster action.

Now, no elements remain selected, allowing you to focus on a specific part of the diagram without distractions.
Business Case: Optimizing Workflow in Team Projects
Imagine a project team working on a complex network diagram. They need to modify connection styles across all edges while keeping vertices intact. Instead of manually clicking on each edge, they use “Select Edges” (Ctrl+Shift+E). This allows them to apply changes instantly, improving efficiency and accuracy.
Later, they decide to adjust all node colors for better visibility. Using “Select Vertices” (Ctrl+Shift+I), they quickly modify the styles without affecting connections. By mastering these selection options in draw.io, teams can streamline collaboration and enhance productivity.
Final Thoughts
Knowing how to select options in draw.io boosts efficiency. Whether you are working on simple flowcharts or complex diagrams, using selection shortcuts saves time. Mastering these features ensures smoother workflows and better results.
What’s Next?
Now that I know how to use select options in draw.io, I can control diagram elements more precisely. However, some objects should stay fixed while I edit other parts. That is where locking becomes useful. In the next article, I’ll explain How to Lock or Unlock Objects in draw.io. You’ll learn how to protect shapes, avoid accidental changes, and keep your diagram layout stable. Click below to continue and manage objects in draw.io with more confidence.
Make Requirements Engineering Tools Work Together
Requirements engineering becomes clearer when I use tools that support each part of the workflow. Therefore, I use draw.io to visualize ideas, Confluence to document knowledge, Jira to manage work, and Camunda to model business processes. Each tool helps me reduce complexity in a practical way. As a result, I can connect diagrams, decisions, tasks, and processes more effectively. In the main article on Requirements Engineering Tools, I show how these tools support a stronger and more structured requirements engineering workflow.