
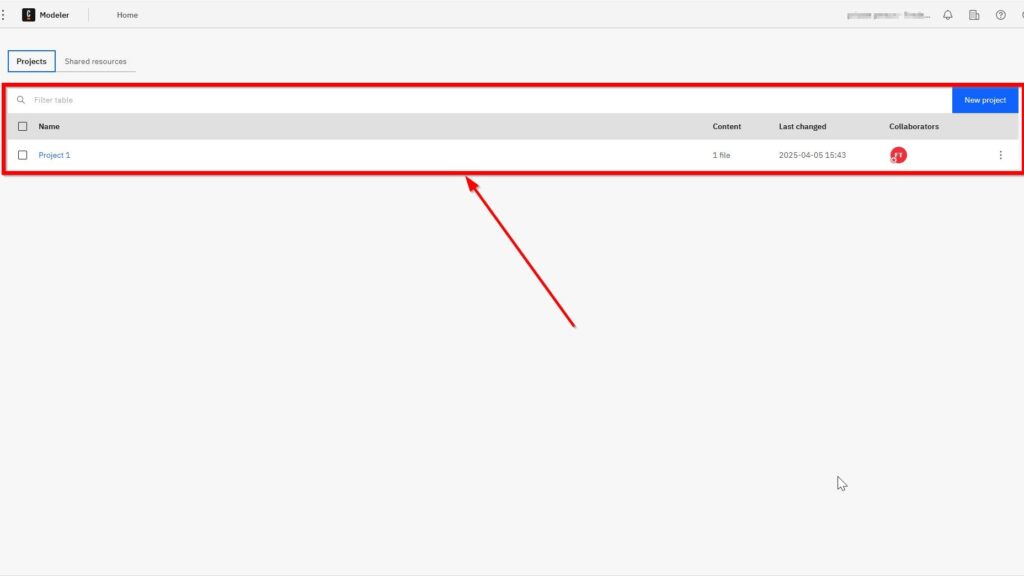
Are you new to the Camunda Home User Interface? In this guide, I show you the essential areas of Camunda Modeler’s home screen. You will learn how to navigate projects, manage processes, and find key options faster. As a result, you can start working with Camunda with more confidence and less confusion.
Camunda Home User Interface at a Glance
When I open Camunda Modeler, I first see the Home screen. The main area contains my projects. Above the project list, I can switch between Projects and Shared resources.
The top navigation provides access to other Camunda functions. In addition, I can open notifications, help, and my profile from the upper-right area.
I therefore use the Home screen as the central navigation point for my modeling workspace.

Navigate Between Camunda Applications
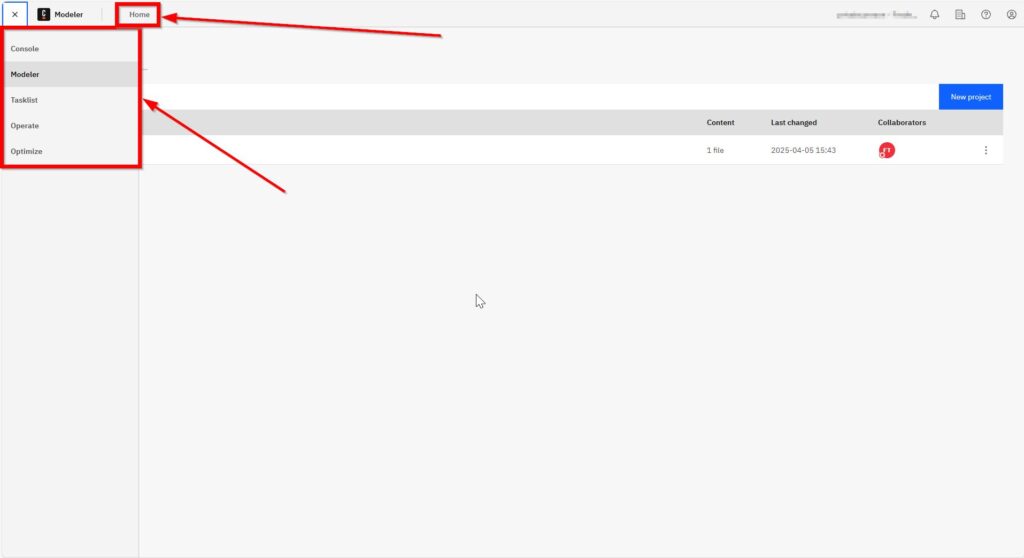
Camunda contains several applications for different tasks. I open the application menu in the upper-left corner to move between them.
For example, the menu shown here provides access to Console, Modeler, Tasklist, Operate, and Optimize. The available applications can depend on the Camunda setup and my permissions.
If I work in Modeler and want to return to its starting screen, I select Home.
The application menu changes the Camunda application, while Home returns me to the Modeler home screen.
Check My Workspace Context
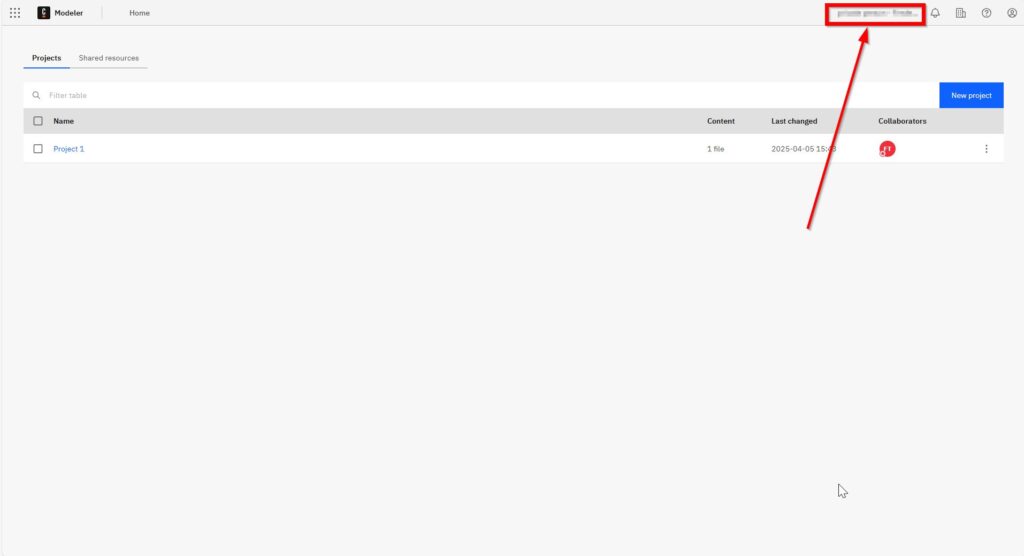
The upper-right area shows the context in which I currently work. Depending on the Camunda configuration, this area can identify my organization or workspace.
I check this information when I work with several environments or organizational contexts. As a result, I can confirm that I am working in the intended place before changing models or projects.
Review Notifications
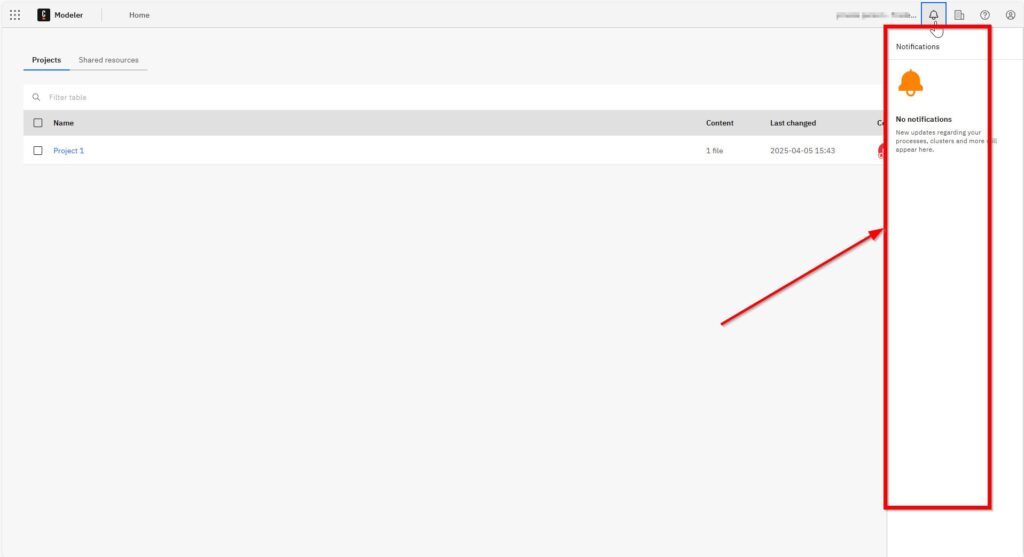
The bell icon opens my notifications.
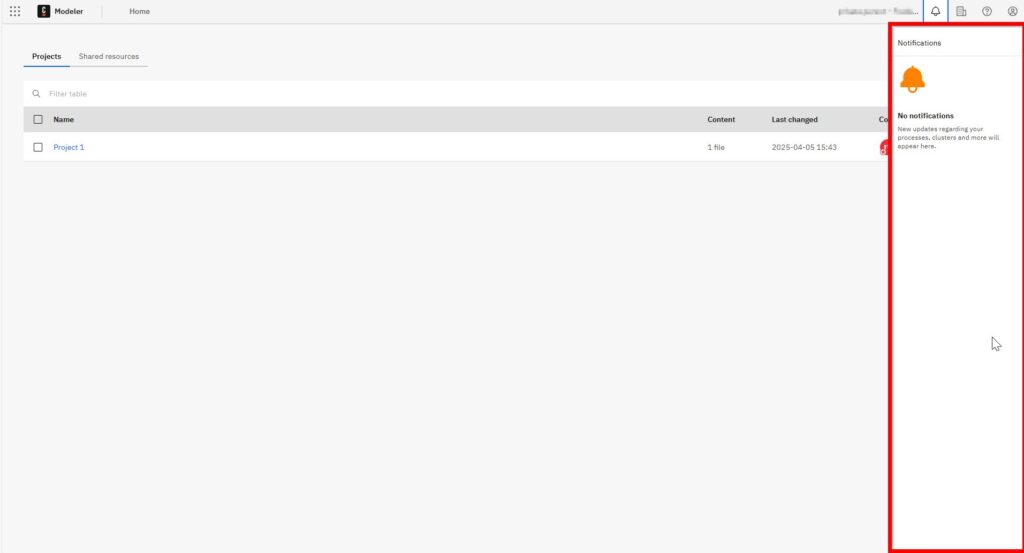
After I open the panel, Camunda displays relevant notifications in one place. For example, these notifications can inform me about activity related to my Camunda environment.
If there are no current messages, the panel states that there are no notifications.
I use notifications as a quick way to check whether something in my Camunda workspace requires my attention.
Open the Camunda Help Center
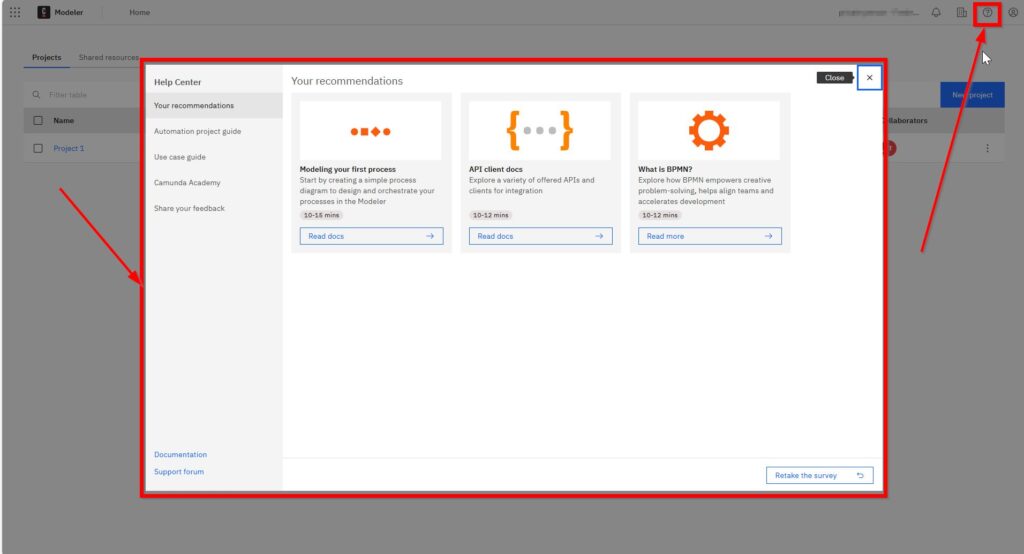
The question-mark icon opens the Help Center.
The Help Center gives me direct access to learning and support resources. In the interface shown here, I can find recommendations, documentation, an automation project guide, a use case guide, Camunda Academy, and feedback options.
This is useful when I need information about a feature without first leaving my current workspace.
The Help Center connects the interface with Camunda’s documentation and learning resources.
Manage My Profile and Settings
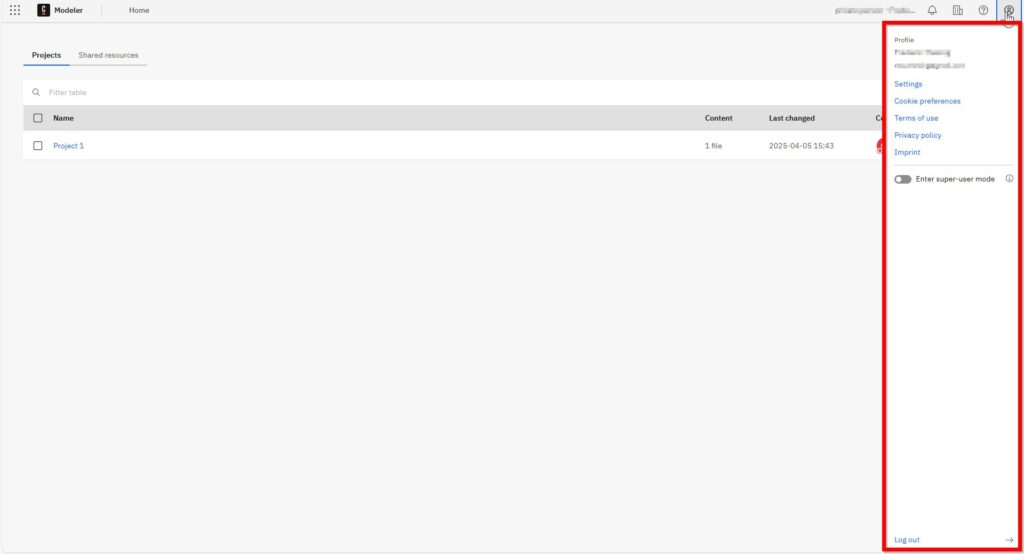
The profile icon in the upper-right corner opens my personal menu.
From here, I can reach settings and other account-related options. In the interface shown here, the menu also contains cookie preferences, terms of use, the privacy policy, the imprint, and the logout function.
Some environments can also provide additional options. For example, the screenshot includes a super-user mode.
Therefore, I treat this menu mainly as the place for account and personal configuration rather than modeling functions.
Projects and Shared Resources
The central part of the Camunda Home User Interface separates my modeling content into Projects and Shared resources.
Projects contain the files that belong to a specific piece of work. Therefore, I normally start in the Projects tab.
Shared resources serve a different purpose. They provide a separate area for resources that an organization makes available beyond an individual project. However, this area can also be empty.
Projects organize project-specific work, while Shared resources provide access to reusable resources available in the organization.

Understand the Project List
The Projects tab gives me a compact overview of my existing projects.
Each row represents one project. The table can show several useful details:
- Name identifies the project.
- Content shows how many files the project contains.
- Last changed shows when someone last modified the project.
- Collaborators shows the people associated with it.
- The menu at the end of the row provides project-specific actions.
I can also use the filter field when the list becomes longer.
The project table lets me understand the status of my modeling workspace without opening every project individually.

Manage an Existing Project
At the end of each project row, I find a three-dot menu.
The available actions can depend on the interface and my permissions. In the example shown here, the menu contains the Delete action.
Deletion deserves particular care because it affects the complete project rather than an individual diagram.

Create a New Camunda Project
When I want to start new modeling work, I select New project in the upper-right corner of the project area.

A project gives me a defined place for related modeling files. Therefore, creating a project is usually the first practical step before I start building BPMN models and other related artifacts.
I use separate projects to keep related process models together and to separate unrelated modeling work.
How I Use the Camunda Home Screen
My basic workflow is simple. First, I confirm that I am in the correct workspace. Then I open an existing project or create a new one. If I need reusable organizational resources, I check Shared resources. Meanwhile, notifications keep me informed about relevant activity.
If I need guidance, I open the Help Center. Finally, I use the profile menu for account-related settings.
This separation makes the interface easier to understand:
I use Home for orientation, Projects for structured modeling work, Shared resources for reusable assets, and the top navigation for account, help, and workspace functions.
Final Thoughts
The Camunda Home User Interface does not contain the actual process-modeling tools. Instead, it provides the structure around them. That distinction matters.
I use the Home screen to find my work, understand its context, and move into the correct project. Therefore, I do not need to search through several menus before I start modeling.
Once I understand Projects, Shared resources, notifications, help, and the profile menu, I know everything I need to navigate the Camunda Modeler home screen efficiently.
The logical next step is to create a project and use it as the workspace for my first process model.
What’s Next?
Now that I understand the Camunda Home User Interface, I can take the next practical step. I need a clear place to organize my models, files, and process work.
Therefore, the next article shows me How to Create a New Project in Camunda. I will learn how to set up a project and prepare my workspace for real BPMN modeling.
This step helps me move from orientation to action. As a result, I can start building process models in a structured way. Click the next article and continue your Camunda journey with your first project.
Explore Requirements Engineering Tools and Processes
Requirements engineering works best when I combine clear thinking with practical tools. In my main article on Requirements Engineering Tools, I explain how draw.io, Confluence, Jira, and Camunda support different parts of the work. I use draw.io to visualize ideas, Confluence to document knowledge, Jira to manage tasks, and Camunda to model processes. Therefore, this overview helps me build a stronger toolset for better requirements work.
With these insights, I can also take the next step into the main article on Processes. There, I explore Process Management, BPMN, and Camunda as a practical tool for BPMN modeling. Therefore, I can see how process thinking turns workflows into clear structures and better improvement decisions. Click through to learn how Processes help me understand work, improve collaboration, and create stronger business value.