
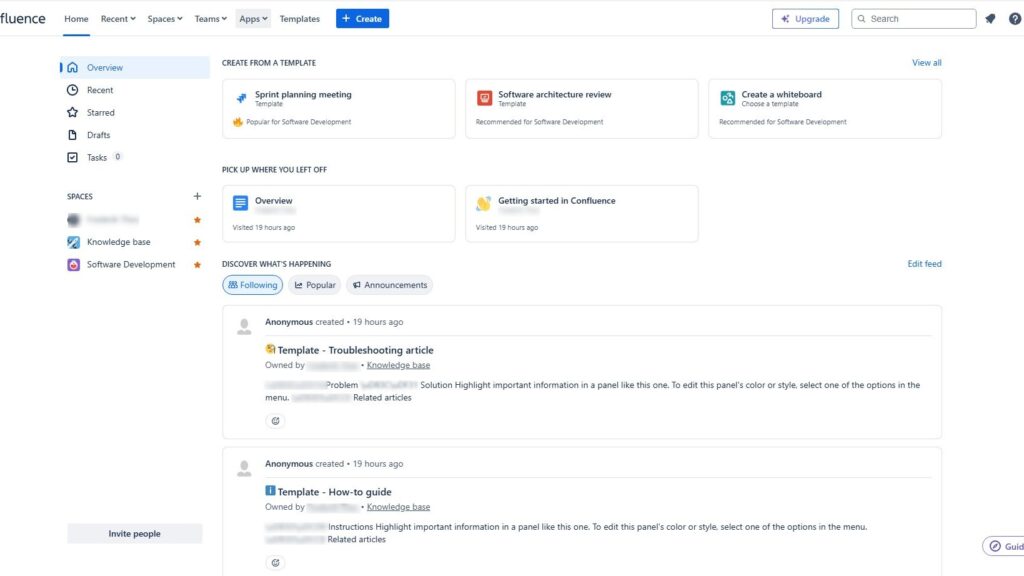
This introduction confluence dashboard guide shows the dashboard as your central workspace. It helps you find updates, key information, spaces, pages, and navigation in one place. As a result, teams stay aligned and new members get a clear first impression. A well-structured dashboard supports better collaboration from the start.
The Dashboard
The horizontal menu at the top left allows you to navigate through the different functions of Confluence:
- Home,
- Recent,
- Spaces,
- Teams,
- Apps,
- Templates and
- Create.
Clicking on ‘Home’ always takes you back to the dashboard.

Main menu: Recent
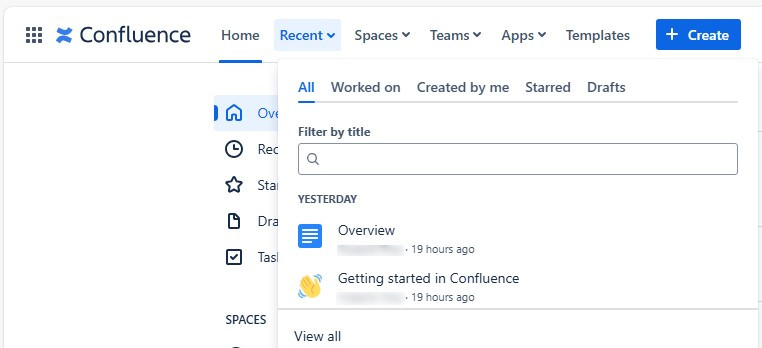
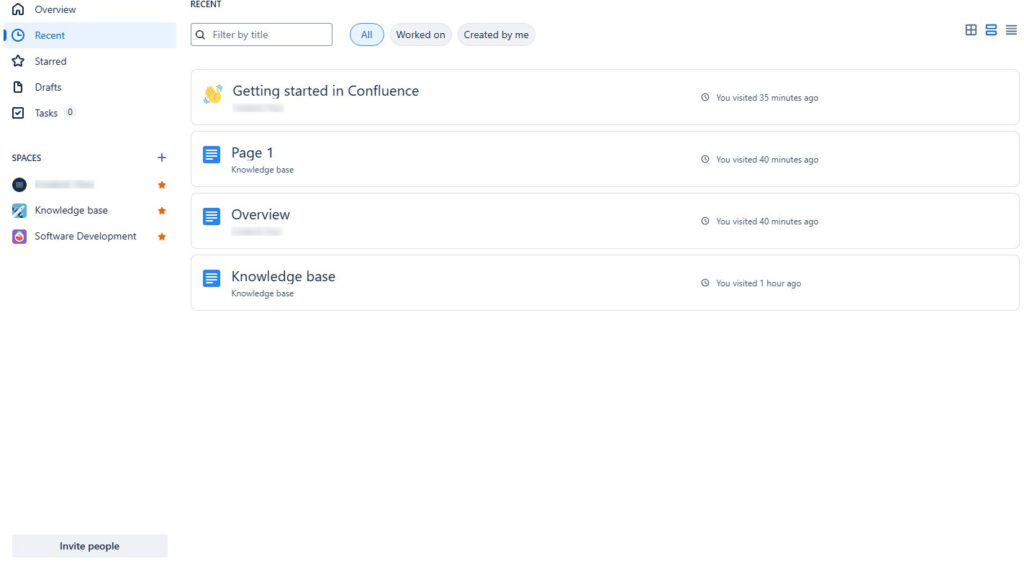
If you click on ‘Recent’ you will see your most recently edited posts. On the one hand you can search for certain keywords in the search bar. On the other hand the integrated menu allows you to choose between the options ‘All’, ‘Worked on’, ‘Created by me’, ‘Starred’, and ‘Drafts’. This allows you to navigate quickly and intuitively to your most recently edited posts.
Main menu: Spaces
By clicking on the Spaces menu item, you can access your own spaces. When looking at the dashboard, the spaces are also displayed as another menu on the left. This function is therefore particularly useful when you are not moving around the dashboard. You can also create a new space using this menu item. And you will get an overview of all spaces.

Main menu: Teams
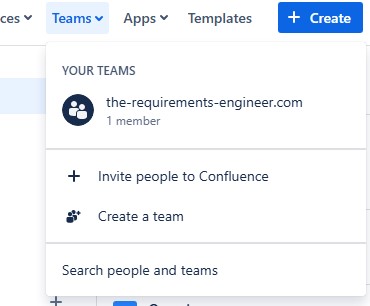
The menu item ‘Teams’ allows you to navigate to your teams. You can also invite people to your teams, create a new team and navigate to all teams. This menu item allows you to communicate quickly, especially in projects with many team members.
Main menu: Apps
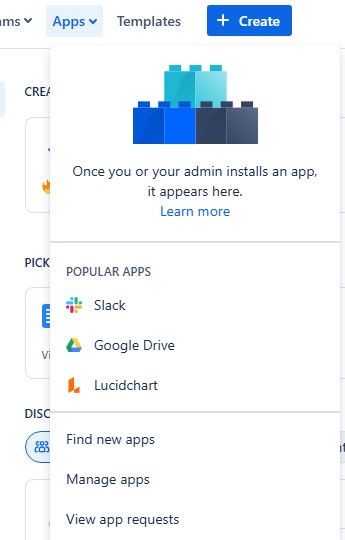
The ‘Apps’ button allows you to navigate to the applications you use. You can also find new apps, manage your apps and request apps from your administrator.
***
The menu item ‘Template’ takes you to a page where you can select templates. ‘Create’ opens an empty post page for editing.
Menu bar top right
The menu bar at the top right contains the option to upgrade to a higher version of Confluence – if you haven’t already done so. It contains a search function that you can use to search within your own Confluence areas. You can also navigate to notifications, the help function and your own account functions.

Notifications
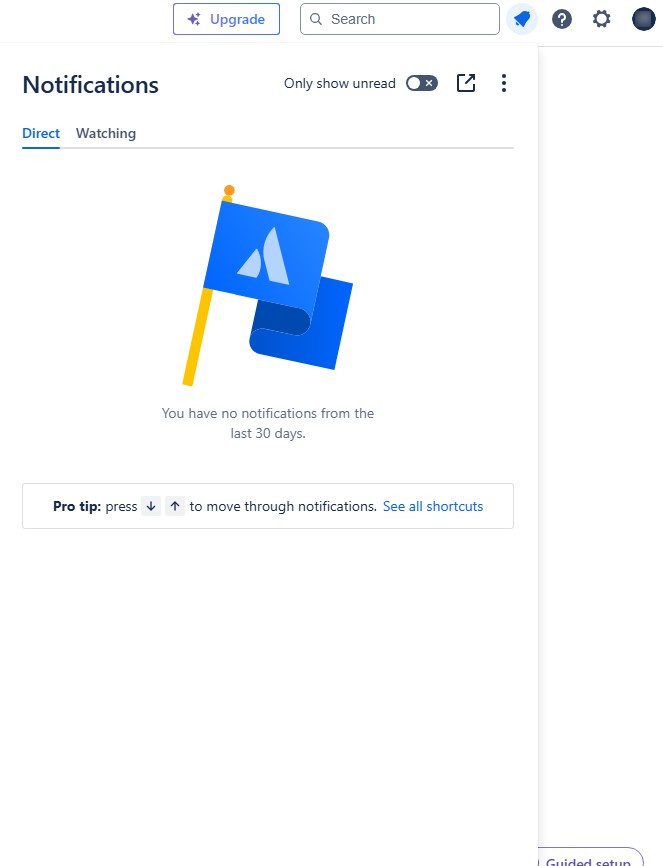
The Notifications menu item allows you to see all notifications at a glance.
Help
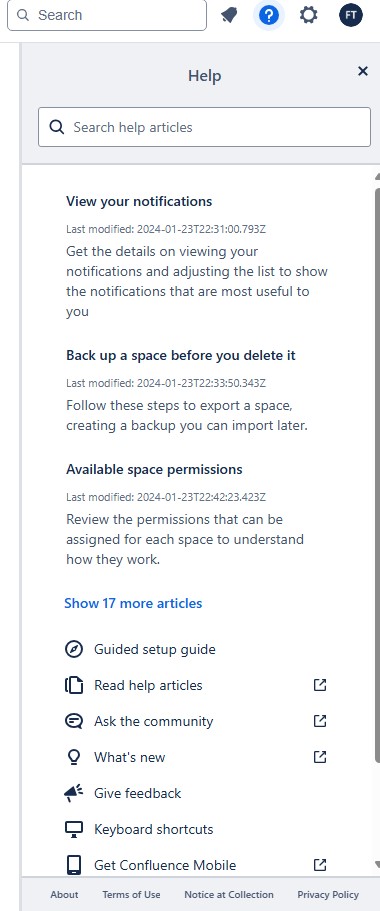
The help function allows you to access Confluence’s help pages directly. You can also get the latest news about changes and useful information here. NOT READY
Account settings
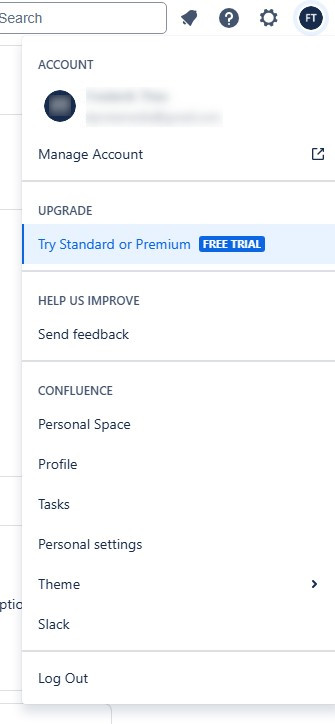
The icon with your initials allows direct access to account settings.
Menu bar left
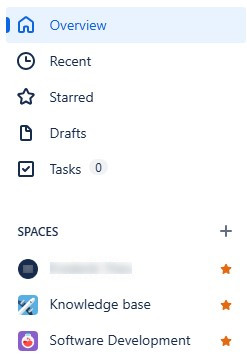
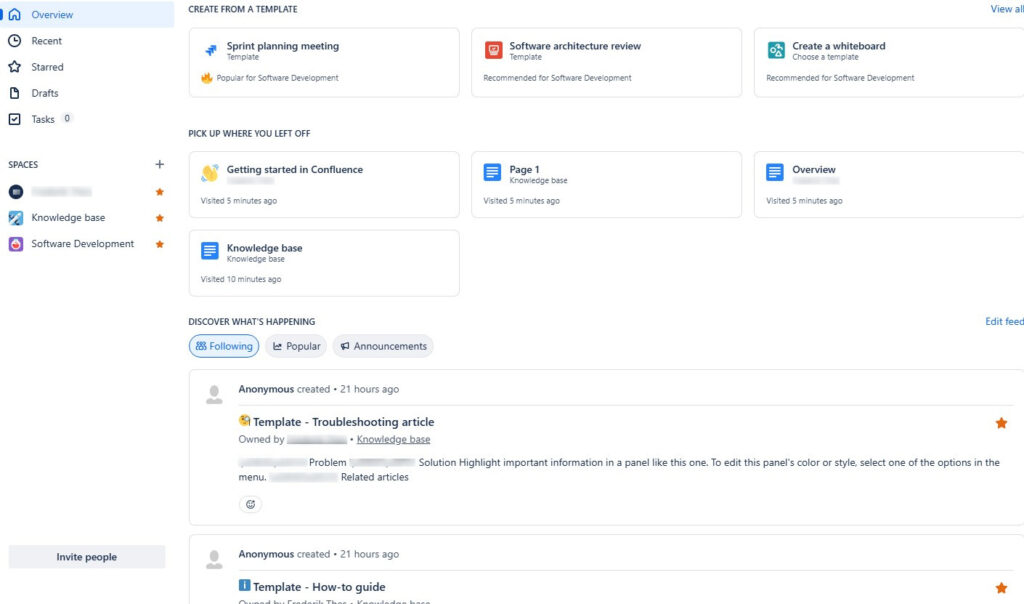
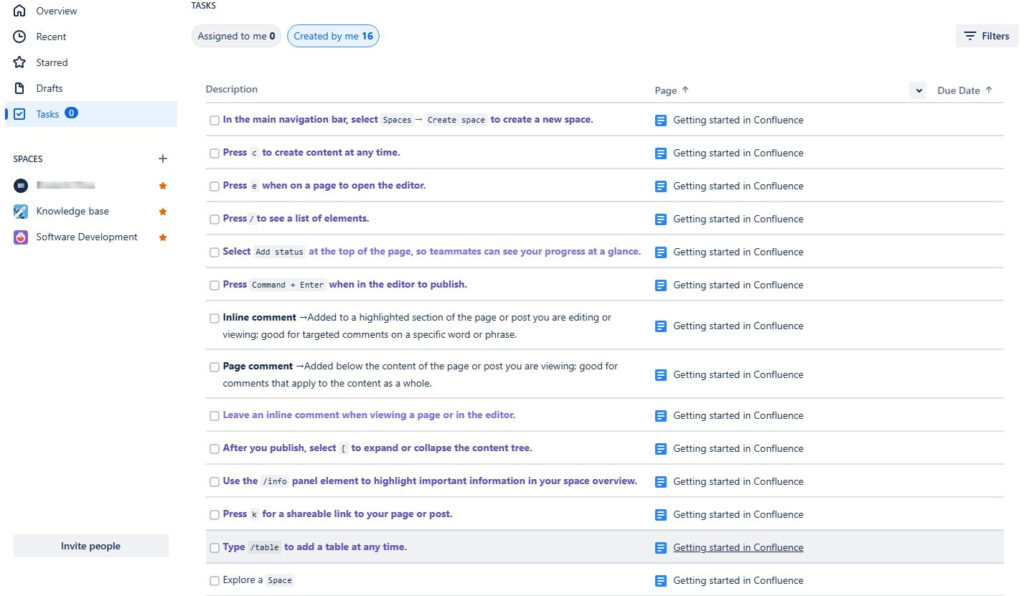
The left menu contains the items ‘Overview’, ‘Recent’, ‘Starred’, ‘Drafts’, and ‘Tasks’:
Menu bar left: Overview
The menu item ‘Overview’ offers a comprehensive overview of what’s current within your Confluence world.
Menu bar left: Recent
Under ‘Recent’ you can search for recently edited pages and posts. You can view ‘All’, the ones ‘Worked on’ or the ones ‘Created by me’.
Menu bar left: Starred
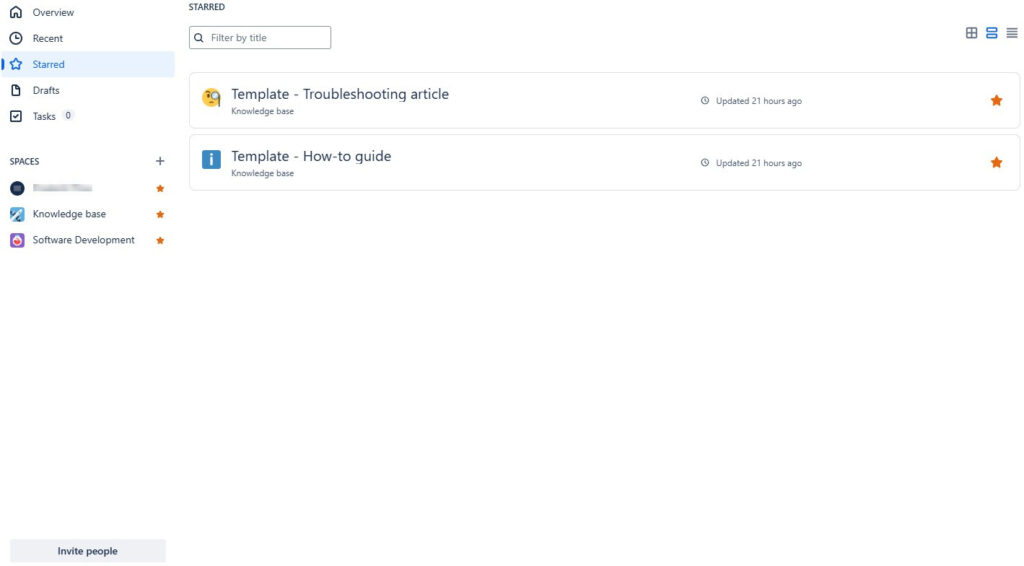
Under ‘Starred’ you can find the posts and pages you are watching.
Menu bar left: Drafts
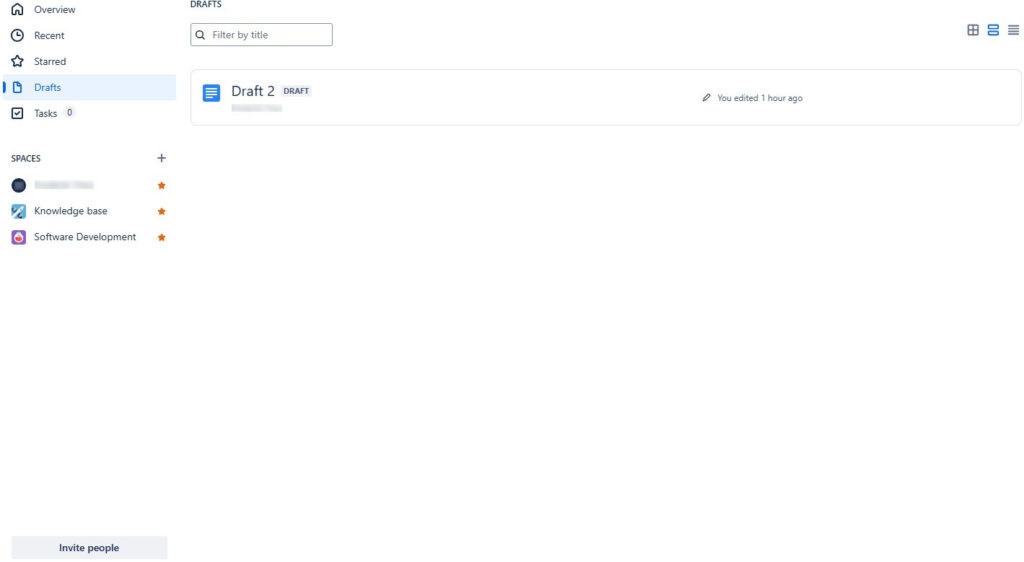
All current drafts are listed under ‘Drafts’.
Menu bar left: Tasks
‘Tasks’ lists all tasks assigned to you.
Conclusions
This introduction to the Confluence Dashboard shows what the Confluence Dashboard includes. You have learned where to navigate. The dashboard is just the starting point. Read the Tutorials and How to pages to learn how to use Confluence effectively.
What’s next?!
Now that you understand the Confluence Dashboard, you know where your work begins. You can find updates, spaces, pages, and important content faster. However, navigation becomes even easier when you know the right shortcuts.
In the next article, I’ll show you How to Use Shortcuts in Confluence. You’ll learn how shortcuts help you move faster, reduce clicks, and work with more focus. Click the next article to make your Confluence workflow quicker and easier.
Use the Right Tools for Better Requirements Work
Requirements engineering becomes clearer when I use the right tool for the right task. In my main article on Requirements Engineering Tools, I explain how draw.io, Confluence, Jira, and Camunda support practical requirements work. Draw.io helps me visualize ideas. Confluence helps me document knowledge. Jira helps me track tasks and issues. Camunda helps me understand processes. Click through to the full article and learn how these tools help you move from ideas to clear, manageable results.